The hull is ready for glass at last, however, I'm going to glass the centerboard, centerboard trunk walls, and transom before I do the hull. I've never worked with fiberglass, so I want to get a little experience under my belt before tackling the hull.
The Centerboard and Trunk
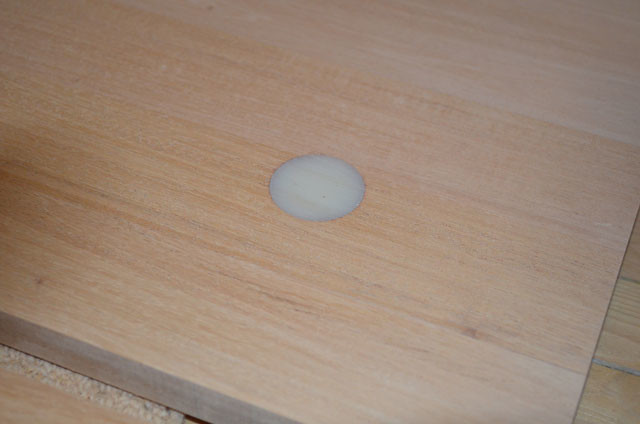
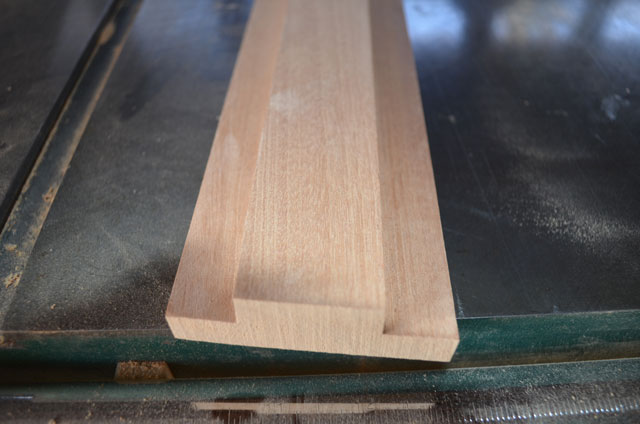
I'm using mahogany for the trunk. The trunk walls are made from 18 - 2" x 3/4" planks, splined and glued with epoxy. Before glass is applied, an oversize hole is drilled in the location of the centerboard pivot. This hole is filled with thickened epoxy. Later a smaller diameter hole will be drilled for the pivot hardware. This adds an extra barrier to protect the wood from water intrusion. Not much extra work, but it seems like good insurance no matter how the pivot is implemented.

I've rabbited the centerboard logs so no end grain will be exposed when the trunk is complete. I plan to make the trunk top removable as many folks recommend.
The Pivot
Barto specifies the shape and thickness of the centerboard in his plans, however, the pivot details are left to the builder. Whatever approach is used, it should offer long term reliability and ease of maintenance. I spent some time researching what others have done and found a variety of solutions. What I found led me to question the clearance shown in Barto's plan; 3/8" on each side of the board. I emailed him to make sure I had it right. His response was short but not specific; "Don't make it too tight. It is surprising..." With this in mind, I tried to step back and take an objective look at the problem. The following is a list of what I consider to be the minimum requirements.
1. No water in the boat.
2. No water in the wood core.
3. Smooth/reliable centerboard operation in all conditions.
4. Ability to remove centerboard easily for repair or maintenance.
5. All parts replaceable without using a sawzall.
Seems simple enough. I also expect the solution to be serviceable for many years. (At least till I'm dead)
Some centerboard pivot solutions in order if complexity:
A. Bronze rod with epoxy bushings. Removable cover. PROS: Simple. CONS: I'm not sure about the mixed bearing surfaces and the longevity of such. I would guess the epoxy will wear more quickly than the bronze. If so, how would one repair without removing the trunk. A sawzall procedure for sure.
B. Large bolt with plastic/nylon spacer functioning as bearing surface for the centerboard. Seals on inside of trunk. PROS: Simple. Large diameter bearing surface for the centerboard. Addresses compression issues when using a bolt. Everything is replaceable. CONS: My only real concern with this approach would be keeping water from the wood core. I think this concern goes away if the holes in the trunk walls are drilled oversize first, filled with epoxy, and later re-drilled to create an epoxy bushing for the bolt.
C: Bronze rod with bronze bushings. Removable cap. PROS: Bronze on bronze bearing surfaces. Reduced stress on the wooden trunk walls. No compression issue. Everything is replaceable. CONS: More parts. Something must be done to keep water from getting to the wood core. Again, this problem can be eliminated as described above.
There are variations on each theme, but these are the basic solutions I've seen. I chose C because I think it will provide the greatest durability. I'm not an engineer, so this is pure speculation on my part. One of the things I'm not completely sure of is weather it is best to let the centerboard ride back and forth on the pin or inhibit the side play. I'm planning to minimizing the side play initially and see how it goes. The following drawing details my initial thoughts regarding the pivot mechanism.
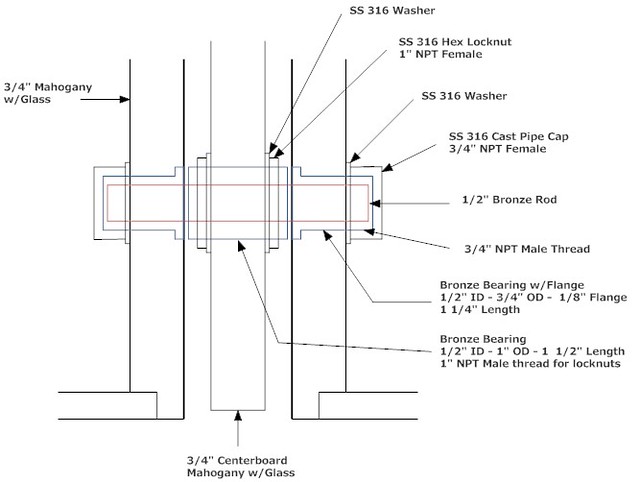
I floated this plan at the wooden boat forum to get some feedback. Most folks thought the approach was overkill. They might be right. I've since reaccessed the plan and made it a tad simpler by eliminating the locknuts on the centerboard. I've also decided to make the upper portion of the centerboard thicker, decreasing the clearance and making the board stronger at the pivot.
Fun with lead
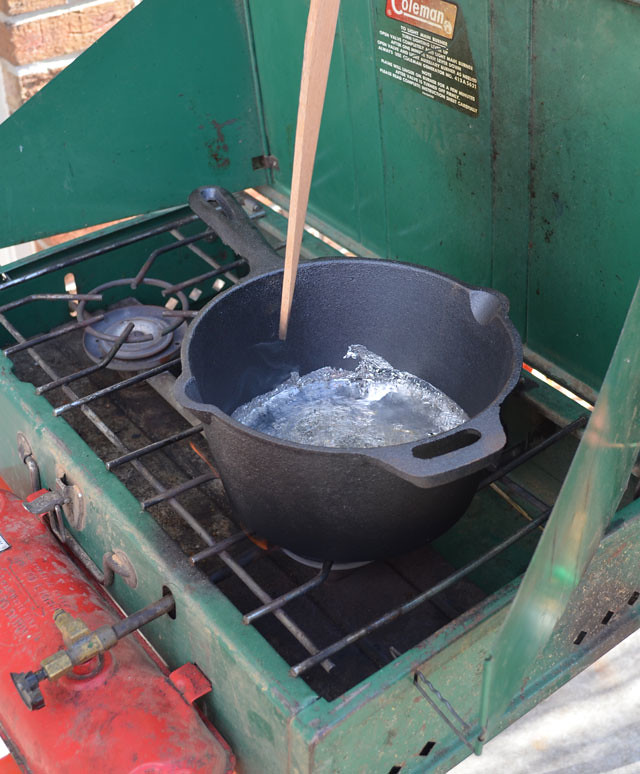
I took advantage of the nice weather on Sunday to pour some lead. I admit I was a little uneasy with the idea at first and I thought about using lead shot and epoxy instead, but melting and casting the lead seems like a right of passage for the first time builder. I used eight pounds of lead guessing some would stick to the pan. I fired up my trusty old coleman stove and was surprised how quickly the lead melted. It took only twenty minutes or so to liquefy.
I used a respirator, safety glasses, and big mitts.
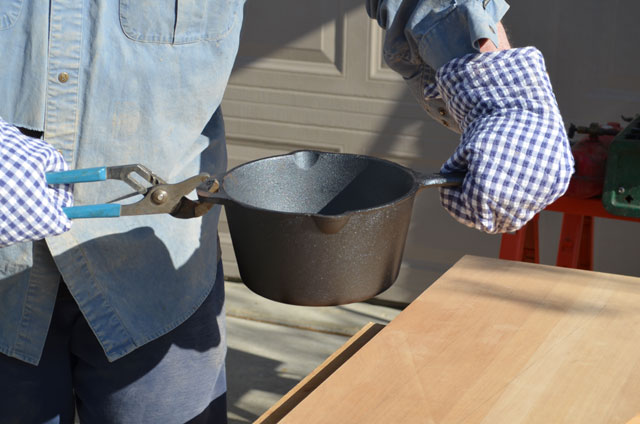
Kinda fun, actually!
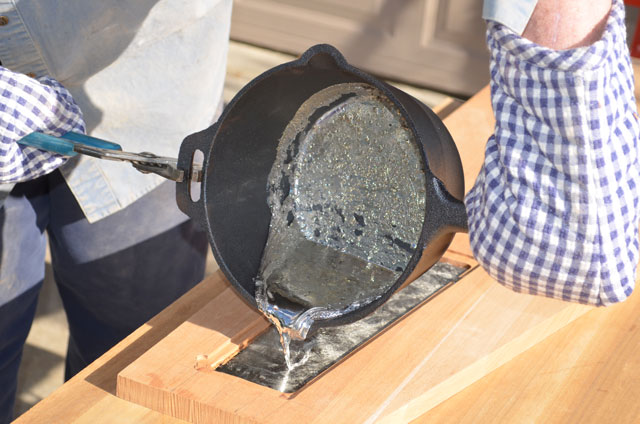
Smoking hot!
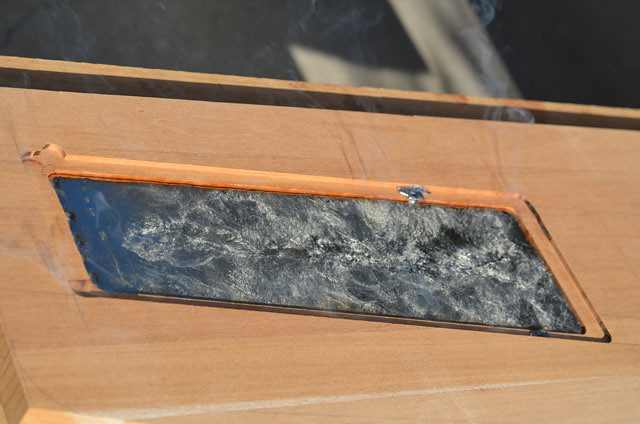
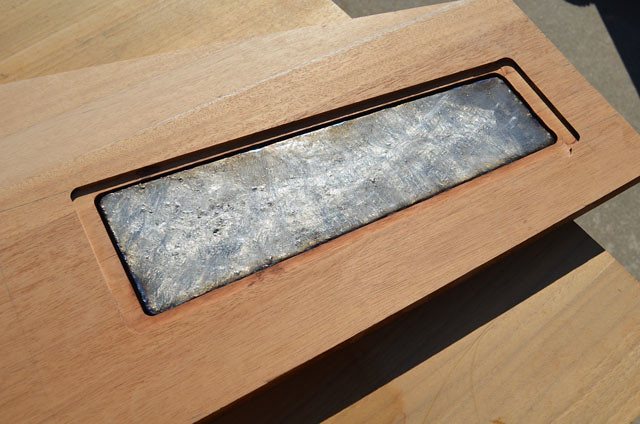
The finished product. I'll encapsulate with epoxy and apply a wood cover. The shape of the recess was designed to not interfere with the shaping of the foil. The weight is 6.5 pounds.
On to the fiberglass...
Looking good, Tim!
ReplyDeleteThanks Barry. I’ve spent quite a bit of time at your amazing blog site. The site is informative, inspirational, and very entertaining! I think it is an invaluable resource for anyone interested in building a small strip planked boat. In fact, your story directly influenced my decision to build a melonseed. Many thanks and best regards! TC
ReplyDelete