My first task was to create 10 pieces at least 16' long. I used a 12:1 ratio scarf joint to do so. After gluing, I planed the strips to a finished thickness of 5/16" and a width of 1". I found this thickness to be a happy compromise as 3/8" seemed too thick and 1/4" too flimsy. I want the deck to feel firm under foot, but I also want to keep the weight down. These long pieces will be used around the outside of the cockpit and must be carefully dry fitted to get the exact length right.
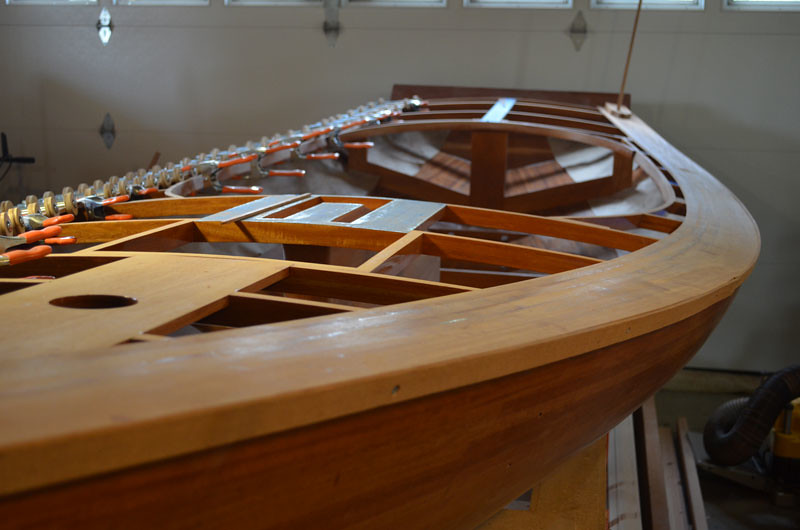
I pre-finished the bottom side of each piece with two thick coats of epoxy, sanding before and between coats. Then the strips were planed one more time to a finished width of 15/16". This dimension is another happy compromise based on bendability. Next I applied a protective caul, where the rub rail goes, to clamp against. I also made some flexible wood strips to protect the inside edge. These I coated with wax to prevent epoxy from sticking to them. At this point I'm ready to dry fit the first piece.
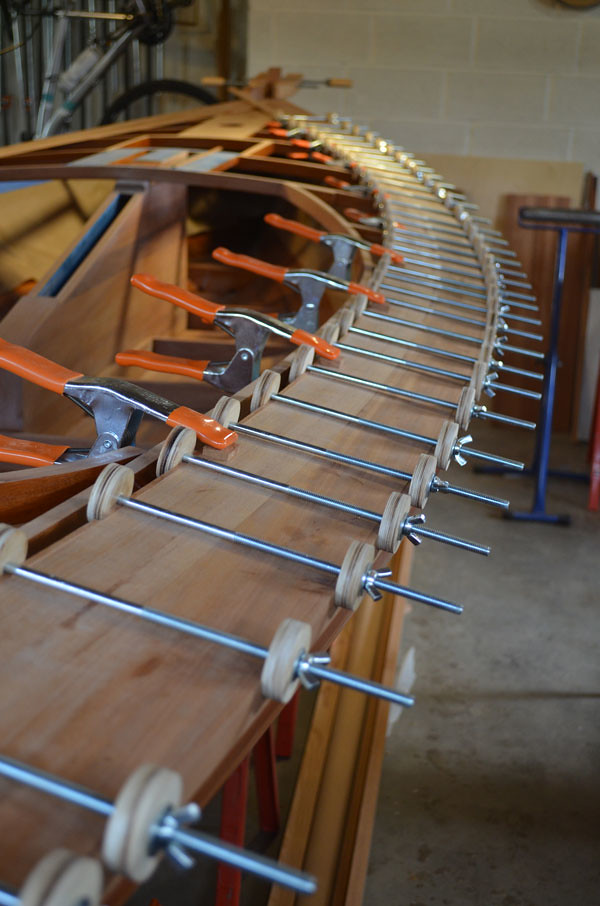
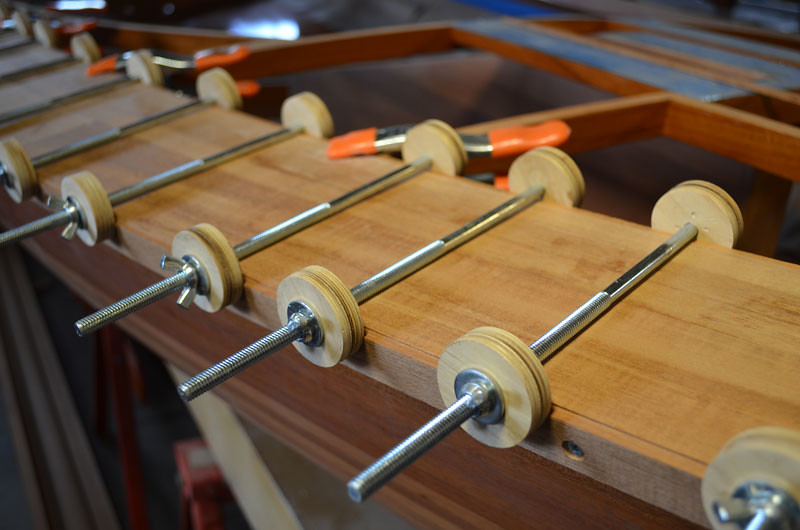
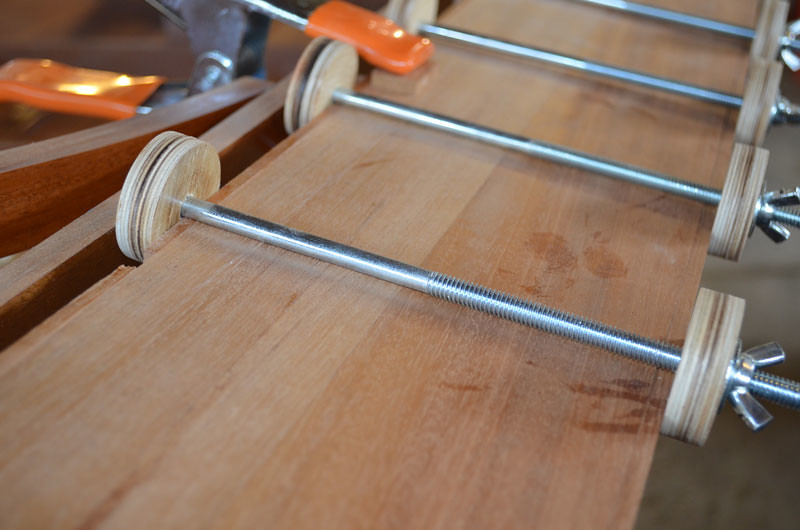
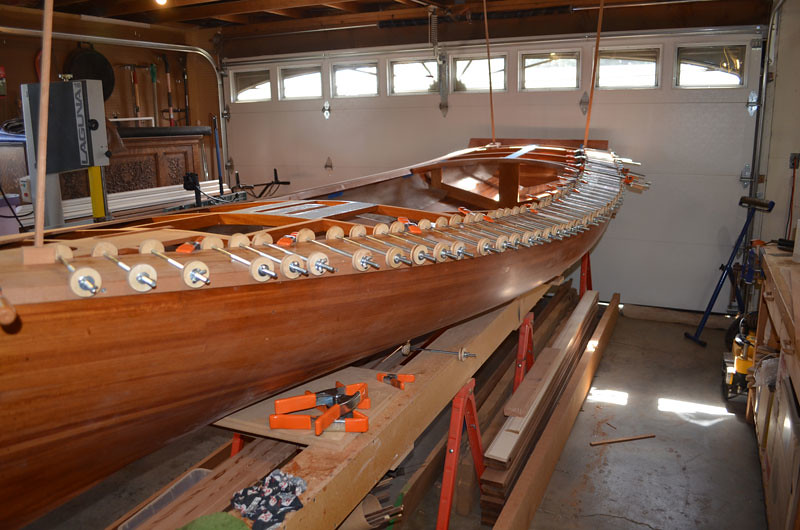
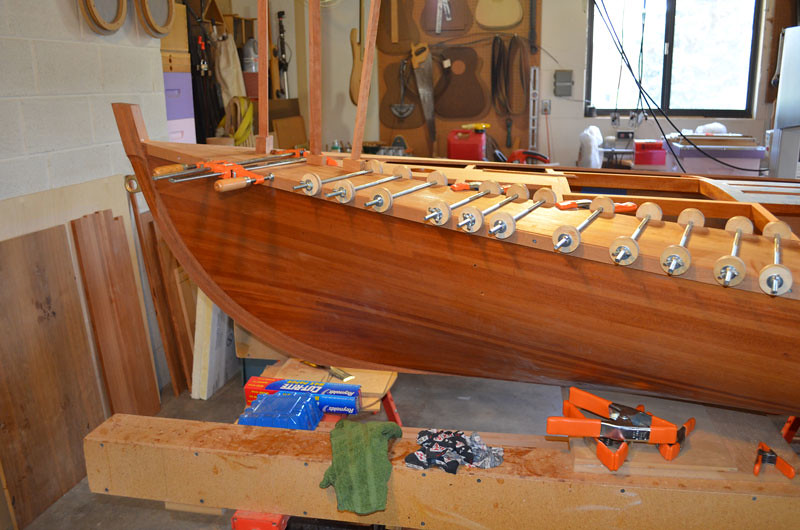
When cold bending, the key to smooth results is a little pressure in a lot of places. I knew right away that I didn't have enough conventional type clamps. However, I did have about 30 homemade clamps that I had made specifically to glue acoustic guitar tops and backs on. The clamps are fabricated from 1/4" x 6" carriage bolts with wing nuts and wooden washers. Not much clamping pressure, but plenty for this job. They weren't long enough to do more than one strip on each side, but this would be enough for a test. I then ordered 50 - 5/16" x 10" bolts with wing nuts to make a larger version of the clamp.
I learned a lot dry fitting the first piece. I started at the transom. Thank God for my compound miter box, a most useful tool when boat building. The transom angle is a steep 47 degrees by 14 degrees. I clamped my way forward until I could place an accurate mark for the other cut. The cut at the bow is roughly 34 degrees by 2.5 degrees. In this case too short is better than too long, but my goal is just right. A slight bevel must be added lengthwise to accommodate the curvature of the deck, otherwise the joint will not be tight on the top. The bevel is about 1 degree and is only needed on one edge. When all is right it is time to mix the epoxy.
I'm using MAS flag epoxy which is thicker than the formula for filling fiberglass. I'm amazed at how strong this stuff is, the wood will break before the epoxy gives. One key to clean epoxy work is learning how much to use and some trial and error is always necessary. I found a small foam brush worked for me as an applicator. You need to see a little squeeze out to be sure. I keep a rag and some acetone handy and wipe any excess as I go. If one is careful there is very little left to clean up. After all the clamps are in place I inspect to make sure the piece is aligned lengthwise as close as possible with the previous piece. The epoxy can be a bit slippery and the strip will sometimes need re-adjustment.
I found some down pressure was needed over the king plank and at the transom. After the first few pieces, and some obligatory cursing, the process started to become routine. Once I hit the cockpit the process should become a cakewalk as the pieces will be much shorter and will not have to fit perfectly end to end.