Thursday, September 1, 2016

A little color...

My decision to paint the exterior of the hull is purely utilitarian. Many of my friends have told me I'm crazy to not leave the hull bright. As it is I will have plenty of annual maintenance to do with the bright deck and interior. I researched the options and went with Epifanes two-part polyurethane, primarily for two reasons. Tests by Jamestown Distributors concluded it was the toughest of the products they carried and it was available in a huge range of colors. Choosing a color was difficult, in part because there were so many choices.


We will certainly be visible if the boat goes turtle. I followed the manufactures advice and applied two coats of epoxy primer, followed by three coats of polyurethane. Both products were easy to apply. I used an old high pressure spray gun at 32psi with the product thinned about 10%.


While the paint cures I'll put the trailer together and finish the spars.

Wednesday, August 24, 2016

Bottom's up...

There is an art to everything and varnishing is no exception. My experience with varnish and a brush has been, at best, less than gratifying. I kept working at it figuring I'd get better, but it always seemed like one step forward and two steps back. I came to believe it was impossible to get a smooth and relatively dust free surface with a brush. When it was time to varnish the deck I toyed with the idea of using a spray gun, but reverted to the brush which seemed like the path of least resistance at the time. After a number of coats, six to be exact, I finally acknowledged my insanity, doing the same thing and expecting different results.

I have a twenty year old spray gun, high pressure of course, but still serviceable. So I went online looking for advice on spraying Epifanes varnish. I couldn't find much info, even at the product website. Lots of advice on brushing. One article indicated you must use Epifanes spray thinner to get the right results. Taking no chances, I acquired a quart of the spray thinner.

My initial concern was that my spray tip would be too fine for the varnish. My concern was unfounded and it took only a little experimentation to get a good spray pattern with the product thinned 50% at 32psi. As I sprayed on the first coat I kicked myself in the kester for not trying this sooner. What took an hour using the brush I can spray in ten minutes with way better results. All I can say is better late than never. I added three coats to the six applied by hand and called it good enough.


While the deck varnish cures the plan is to paint the bottom. It is time to get rid of the strongback. I cobbled together a cart with 2x6's from the local big box and added a carpet covered cradle matching the deck camber. With the help of a few strong friends and family members we extracted the boat from the garage.


We rolled the boat on an air mattress for added safety and lifted it onto the cradle. I was very pleased to find the boat was much lighter than expected.


My friends look at me incredulously when I tell them I'm painting the bottom, but they won't have to maintain all that varnish. As it is, the transom, deck, interior and stem are all bright and will require frequent maintenance. I'll be spraying the hull with Epifanes poly-urethane. Teal green, my wife's choice.

Thursday, July 28, 2016

Almost there...

At last I'm down to the rub rails and coming. Happily, I had just enough 5/4 mahogany to get out the rails. The rub rail is 5/8" x 1" in section with a 1/2" radius top and bottom, basically a 1" bullnose. I tapered the rails slightly fore and aft as suggested in several of the boat building books I've read. The rails required some hand fitting, especially at the bow. I secured them with epoxy and 1 1/2" bronze screws. Lastly, the holes were bunged and flushed. The following photo shows some yet to be flushed bungs.


When it came time to fabricate the coming I had to make a choice regarding material. I was unable to source genuine mahogany in the length I needed (10 feet). I originally thought white oak would work well, but it's heavy and, more importantly, very difficult to cold bend, even when re-sawn to 1/4". I opted for African mahogany instead as it is much lighter in weight and bends easily. Fortunately, I was able to obtain a couple well matched boards locally. The coming consists of an inner and outer piece, each 1/4" thick. I applied the inner pieces first, then laminated the outer pieces in place.


With the coming in place it was time to finish sand and apply varnish. I sanded everything to 180 grit before applying the first coat of varnish, thinned 50%. The next coats are thinned about 20%. The Epifanes instructions call for 10%, but I find 20% works better for me. The stuff is incredibly thick un-thinned. The following photos were taken after three coats.


I'm finishing the hatch, also of African mahogany, separately.


A drip lip at the front and rear of the cockpit will divert accumulated spay or rain through small limbers in the coming.


The coming angles outward about 8 degrees in an attempt to provide a somewhat comfortable backrest when seated on the floor.


I plan on eight coats of varnish before flipping the boat and painting the bottom. To say I'm anxious to get her in the water is an extreme understatement.


Thursday, April 7, 2016

About time...

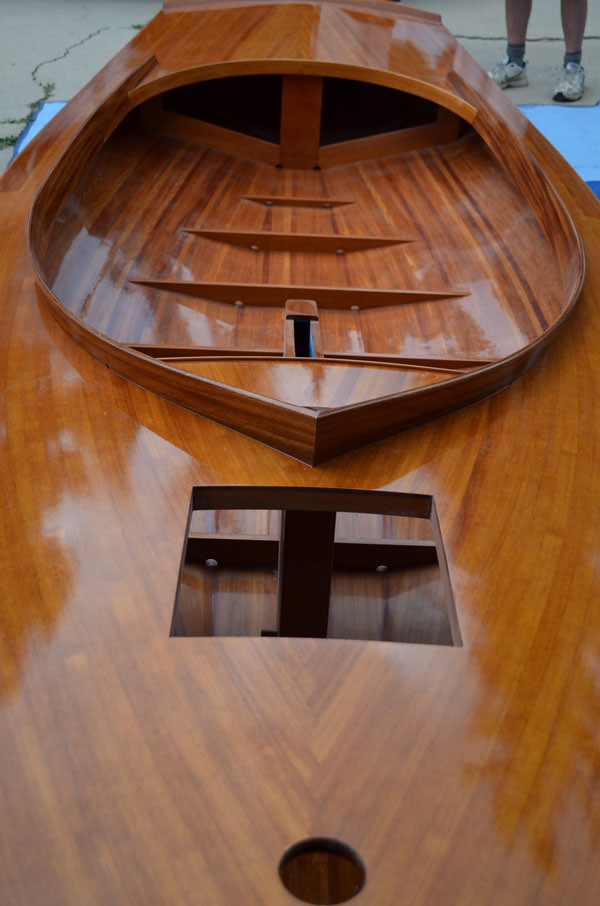
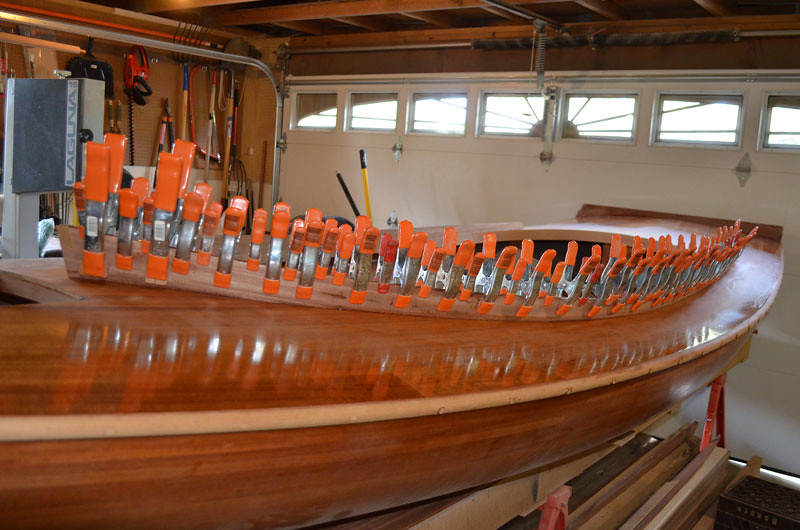
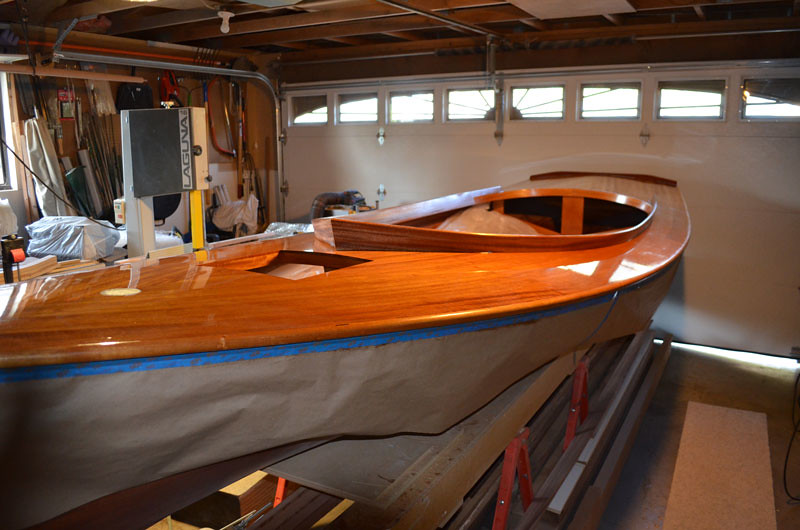
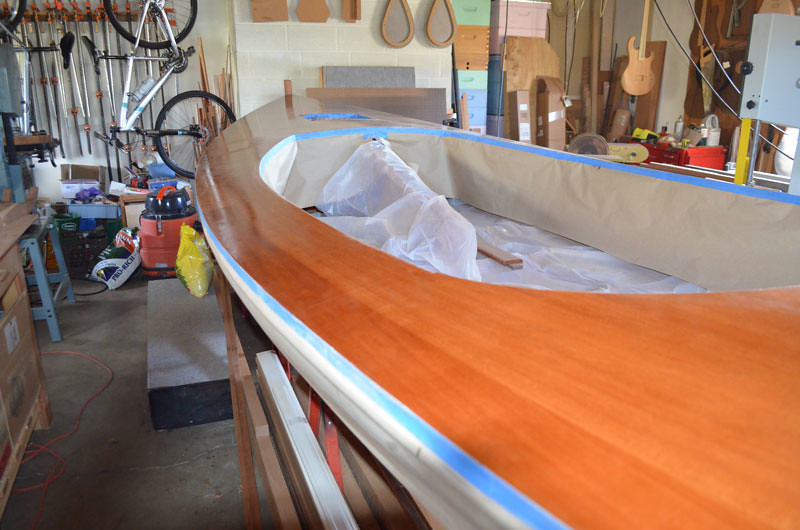
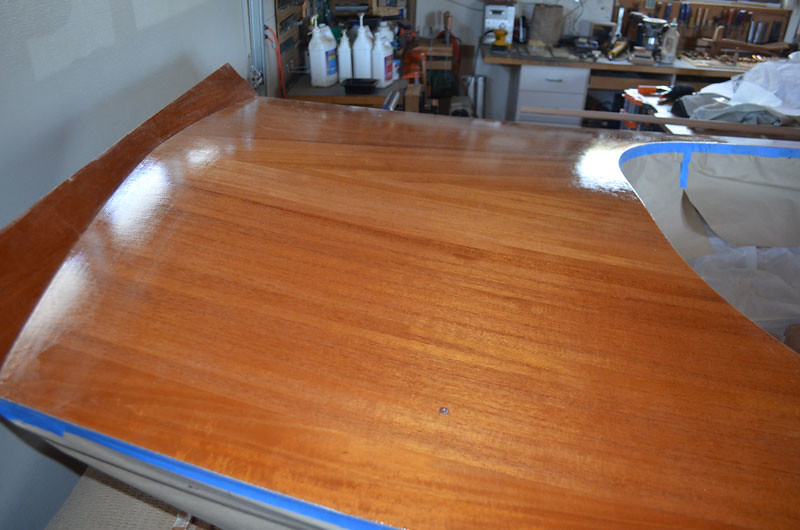
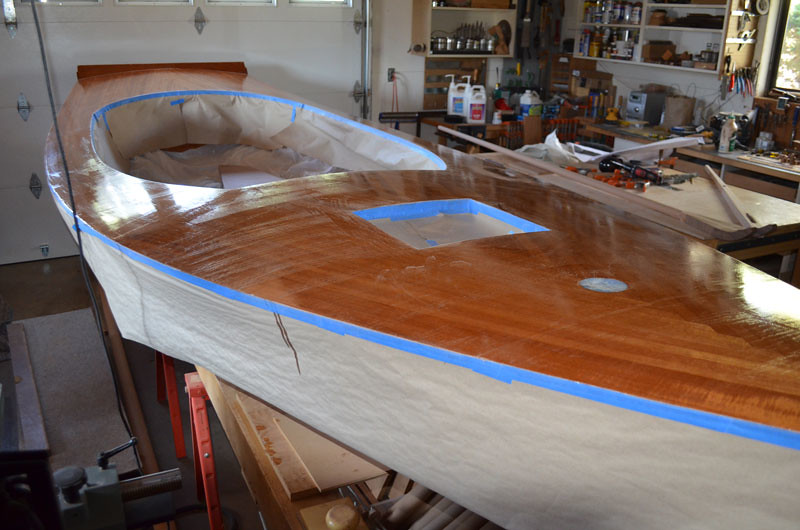
I've neglected the blog for awhile but progress has been made, albeit slowly. The deck is now covered with 6oz fiberglass and epoxy. I took the following images after the third coat of epoxy.


The rough surface will be finish sanded before applying varnish.


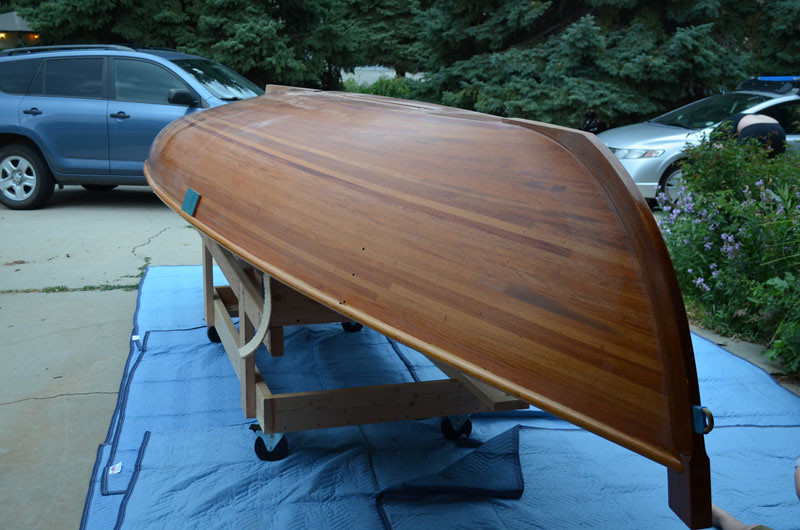
I will need to flip the boat and paint the bottom before installing the coaming and hatch. The centerboard and rudder foil will also be painted to match the hull.


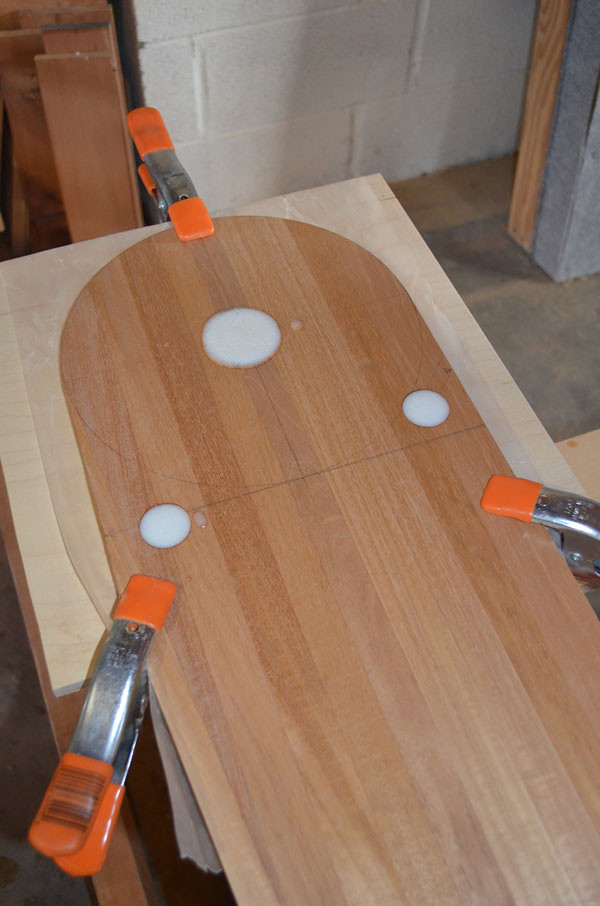
The rudder has been an interesting project. In keeping with my tendency to make things more difficult, I decided on a retractable rudder instead of the simple barn door type specified in the plans. To this end I added a retractable foil, keeping the general shape and size of the barn door arrangement when the foil is up. The foil is manipulated by a single line, in the form of a loop running up through the tiller, and attached to the foil at both ends. (the small holes)


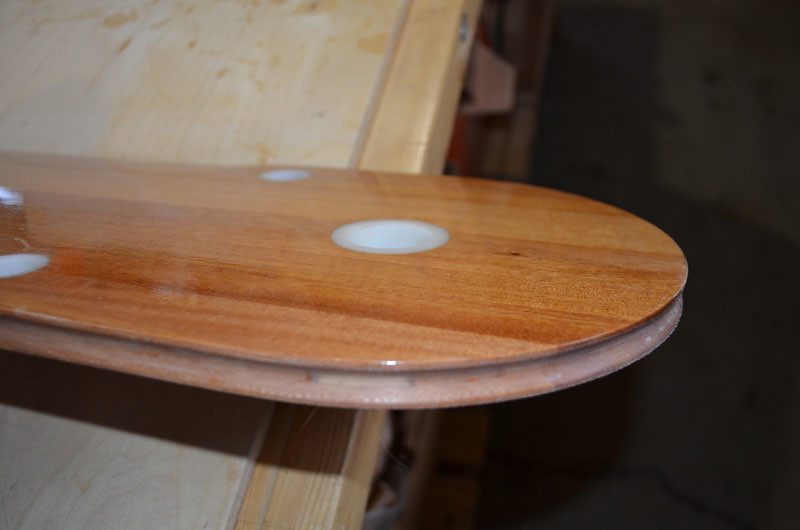
The foil will pivot on 1 1/2" round high molecular weight polyethylene. The white colored material is epoxy strengthened with silica. Before the foil was glassed I drilled oversized holes and poured the epoxy. After the epoxy cured the foil was glassed and the actual holes drilled, creating a hard waterproof barrier.

 
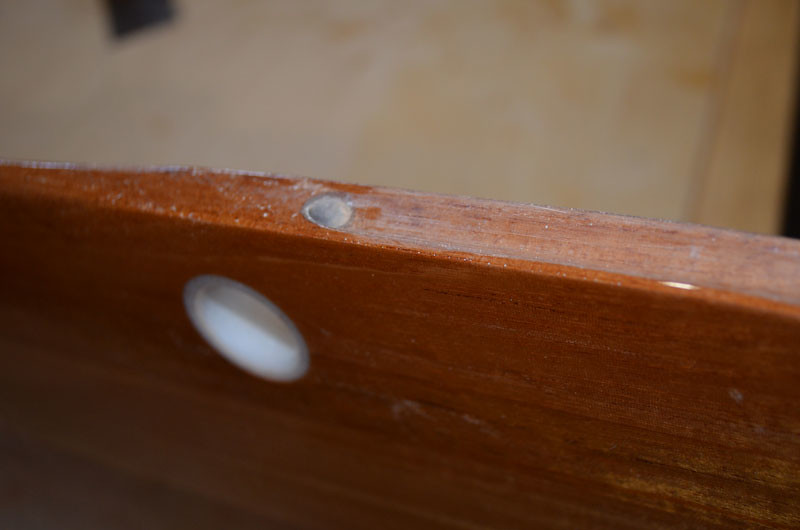
The finished product.
 
 
The foil is shaped like a pulley at the top to accommodate the control line.


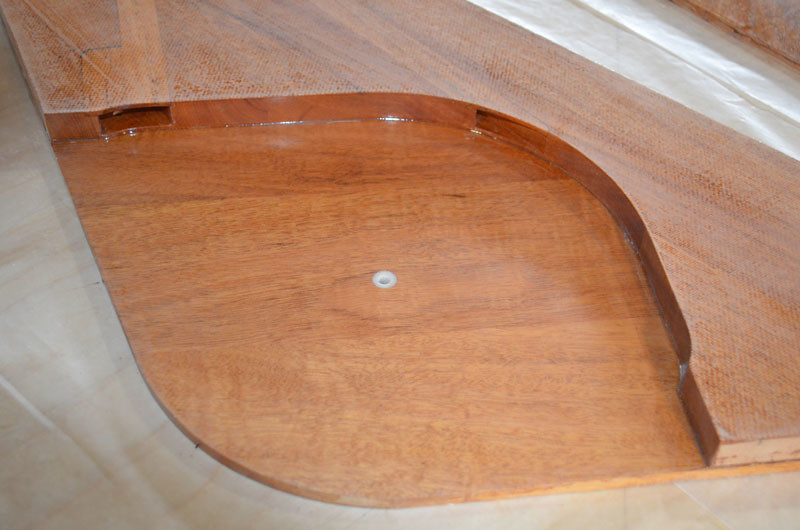
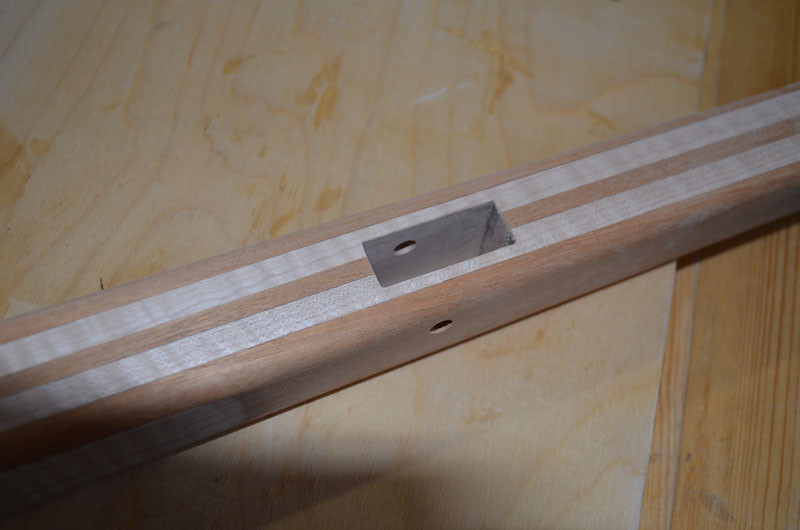
The pivot rod is attached to the rudder housing, shown below, with a 1/4" carriage bolt. 


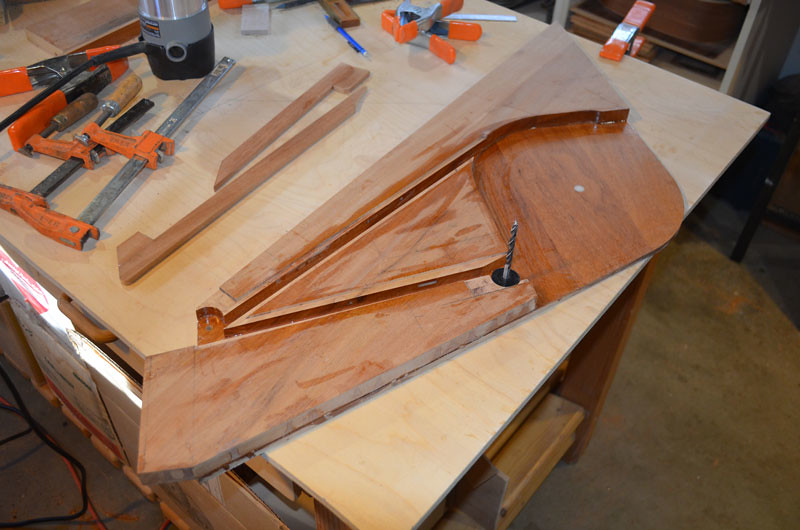
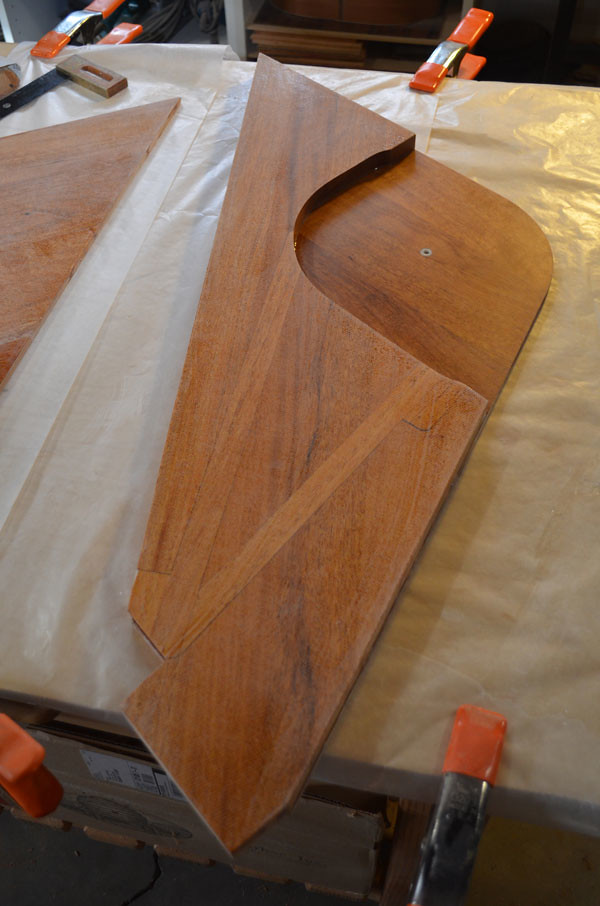
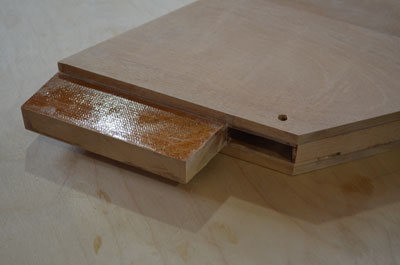
The housing must be water tight, so all surfaces are glassed. I had to do this in steps. The center layer is 3/4" mahogany with glass on both sides. The outer pieces are 3/8" mahogany, also glassed on both sides. The center layer contains two 1/2" x 1/2" channels for the control lines as well as two sheaves to redirect these lines. These can be seen below.


After sealing the channels with 3 coats of epoxy I applied cover strips and another layer of fiberglass. Now I'm ready to glue on the other side.

 
Another view of the internals.


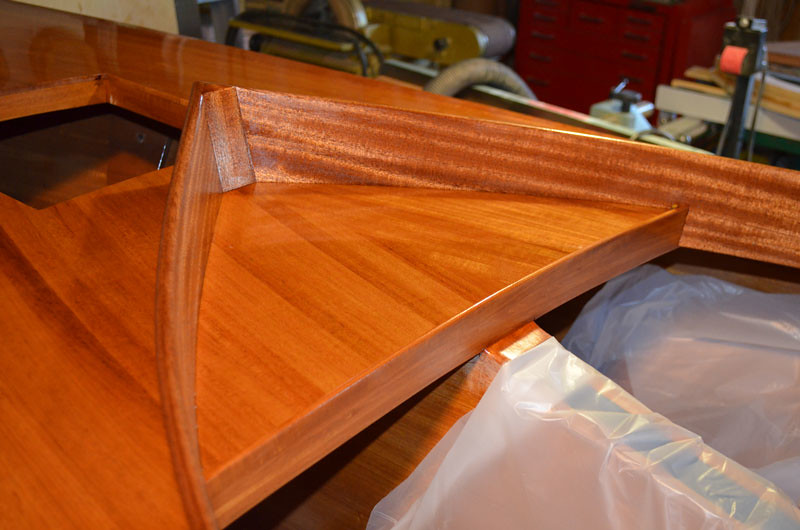
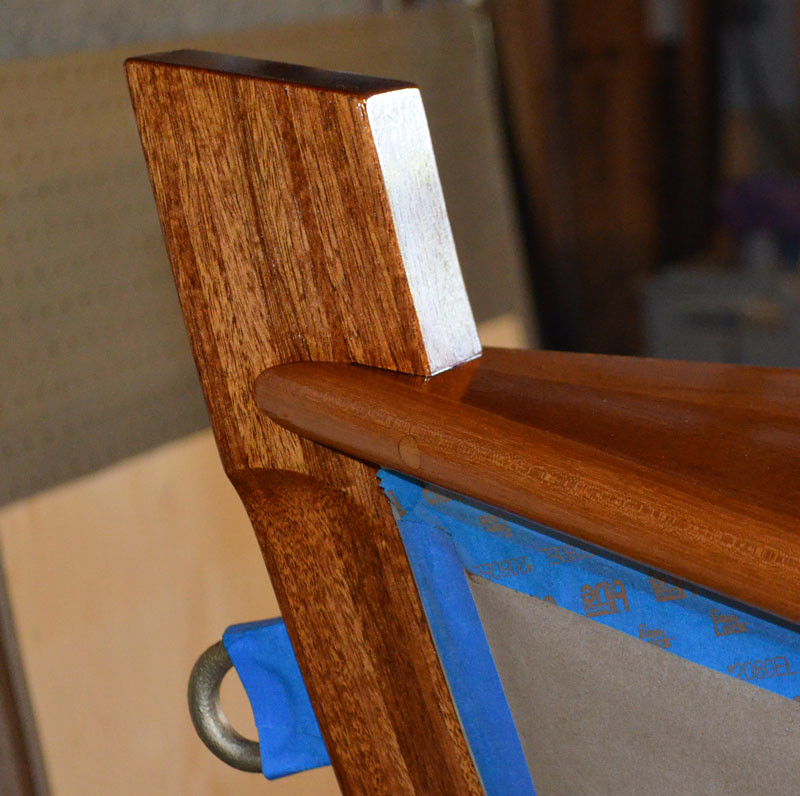
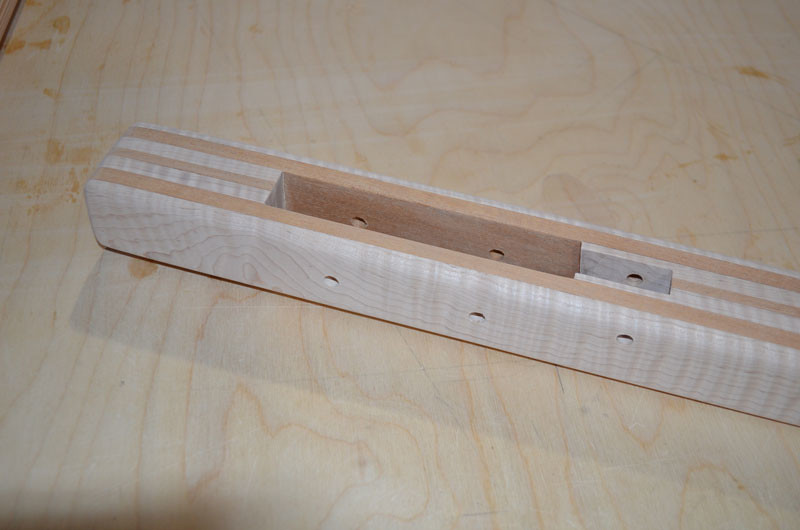
The tiller attaches to the tenon shown below.


I had some nice maple laying around which I combined with mahogany for the tiller.


The slots seen on the top will accommodate sheaves for the foil control lines.


A closer view from the top.


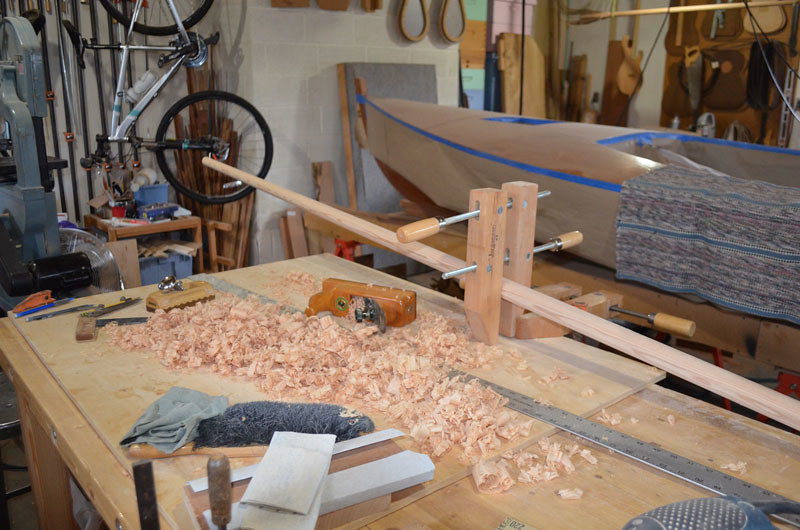
My next chore was to fabricate the boom and gaff spar. Both are solid Douglas Fir and tapered. This provided a chance to have some fun with my hand plane.


I was very lucky to find such wonderful straight grained material locally.


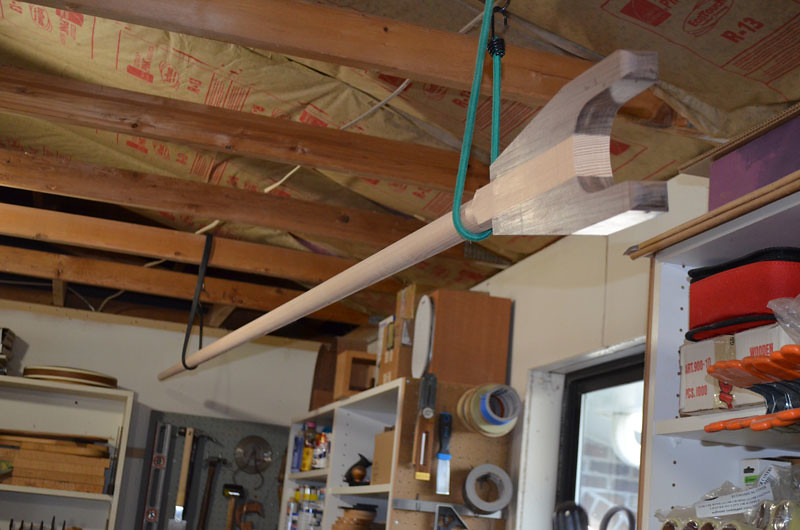
The boom (shown below) is 11' 6" in length and tapers from 1 1/2" to 1 1/8". The gaff spar is 8' in length, tapering from 1 3/8" to 1".


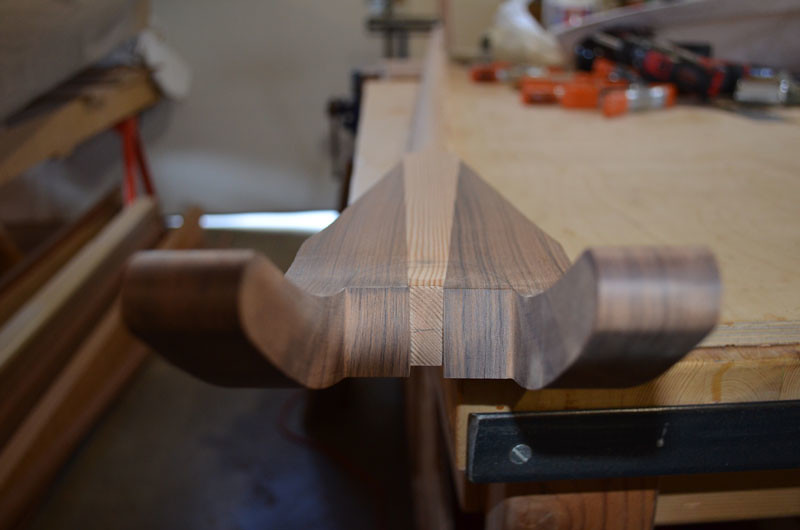
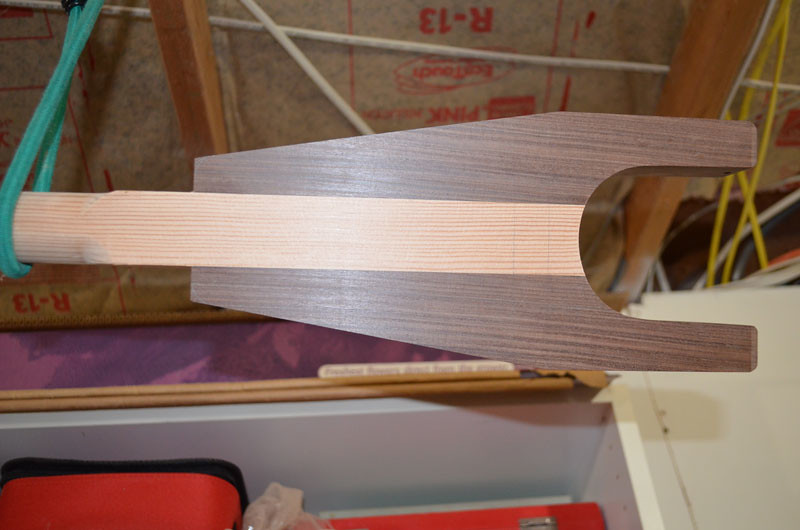
Both have wooden jaws that fit around the mast. However, the angle of the gaff spar requires a slightly different shape.


I used a very hard wood, known as Pau Ferro or Morado, for the jaws. This wood comes from South America and is very durable.


Next up, paint the hull...  oh boy!