If I had heeded this advice I could have saved myself a heap of pain and lost time. My lengthy hiatus from this project was the result of a self imposed back injury sustained while attempting to move an old upright piano. I've injured my back before, but never like this. My wife says I like learning the hard way and she might be right. Thankfully, it seems to be healing, albeit slowly.
My injury occurred just after I started varnishing the interior. Because the deck will limit access to some areas in the bow and stern, my plan was to completely finish the interior first, then add the deck. I chose Epifanes standard gloss varnish as it seems to have a good reputation for durability and UV protection. I read many strong opinions, regarding varnish, at the wooden boat forum. Some folks seem to love the Epifanes product while others hate it. I will say the learning curve is steep with this product.
My experience with varnish is limited, but I've sprayed a lot of nitrocellulose lacquer in my time. Comparatively, varnish is vastly more difficult and labor intensive to apply. The lengthy dry time makes it almost impossible to avoid dust in the finish. Developing good brush skills takes much time and practice. I struggled with getting the viscosity right to eliminate brush strokes and sags. Some folks say a good varnish job is 90% preparation and 10% application. This seems to be true.
I think I spent about three months in varnish "hell". My goal was eight coats and it seemed like I was in some kind of time warp. Minutes to hours, hours to days, days to weeks, weeks to months. Sanding between coats seemed to take forever. I quit logging my hours because it was so depressing. Somewhere along the way I even forgot how many coats I'd applied. I'm still not completely happy with my work, but the interior is at least well protected.
Things I learned about Epifanes varnish.
1. It needs to be thinned between 15% and 25%, using Epifanes brush thinner, depending on temperature and humidity. Just a few degrees difference in temperature seems to make a big difference in how well the product flows. I found adding about 5% retarder, called Epifanes Easy Flow, really helps.
2. You don't need a $40 brush. I started out using an Epifanes brush that was absurdly expensive. The best brush should provide the best results, right? After four coats, frustrated and still unable to get the results I wanted, I tried a nylon brush from home depot. The softer nylon brush left noticeably fewer brush marks and cost only $12.
3. I hate varnish! What a pain in the ass. If I ever build another boat, I'll be looking for a more modern, user friendly alternative. The Epifanes product does have a gorgeous dark honey color that looks great on mahogany.
The Outer Stem
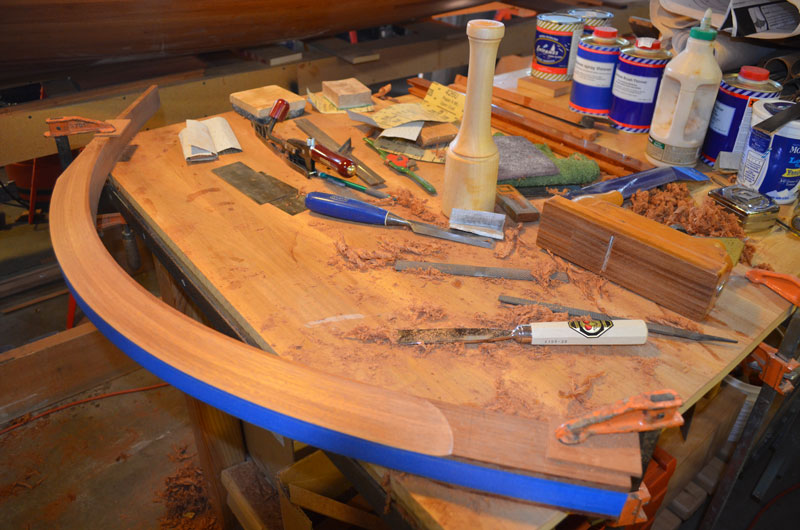
With the varnishing behind me I've happily moved on to other things. The king plank was left loose for better access while varnishing. Before I glue it in place, I need to install the outer stem as this area will be very difficult to access afterwards. Early on I drilled four holes in the inner stem so it could be held in place while the hull was planked. The same holes will be utilized, using 2 1/2" bronze screws, to position the outer stem while the epoxy cures.
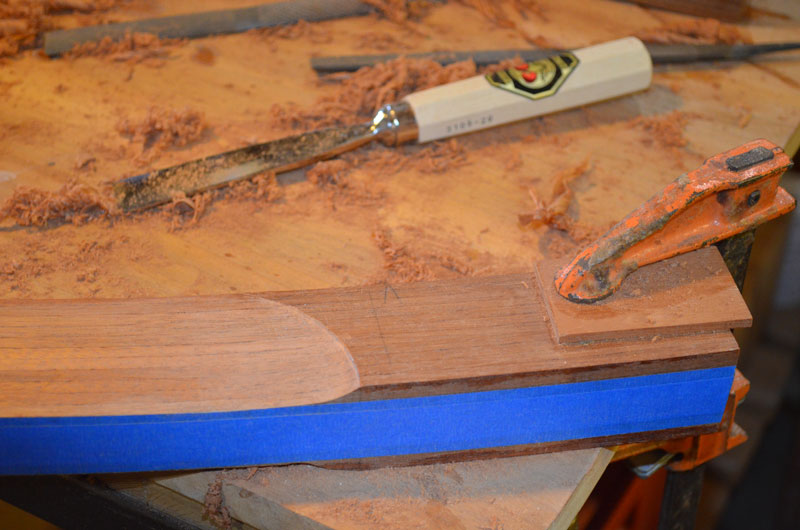
The inner and outer stem were laminated at the same time, using the same jig. I simply put wax paper between the two components. Because of this, there was a minimal amount of fitting to do. The outer stem is run through the planer to match the width of the inner stem including planking. Next, the stem is beveled to the front edge. Brave souls might use a drawknife, but I used a rasp, following up with a hand plane and scraper.
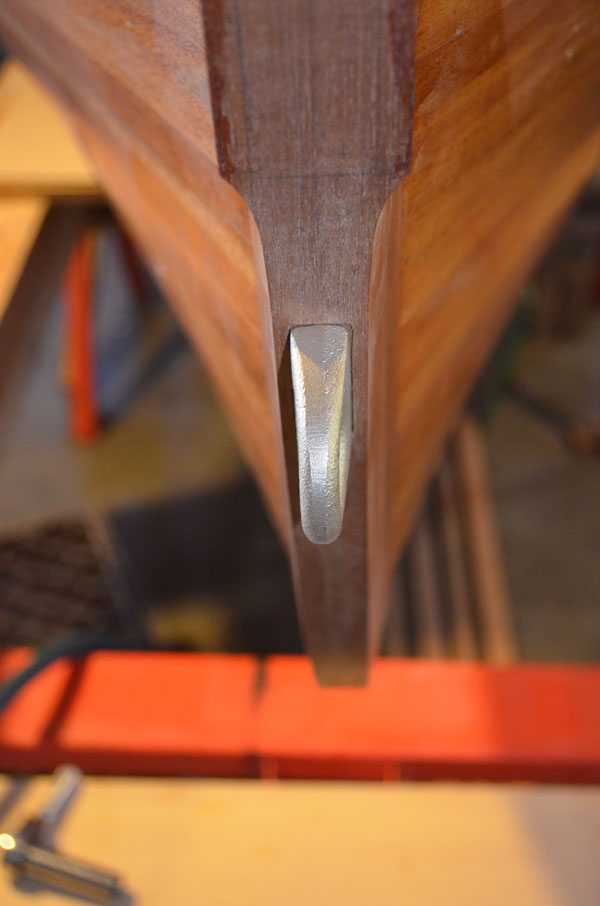
The detail where the bevel ends is accomplished with a sharp spoon gouge.
This is a lot more fun than varnishing .
I found a nice inexpensive bronze bow eye with a 3/8" x 4" stem at Hamilton Marine.
On to the deck...
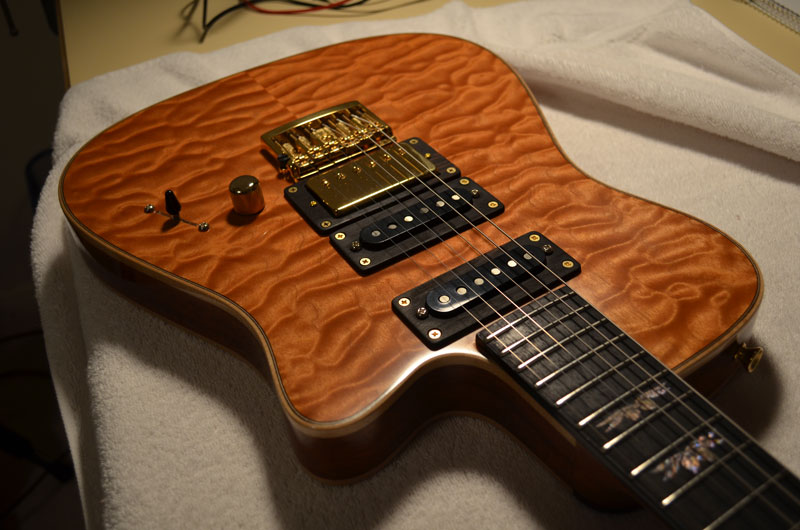
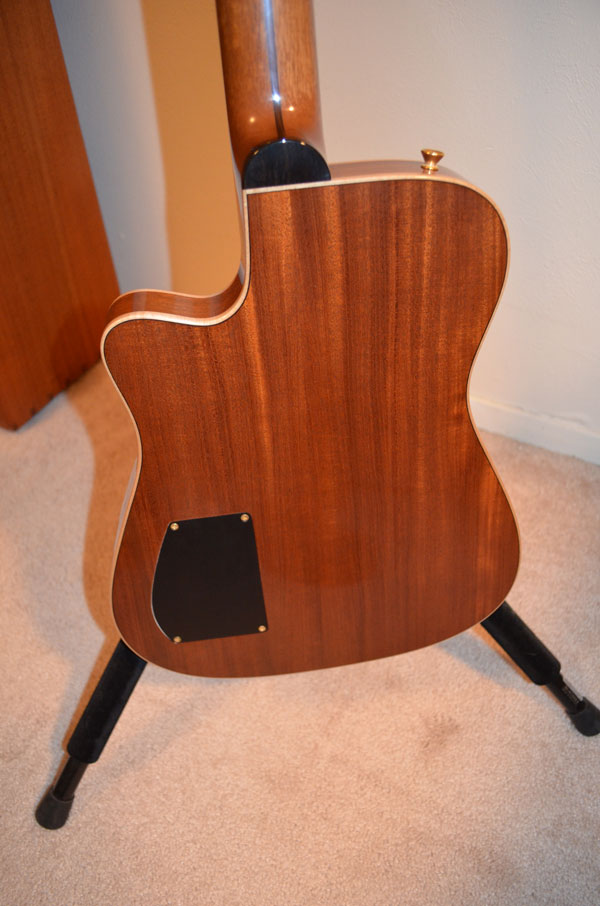
The shop has been too cold for varnishing, so I spent a little time finishing another project. A few years ago I was fortunate to find a very nice piece of quilted maple suitable for electric guitar tops. When resawn, the piece yielded three book matched tops of exceptional quality. I decided to build three instruments, sisters if you will, using my own design. The design is an aggregate of my favorite features based on 40 years as a player. A major priority was lightness, so I went with the semi-hollow body style of construction. This means the guitar body has a solid piece in the middle to limit feedback, but is otherwise built like an acoustic instrument. The idea has been around since Les Paul designed his famous 'log' in the early 40s. The Gibson ES335 is a good example of this type of construction. The body is somewhat Fender like, bell shaped as opposed to round, and overall dimensions are similar to the Telecaster. I like the simplicity and ergonomics of a single cutaway. The body depth is that of a standard solid body guitar, 1 3/4 inches.
This is the first of the three 'sisters' to be completed. I started this project before the boat and I'm excited to have a new instrument to play.
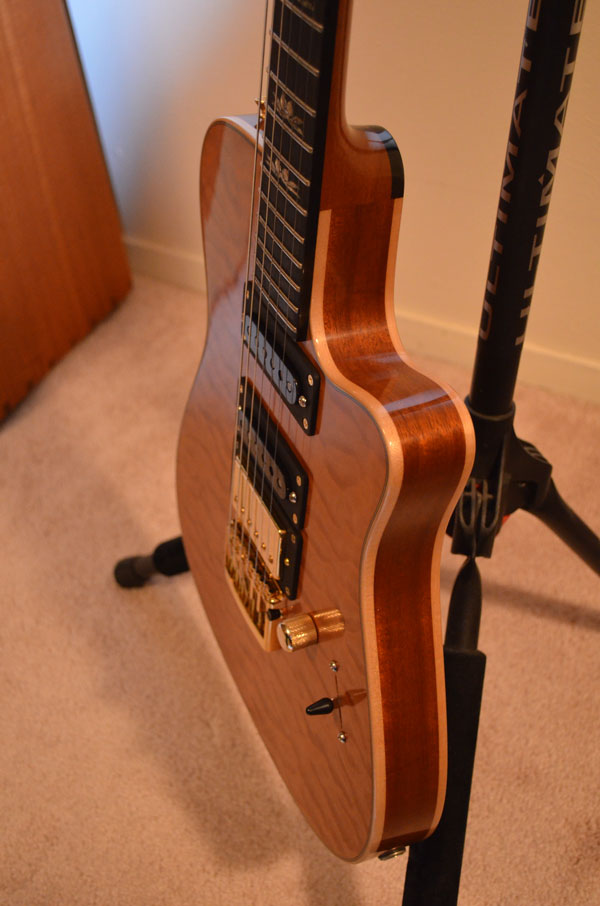
The top is lightly stained with water soluble aniline dye to bring out the quilt. The mahogany is not stained, but I did use a dark colored pore filler. The finish is nitrocellulose lacquer.
The back and sides, as well as the center block, are all made of Honduras mahogany. The bindings are rock maple and the top is bigleaf maple.
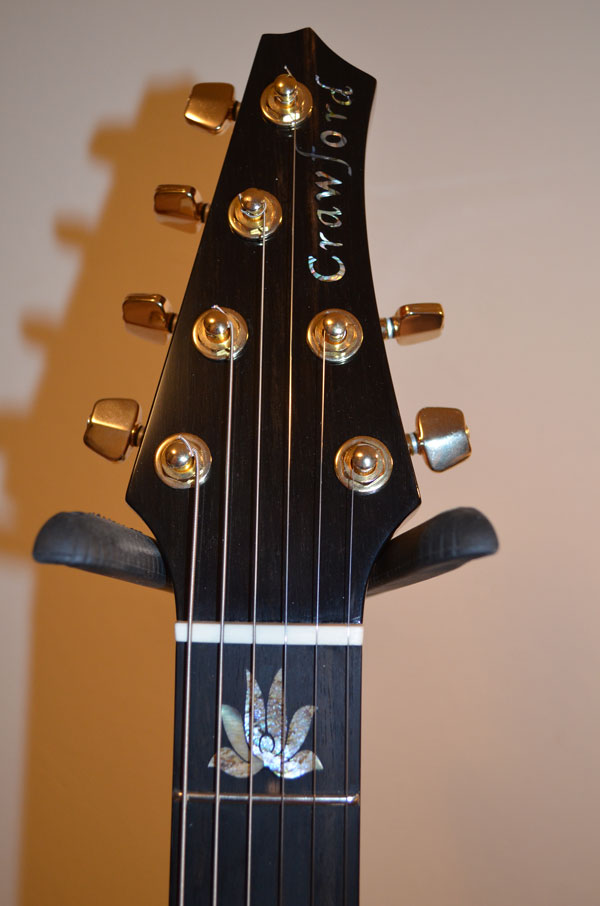
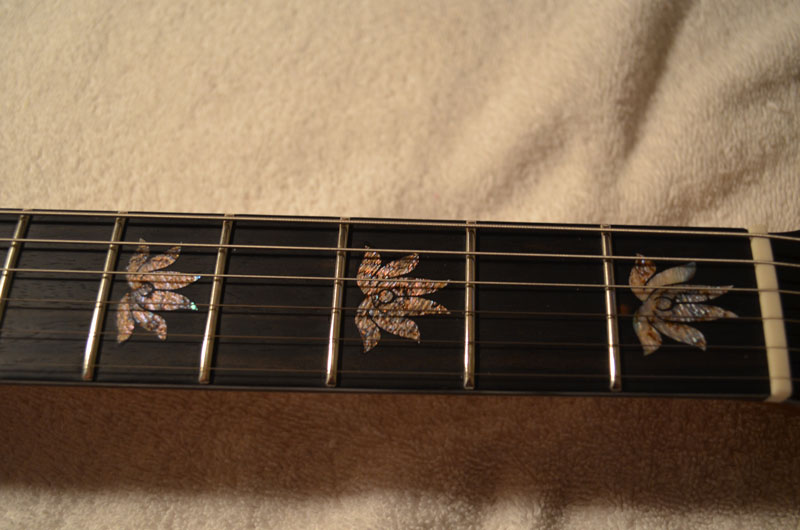
The peghead and fingerboard are of African ebony. I also used ebony for the pickup fittings and the electronics cover plate.
The shell on the fingerboard is Pau abalone heart from New Zealand. The pattern is derived from the lotus blossom.
The neck is made from two pieces of Honduras mahogany with a center strip of Brazilian rosewood. Ebony on the heal cap.
I've been winding single coil pickups for several years now, using my Mom's old sewing machine. However, the gold pickup is my very first humbucker. The recipe is based on the classic Gibson PAFs of the 1950s.
Guitars are like boats in that you can never have too many.
Now, back to the boat!
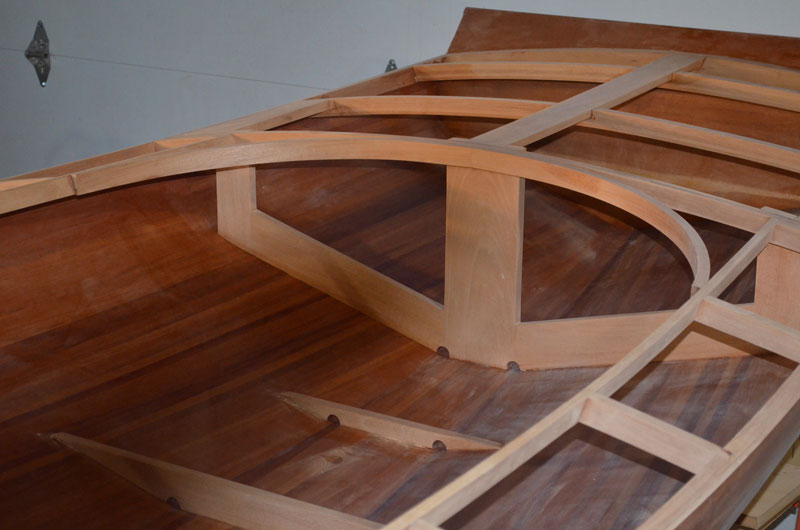
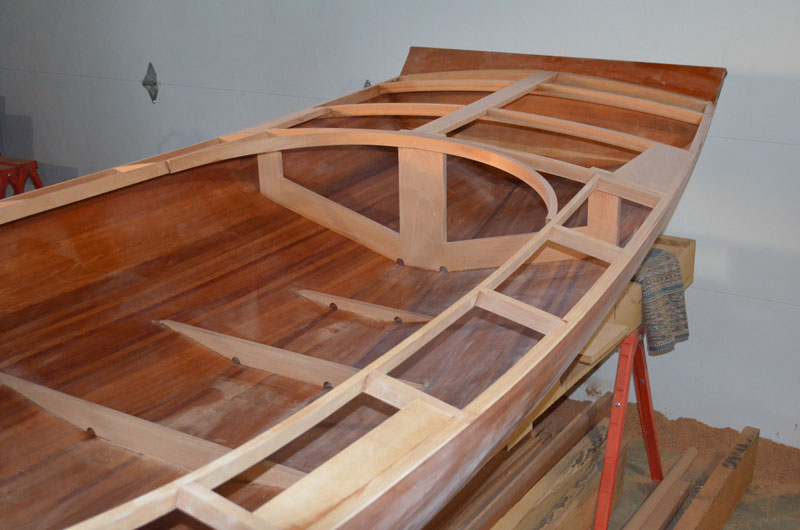
From the start I wanted to do something different with the cockpit. I spent lots of time looking around on the internet and decided on a combination of the features I liked best, pointy and round. I thought rounding the rear of the cockpit would make sense visually and ergonomically. One of the things I hoped to avoid was an uncomfortable hump, created by the combing, when sitting on the deck. The design I've settled on solves this problem.
Making the curved beams:
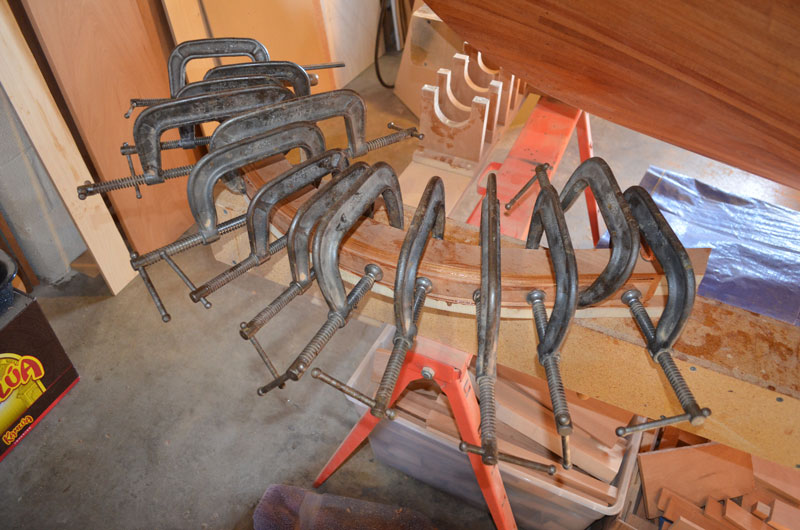
First I drew everything in full scale to make sure it looked right and to provide a pattern for the bending jig. I used 3/4" veneered MDF for the jig as I had some scraps laying around the shop. The jig should be designed to compensate for some spring back. It is difficult to get this right the first time as spring back varies with material and thickness. A coat of wax on the jig prevents the epoxy from sticking.
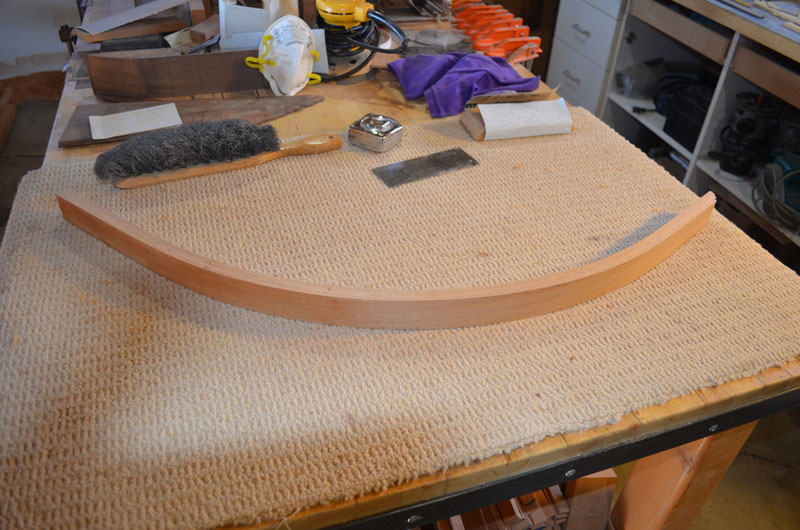
I used four pieces of mahogany, 3/16" x 1 5/8" x 32"+, for each curve. The final thickness is roughly 3/4". The pieces will finish at 1 1/4" in the other dimension but must be oversized to accommodate the curve of the deck.
Spring back was a bit more than I expected, but workable.
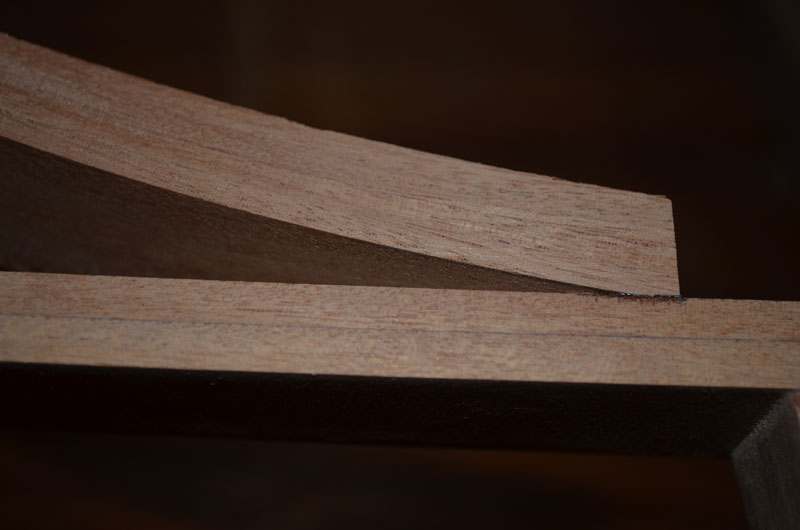
Fitting the curved pieces provided an interesting challenge. I clamped them in place to capture shape of the deck and was able to use my stationary sander to rough out the finished shape. I usually prefer to have the work as close to the finished dimensions as possible before gluing, however, in this case I think it will be easier to machine the bevel after the pieces are permanently attached.
The end of the curve will be flush with the inside of the combing when everything is finished.
With this work complete I
can move on to varnishing the in interior.