Beautiful weather on Friday
provided the opportunity to free the hull from the mold. I've been wondering how
much it would weigh at this stage and was pleasantly
surprised to find it is fairly light. I’m
guessing 70 to 80 pounds, quite easy to move with two people.
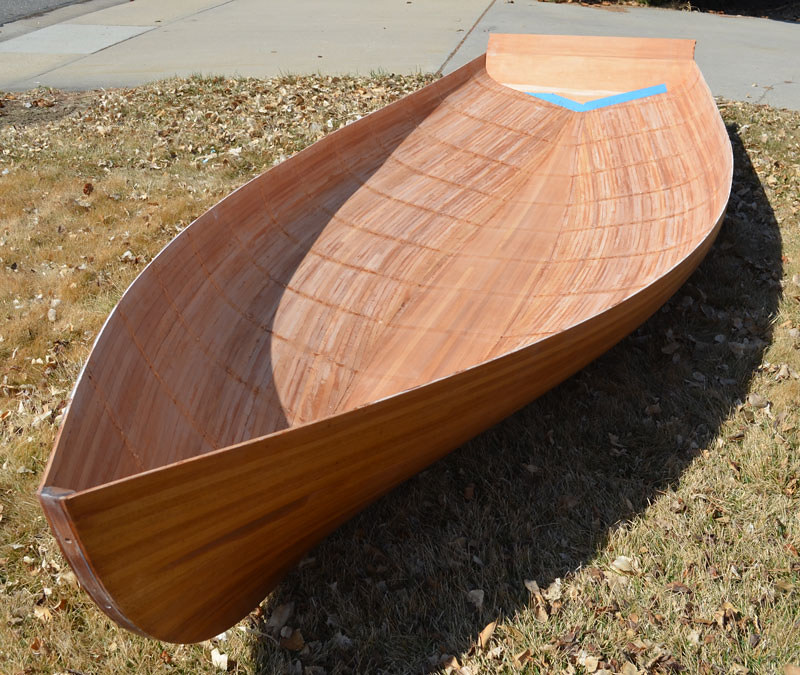
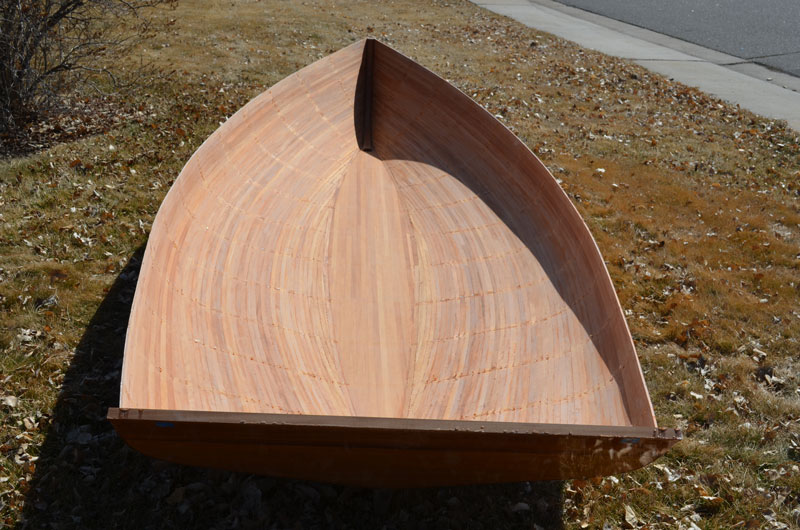
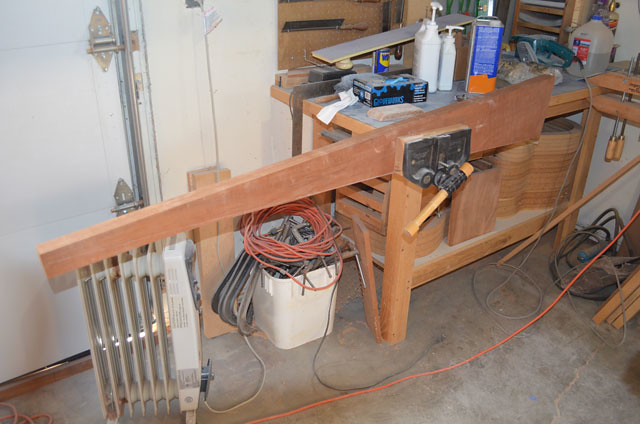
A friend and I moved the hull outside while we disassembled the molds. The boat will now be flipped over so I can prepare the inside for fiberglass.
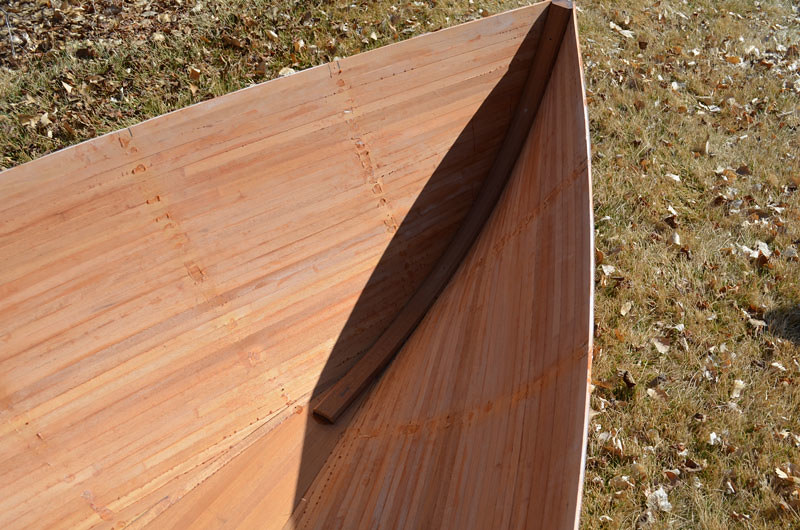
I see quite a bit of scraping and sanding in my future...
Especially around the inner stem...
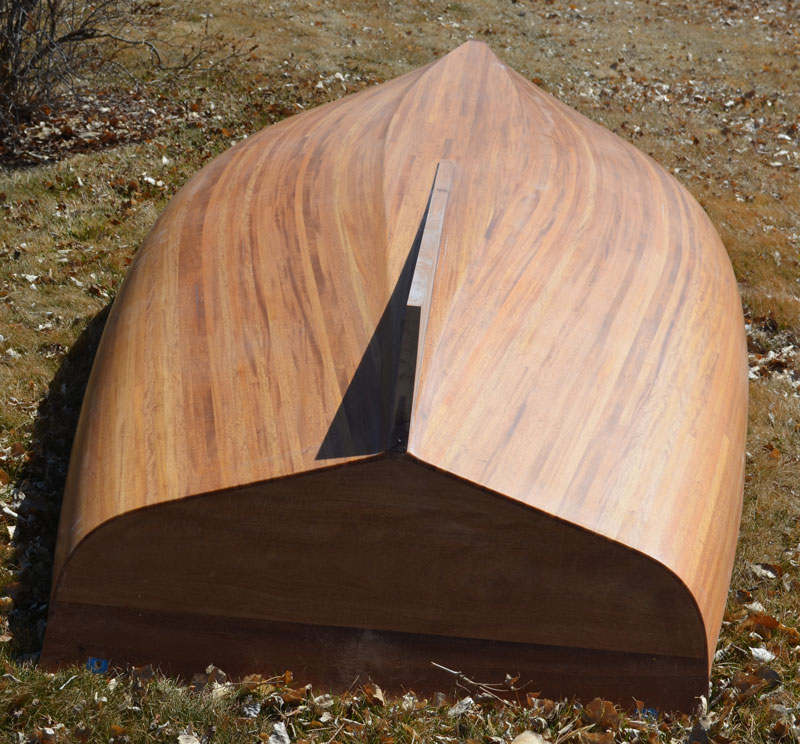
It's really great to finally see the boat in the upright postion!
A short rant on epoxy
Sometimes we do things against our better judgement for reasons that seem quite logical at the time, only to regret our choices later. I hope this is not true of my choice to build with fiberglass. My misgivings date back to the days of polyester resin and I can honestly say if modern epoxy had not come into use I definitely would not be using fiberglass. When I was a cabinetmaker I looked at epoxy as the slightly less evil cousin of Bondo, a really nasty product used mostly in the auto repair business. While modern epoxy is much less toxic, it is still very unpleasant to work with. As of late, I'm wondering if it is really worth all the effort in the long run. Epoxy must be protected from UV in the same way wood must be protected from water. Both require a quality topcoat to stay in good condition. It's true the fiberglass adds some strength and abrasion resistance, but a well maintained traditional boat will probably last just as long. The promise of fiberglass and epoxy is light weight durability and ease of maintenance. I hope this proves to be true.
After a final coat of epoxy the boat kind of resembles a bowling ball; as far as the finish goes. The epoxy dramatically enhances the natural chatoyancy of the mahogany.
I'm eager to get beyond the fiberglass. No matter how much I vacuum, the shop is perpetually covered with a thin coating of epoxy dust. Time to get this boat flipped over!
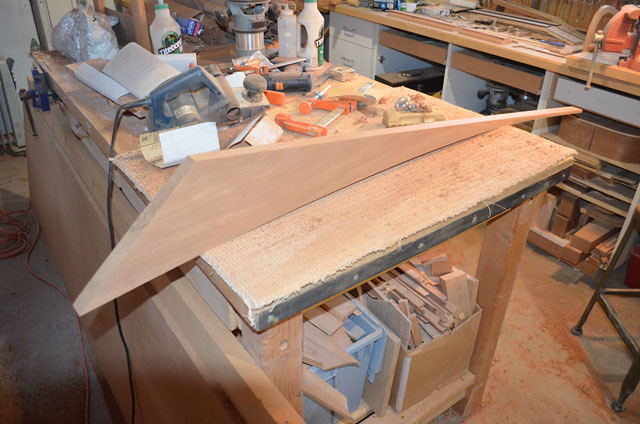
The Skeg
Barto suggests the use of 3/4" plywood for the skeg. His instructions are to laminate two pieces, creating a 1 1/2" thick blank. The blank is then tapered to 1" in two directions to form the skeg. I'm not using plywood, instead I'm using a very old piece of 6/4 mahogany that seems just right for the job. I'm not sure where this piece came from, but it is exceptionally dense and very dark in color. I've been looking for a project to use it on for years and the board is large enough to provide material for the bottom rub rail too.
My new favorite tool might be the Bosch power planer. It took a lot of the work out of the tapering process. The most difficult part was matching the curve of the hull.
I used some flexible battens to apply clamping pressure, a technique often used in guitar making, but on a much smaller scale. I have also seen this technique used in the Ian Oughtred book on clinker boat building.
In this shot you can see how the skeg is shaped. Just like a wing on a bowling ball...
The finished product.
Next, turn the damn boat over!