Thursday, April 7, 2016

About time...

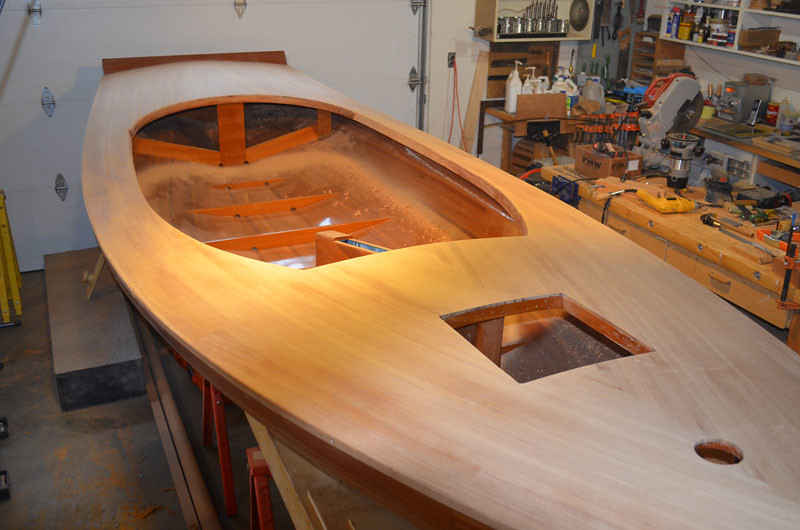
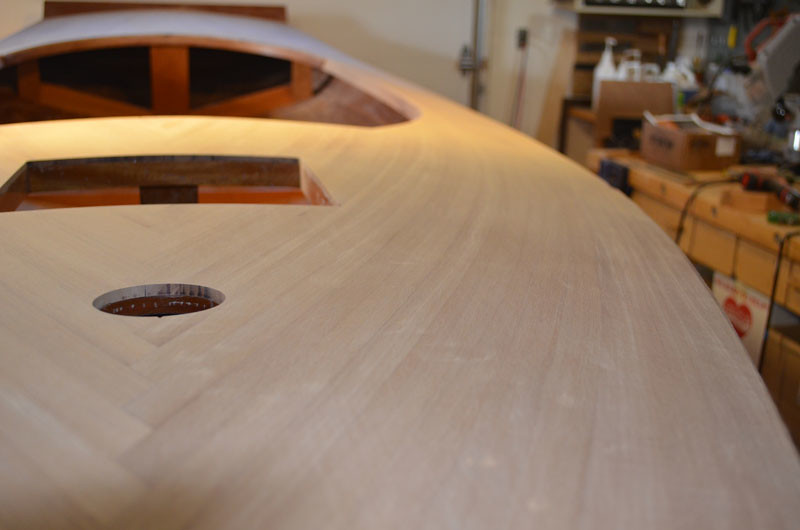
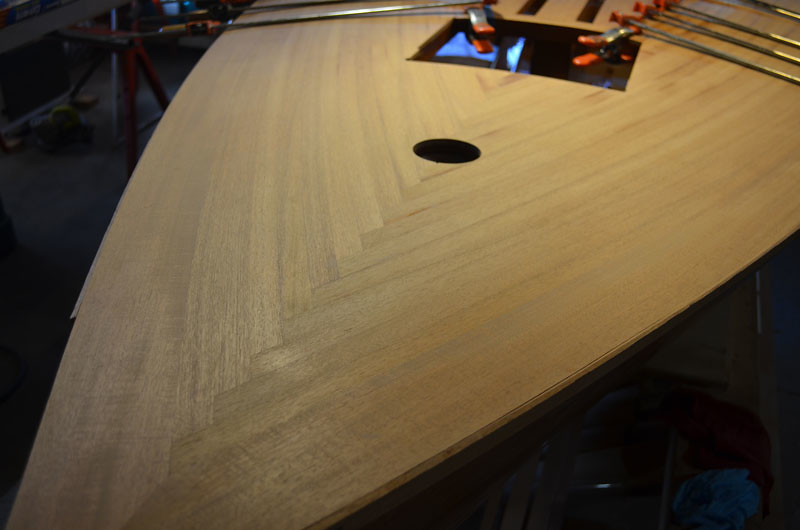
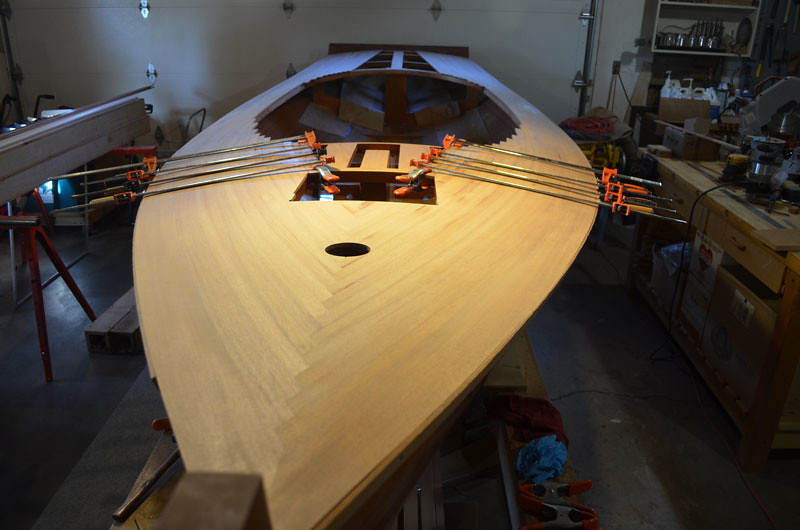
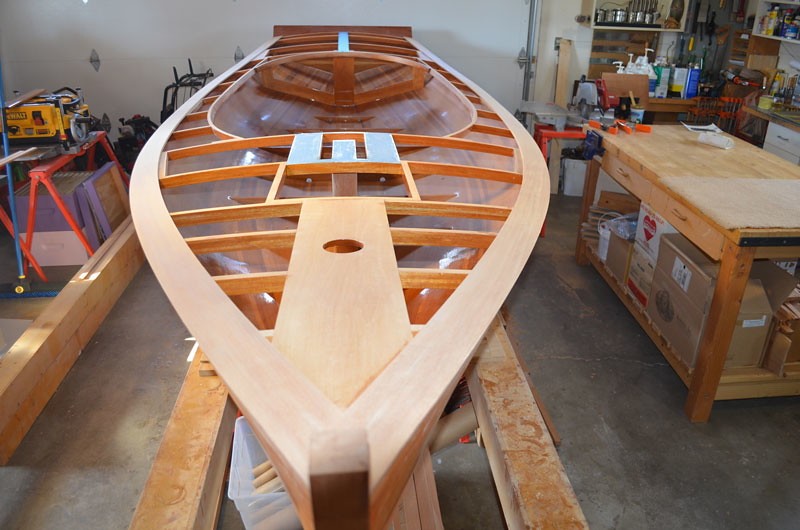
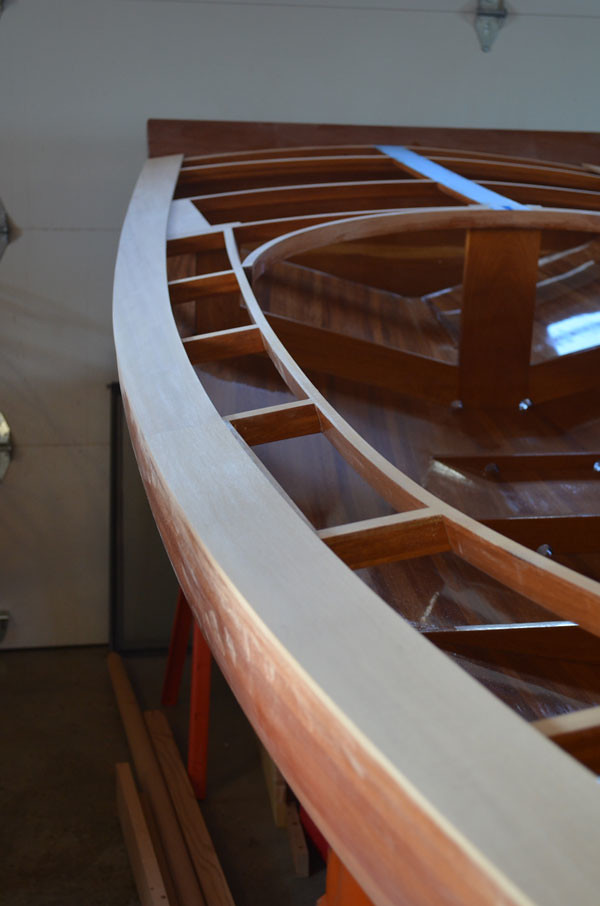
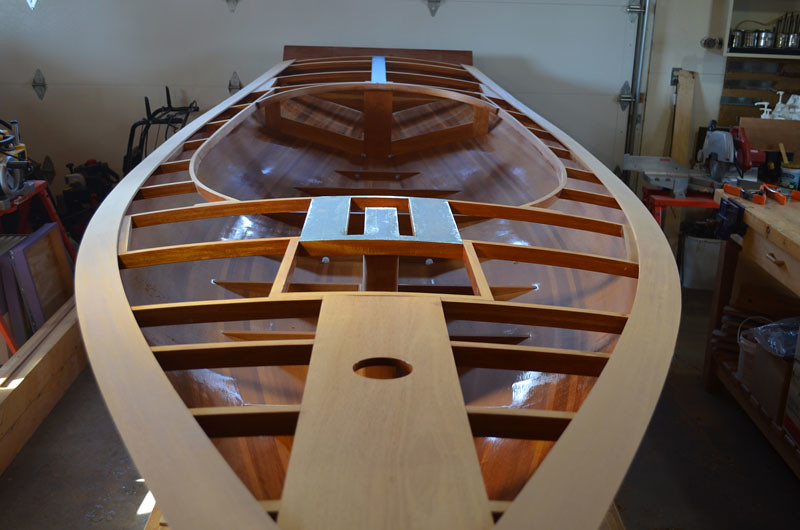
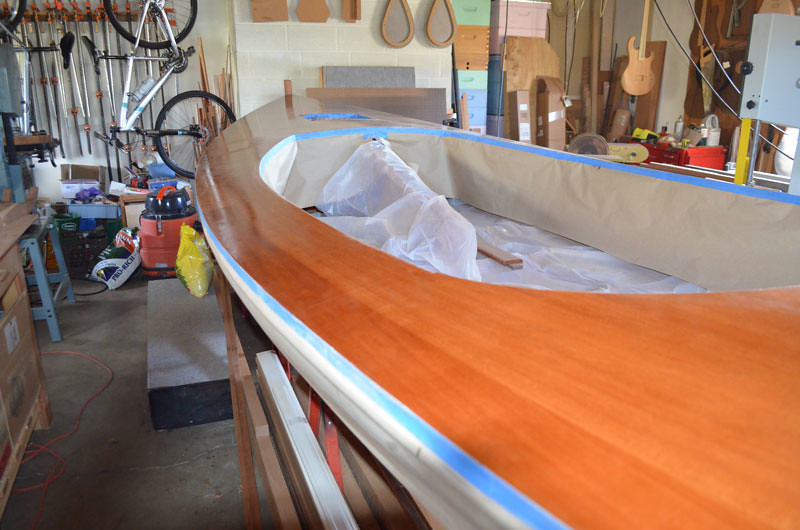
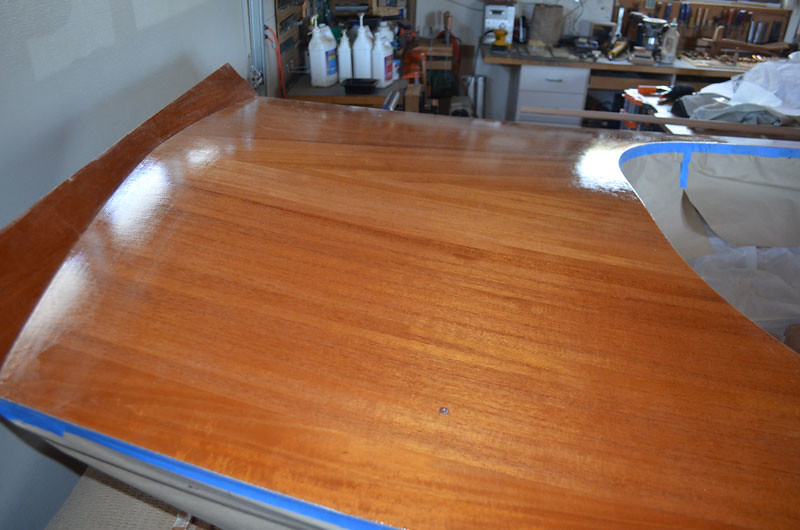
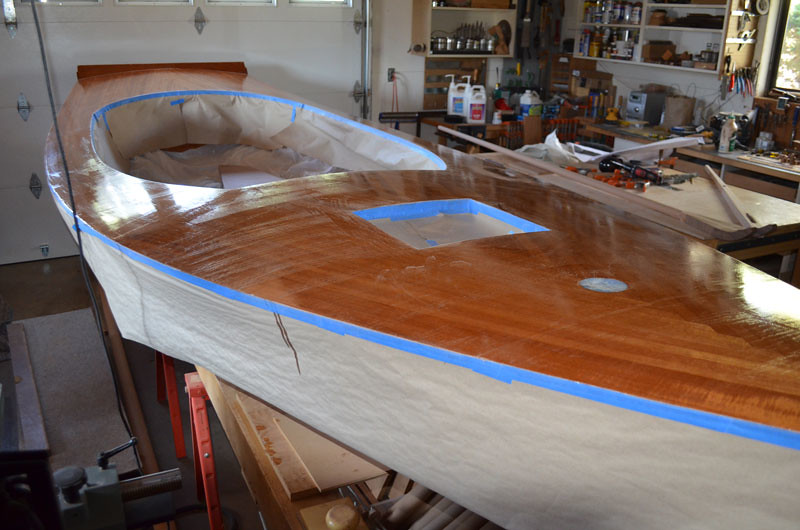
I've neglected the blog for awhile but progress has been made, albeit slowly. The deck is now covered with 6oz fiberglass and epoxy. I took the following images after the third coat of epoxy.


The rough surface will be finish sanded before applying varnish.

I will need to flip the boat and paint the bottom before installing the coaming and hatch. The centerboard and rudder foil will also be painted to match the hull.

The rudder has been an interesting project. In keeping with my tendency to make things more difficult, I decided on a retractable rudder instead of the simple barn door type specified in the plans. To this end I added a retractable foil, keeping the general shape and size of the barn door arrangement when the foil is up. The foil is manipulated by a single line, in the form of a loop running up through the tiller, and attached to the foil at both ends. (the small holes)


The foil will pivot on 1 1/2" round high molecular weight polyethylene. The white colored material is epoxy strengthened with silica. Before the foil was glassed I drilled oversized holes and poured the epoxy. After the epoxy cured the foil was glassed and the actual holes drilled, creating a hard waterproof barrier.
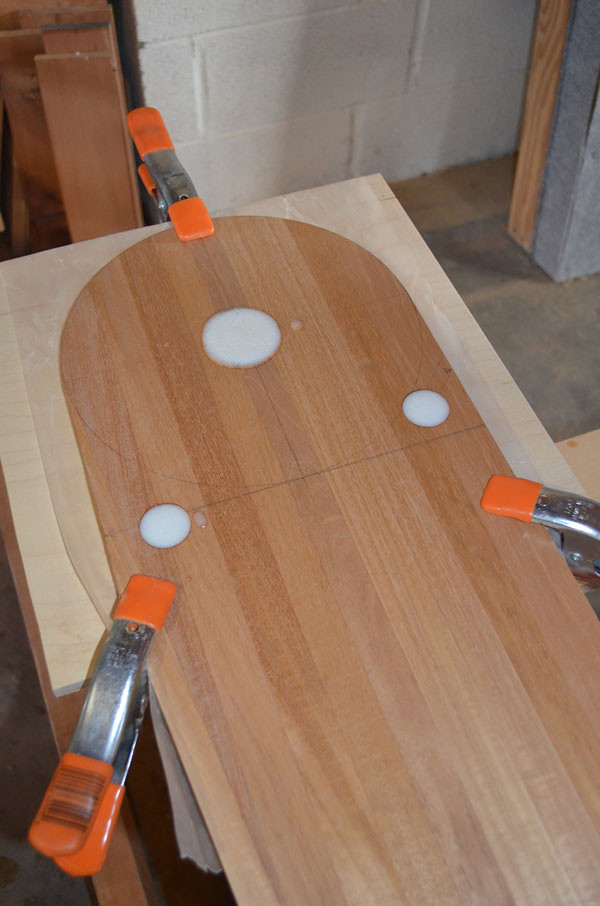
 
The finished product.
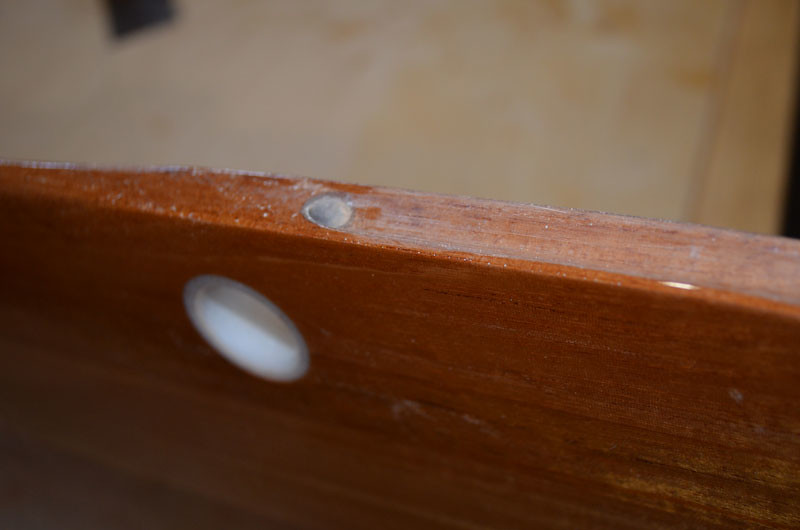
 
 
The foil is shaped like a pulley at the top to accommodate the control line.
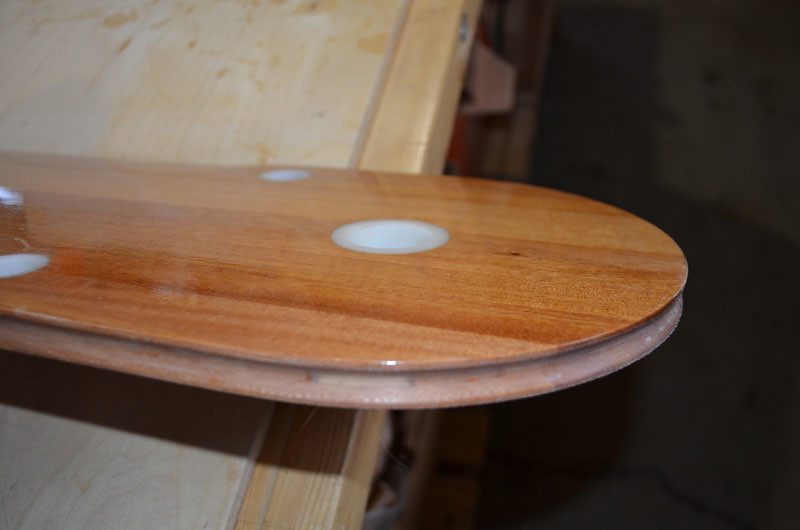


The pivot rod is attached to the rudder housing, shown below, with a 1/4" carriage bolt. 


The housing must be water tight, so all surfaces are glassed. I had to do this in steps. The center layer is 3/4" mahogany with glass on both sides. The outer pieces are 3/8" mahogany, also glassed on both sides. The center layer contains two 1/2" x 1/2" channels for the control lines as well as two sheaves to redirect these lines. These can be seen below.
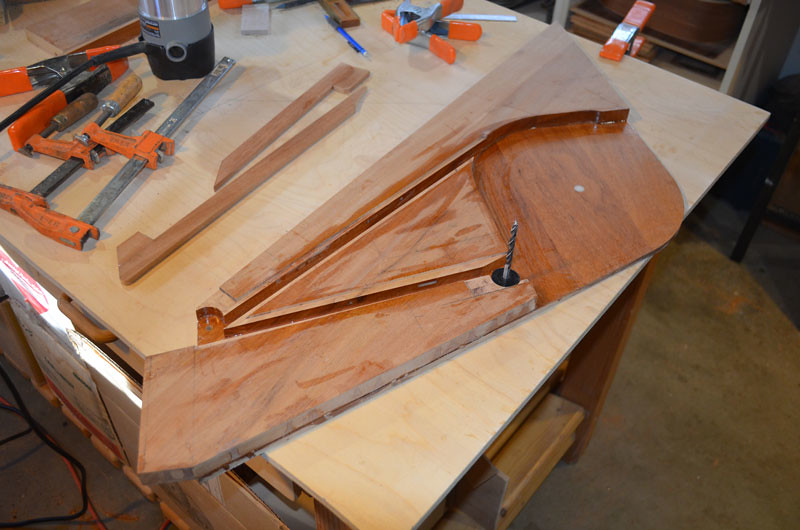

After sealing the channels with 3 coats of epoxy I applied cover strips and another layer of fiberglass. Now I'm ready to glue on the other side.
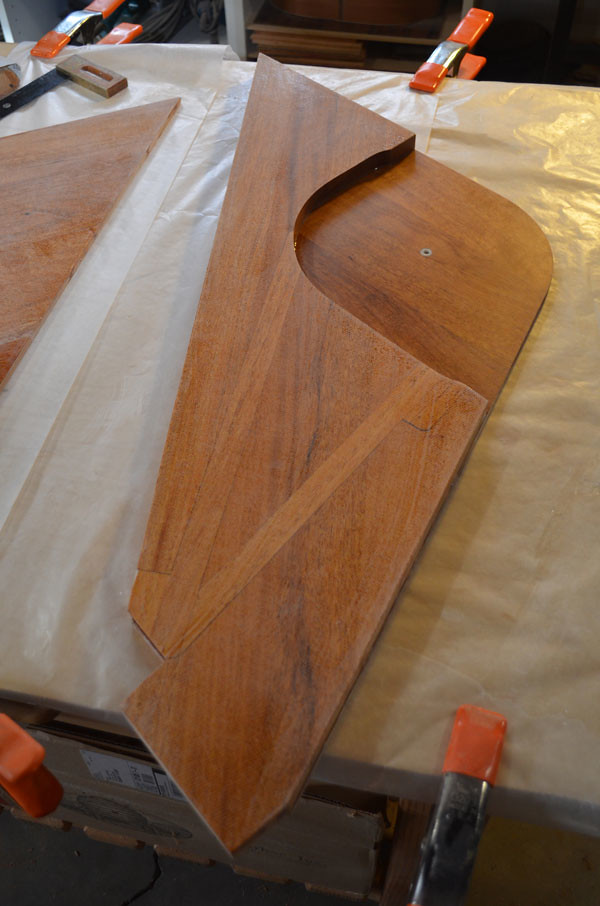
 
Another view of the internals.
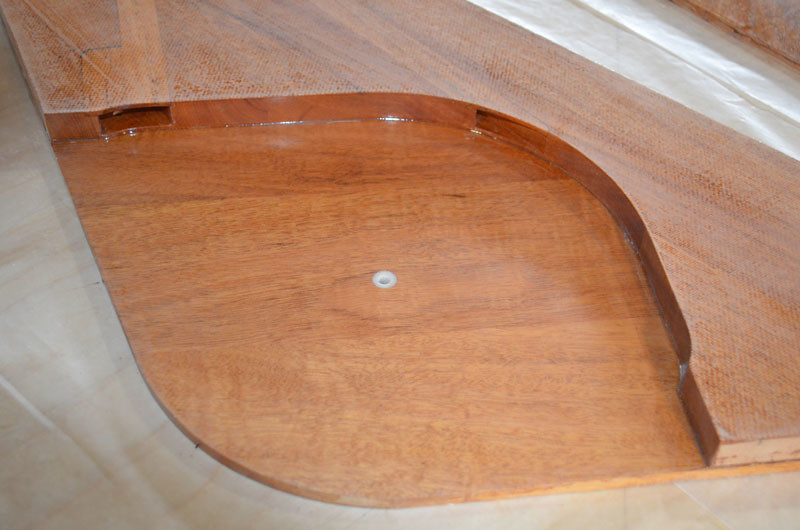


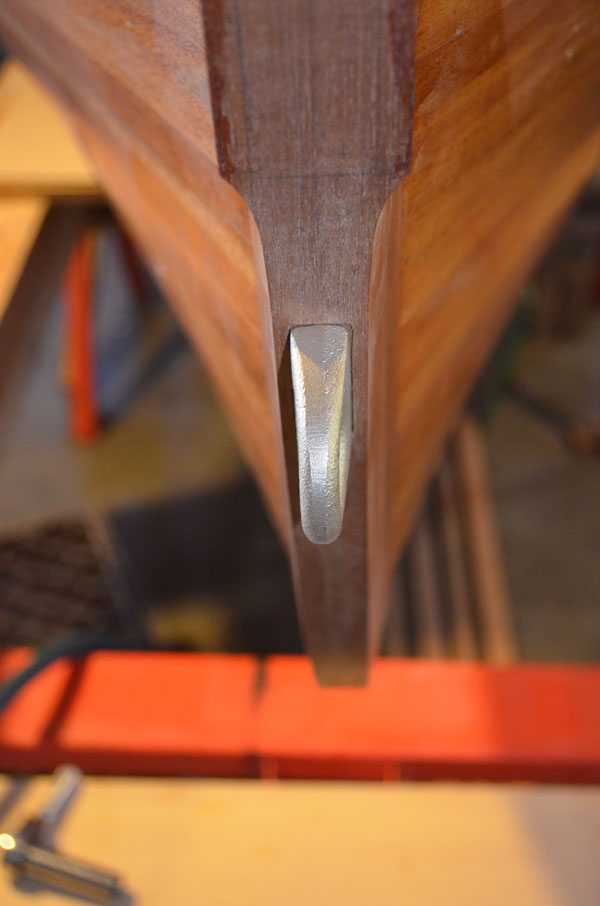
The tiller attaches to the tenon shown below.
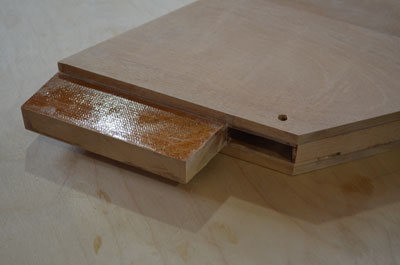

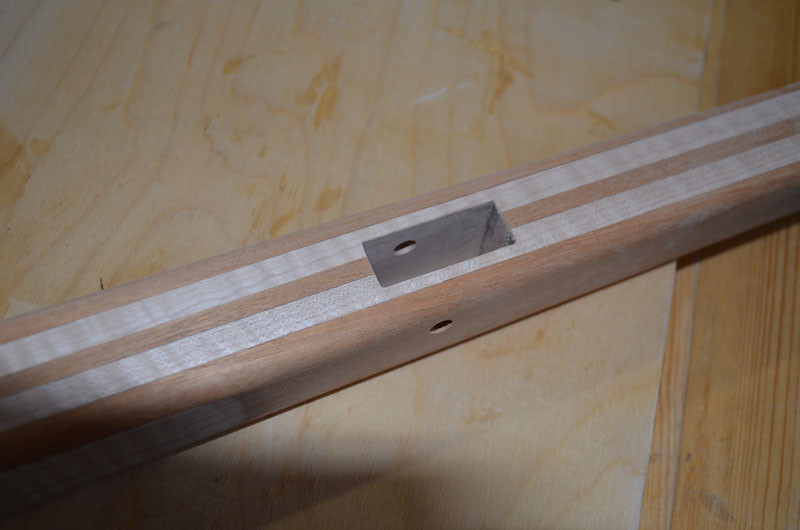
I had some nice maple laying around which I combined with mahogany for the tiller.


The slots seen on the top will accommodate sheaves for the foil control lines.
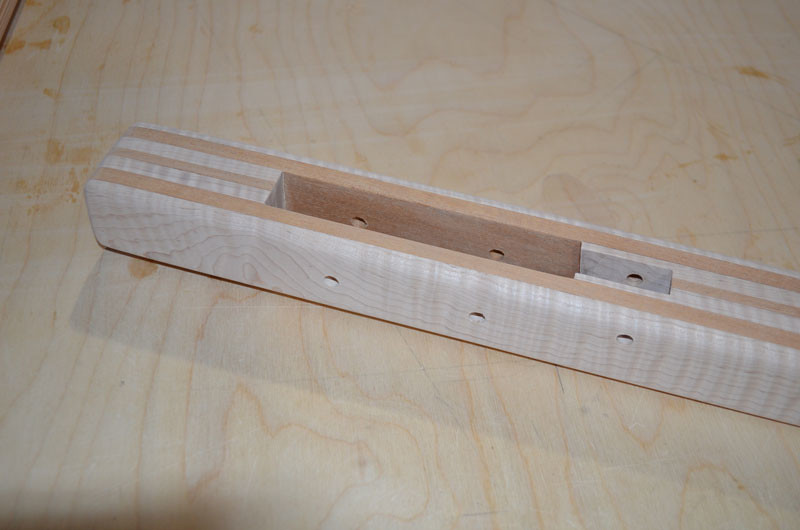

A closer view from the top.

My next chore was to fabricate the boom and gaff spar. Both are solid Douglas Fir and tapered. This provided a chance to have some fun with my hand plane.
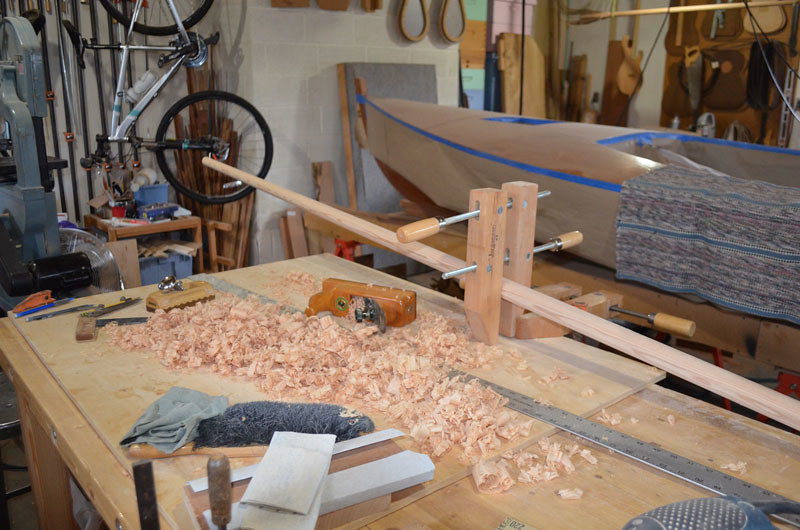

I was very lucky to find such wonderful straight grained material locally.


The boom (shown below) is 11' 6" in length and tapers from 1 1/2" to 1 1/8". The gaff spar is 8' in length, tapering from 1 3/8" to 1".
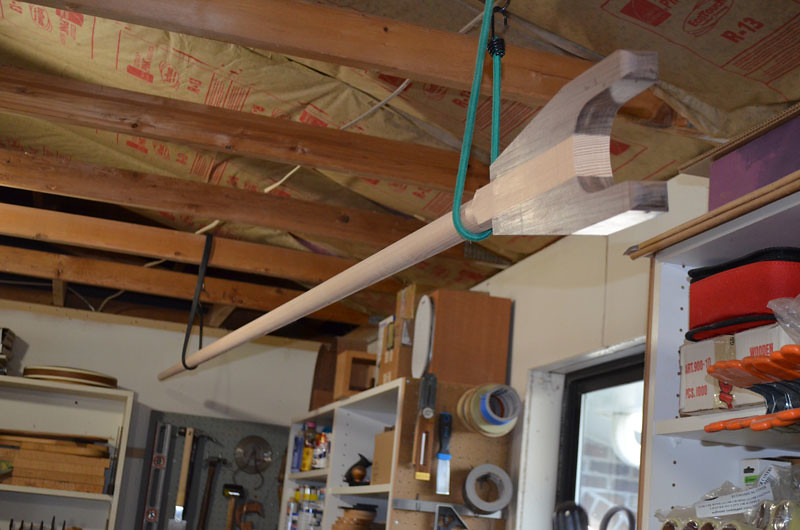

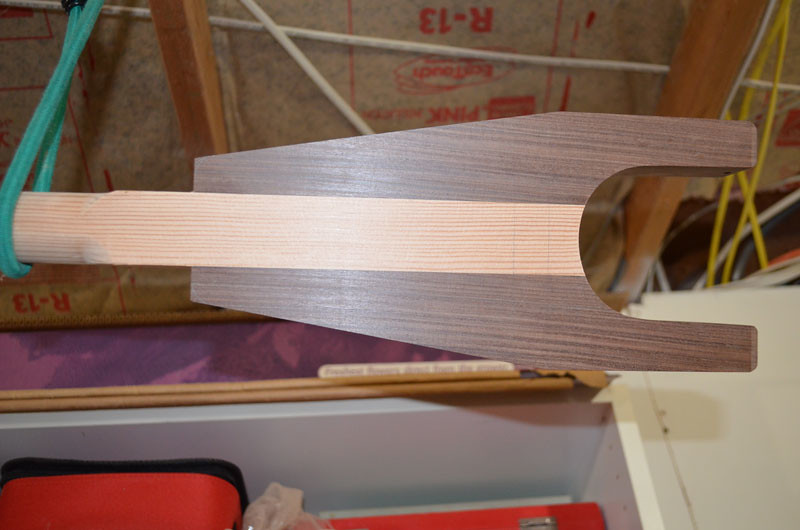
Both have wooden jaws that fit around the mast. However, the angle of the gaff spar requires a slightly different shape.
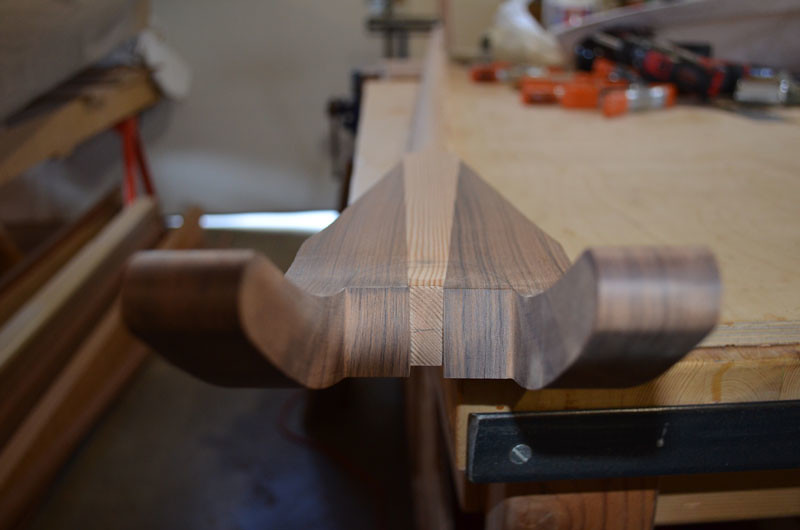

I used a very hard wood, known as Pau Ferro or Morado, for the jaws. This wood comes from South America and is very durable.

Next up, paint the hull...  oh boy!

Thursday, October 22, 2015

Deck On...

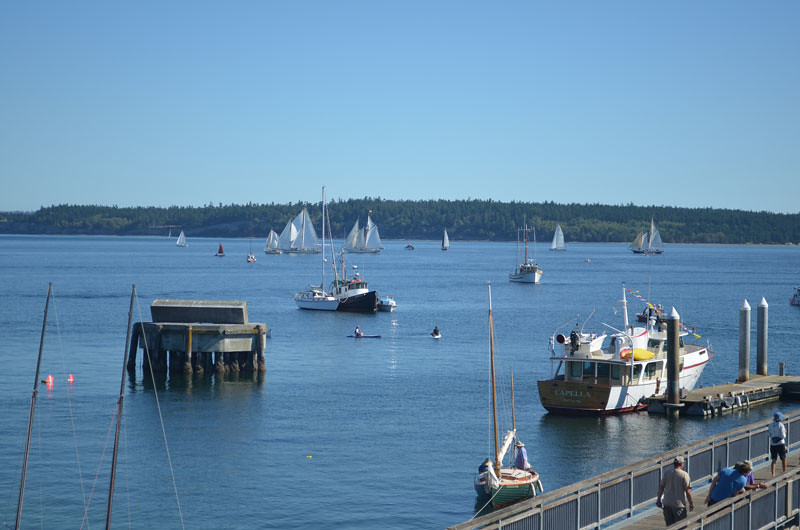
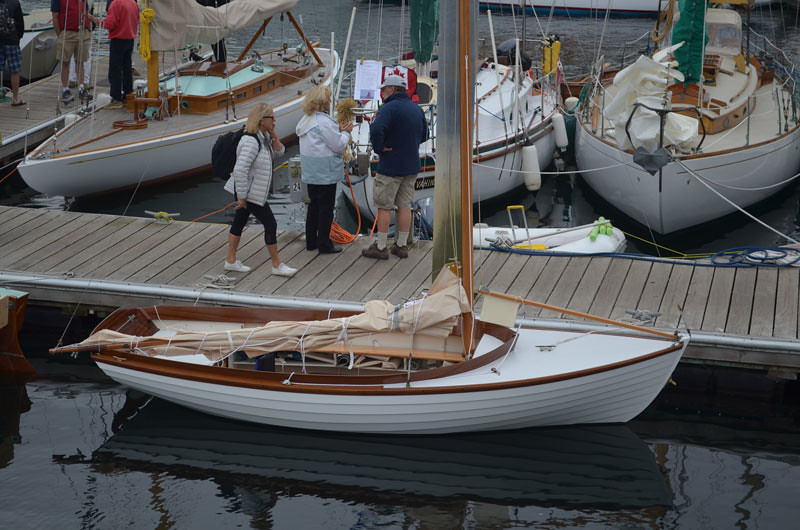
I've heard Colorado described as "everything but the ocean". I agree and make it a point to vacation by the ocean whenever possible. One of my favorite destinations is Port Townsend, Washington, for the annual Wooden Boat Festival, held in September. This year my wife and I made the trek again, having missed the last two years. The weather was fabulous and we enjoyed the festival as always. The folks who run this festival really know what they're doing.


If only I had one of these...


Or this one...


I always leave the festival inspired, thinking of the boats I could build if I just had a bigger shop, more time, and an unlimited budget. When I mention this to my wife she just gives me that look, the look that says you've got to be out of your mind, just finish the project at hand. It is good to dream...

Back in the shop, I'm down to the last few pieces.


The day I glued the last strip in place was one of great celebration. At last, she looks like a boat.


I've got some leveling to do before I can apply the glass. I'll use a cabinet scraper first, followed by 80 grit on the long board. There is no shortcut to hand sanding with a long board if you want a really smooth, even surface. Horizontal surfaces will magnify every blemish or inconsistency. I'm really looking forward to seeing what the deck will look like with finish.


When sanding, I'm careful to keep moving so not to spend too much time in one area. The goal is to evenly remove material from the entire surface, keeping the overall shape intact and removing only the minimum amount of material necessary. I don't try to get it all in one pass and I'll stay with 80 grit until the entire surface is uniform. It might take several passes to get there. The pictures above were taken after the first pass and you can still see the darker low areas. When the surface is completely uniform, I'll move to 150 grit and finally 220 grit.


Before I glass, the deck must be flush at the sheer, cockpit, and hatch. I used a flush trim bit and will finish up by hand.

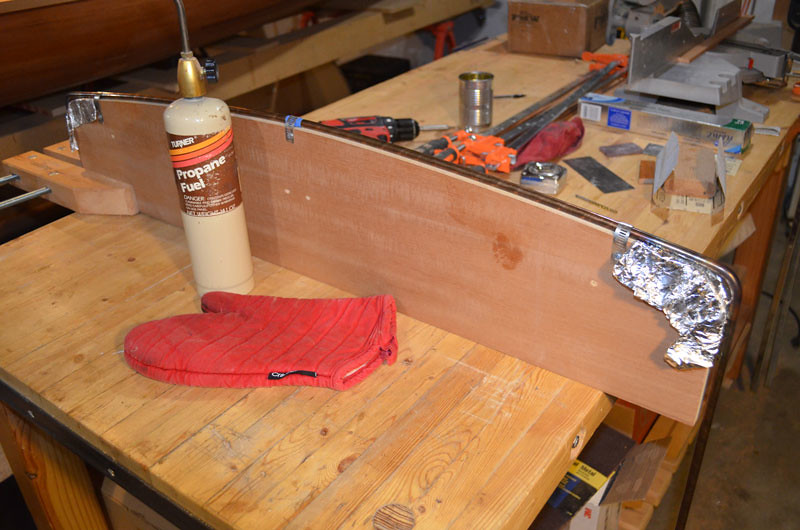
Since the beginning of this project a source of indecision has been the "traveler", or "horse" as they call it in the UK. My plans show a rope traveler, but I've decided to go with bronze one instead. I started with a 6' piece of 3/8 silicon bronze rod. I fabricated the jig from a pattern made previously for laminating the deck beams. First, I carefully cold bent the rod to match the shape of the deck and secured the rod to the jig with hose clamp material.


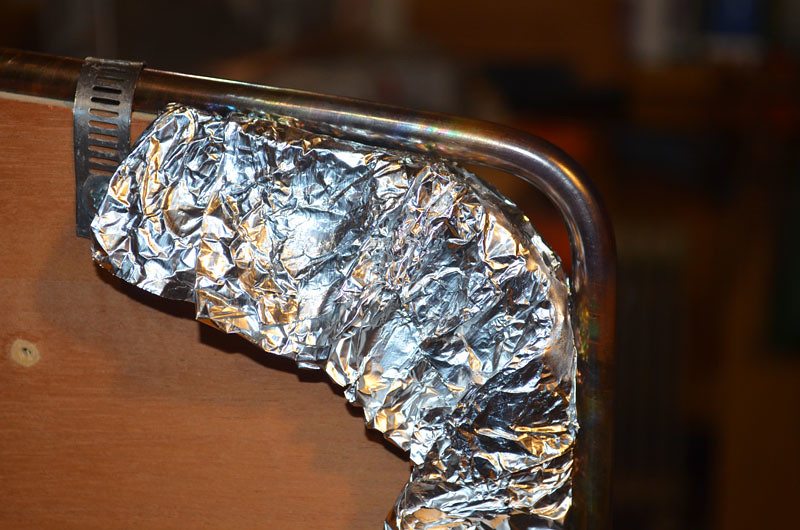
I've never bent bronze using heat before, so I looked online for advice. It's pretty easy, basically heat it up and bend it.


I'll trim the legs to the desired height and add some threads. When this is done the rod will need to be annealed. This means heating the rod again and allowing it to cool slowly, in order to remove internal stresses and toughen it. Finally, the rod will be polished to match other bronze hardware.

Friday, August 14, 2015

Just a few more strips...

If you want to build a boat quickly, do not take my advice on anything. Once again, I've succeeded at finding the slowest way, in this case, to build a deck. However, all good things must come to an end... eventually. I'm not there yet, but closer.


The deck will be covered with 6 ounce glass. I'm looking forward to that moment when the sanding is done and I apply the first coat of epoxy. The moment of truth, so to speak, when the true beauty of the wood is fully exposed. I'm hoping it will inspire me to want to varnish, but I'm not betting on it. Have I mentioned how much I like to varnish?


I'm going to try spraying varnish on the deck instead of brushing. While varnishing the interior of the hull, I struggled to find the optimal ratio of thinner and/or retarder that would deliver consistently good results. Any change in humidity and temperature seemed to necessitate an adjustment to the mix. In short, I was never totally happy with my efforts at brushing it on. Having nothing to loose, I'll give the spray gun a try.


The wife and I have made plans to attend the Wooden Boat Festival in Port Townsend this September. This is the event that first inspired my ambition to build a boat. Lots of really cool boats and interesting people in a beautiful maritime setting. Highly recommended!

Tuesday, April 14, 2015

Clamp-it Jed

My plan for the deck was theoretically sound, but I admit I had second thoughts as I ripped two gorgeous 5/4 x 10 1/2" x 11" mahogany planks into 3/8" x 1 1/16" strips. The planks clearly came from the same tree, perfectly matched in color and character. In a way, I regretted using such wide stock for this purpose. I thought these boards might be better suited to a fine furniture project. I was wrong. With each cut it became more evident the boards were under stress and would have been very difficult to work with in larger dimensions. The strips came off the saw like French fries. Thankfully, the curved pieces proved to work to my advantage.

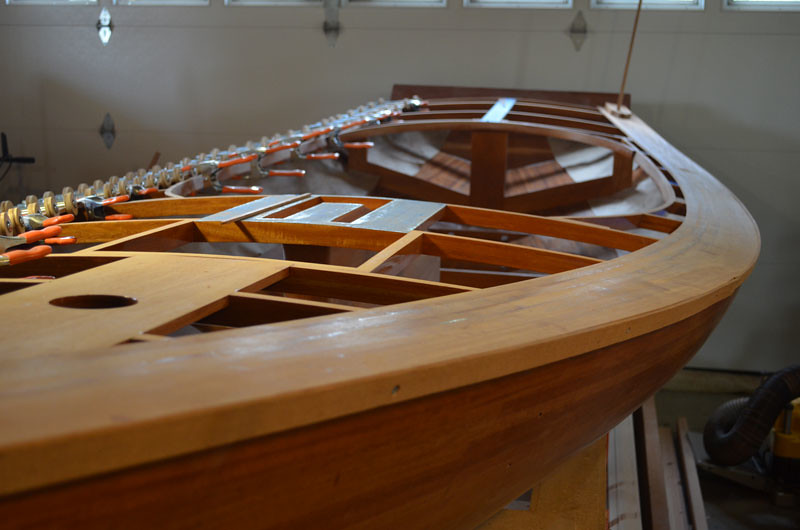
My first task was to create 10 pieces at least 16' long. I used a 12:1 ratio scarf joint to do so. After gluing, I planed the strips to a finished thickness of 5/16" and a width of 1". I found this thickness to be a happy compromise as 3/8" seemed too thick and 1/4" too flimsy. I want the deck to feel firm under foot, but I also want to keep the weight down. These long pieces will be used around the outside of the cockpit and must be carefully dry fitted to get the exact length right.

I pre-finished the bottom side of each piece with two thick coats of epoxy, sanding before and between coats. Then the strips were planed one more time to a finished width of 15/16". This dimension is another happy compromise based on bendability. Next I applied a protective caul, where the rub rail goes, to clamp against. I also made some flexible wood strips to protect the inside edge. These I coated with wax to prevent epoxy from sticking to them. At this point I'm ready to dry fit the first piece.

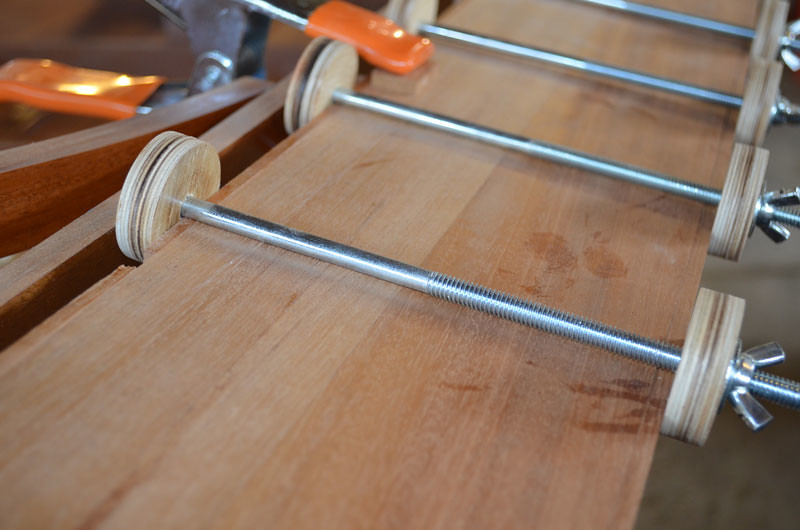
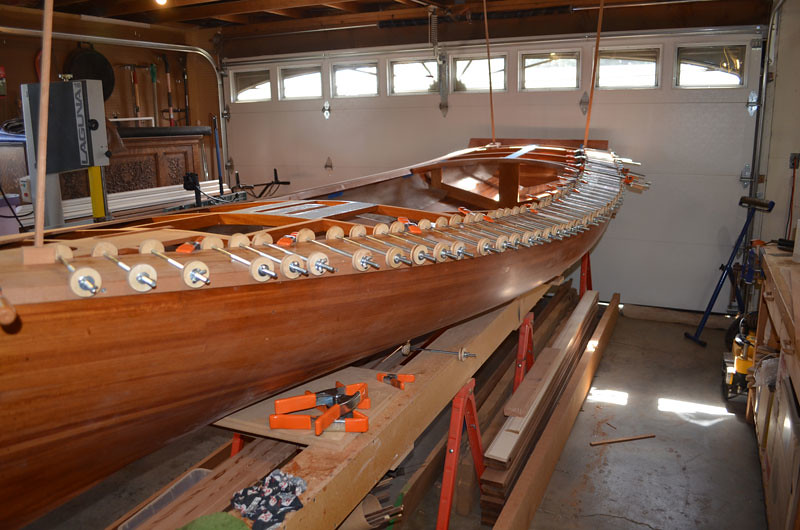
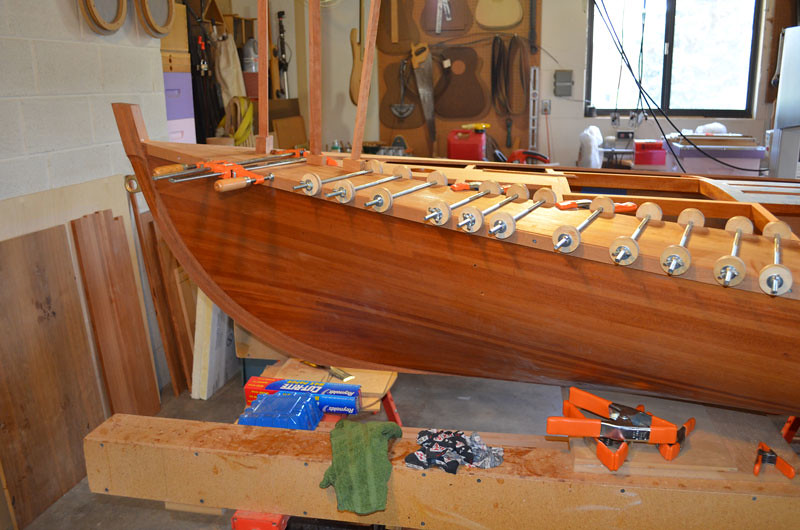
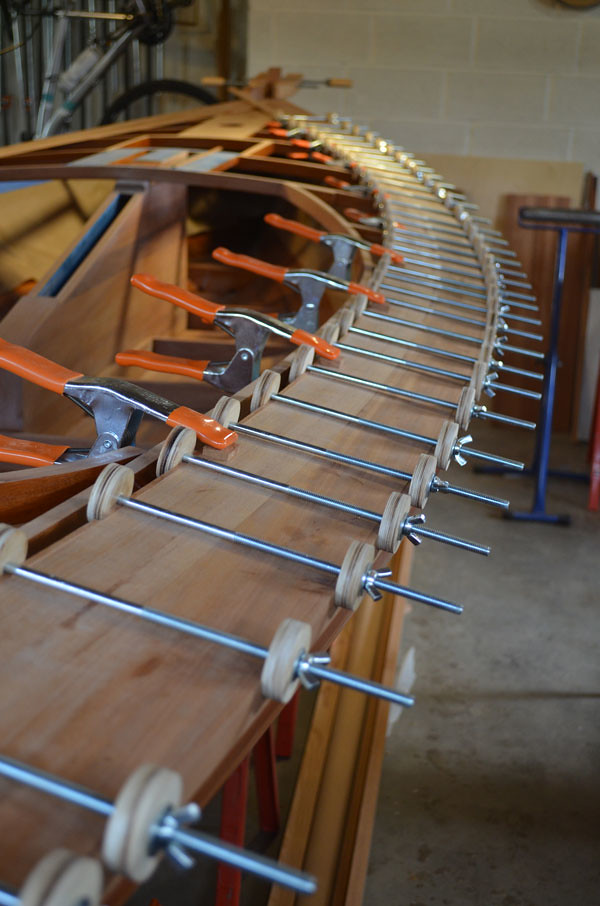
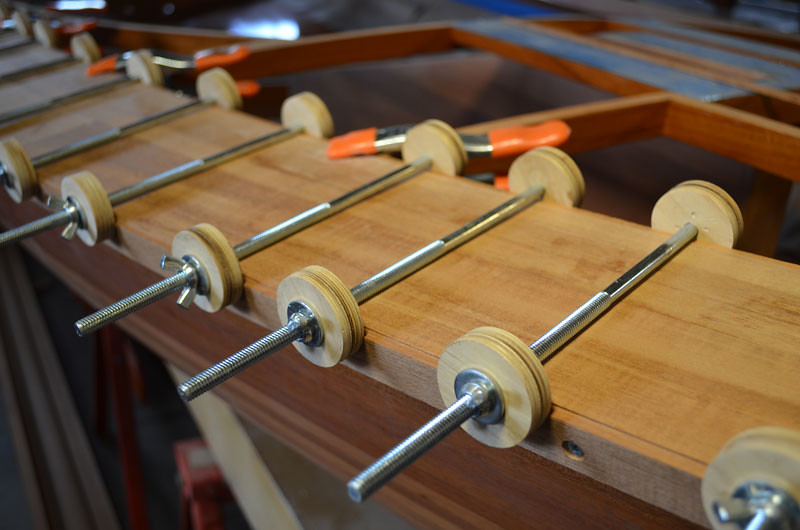
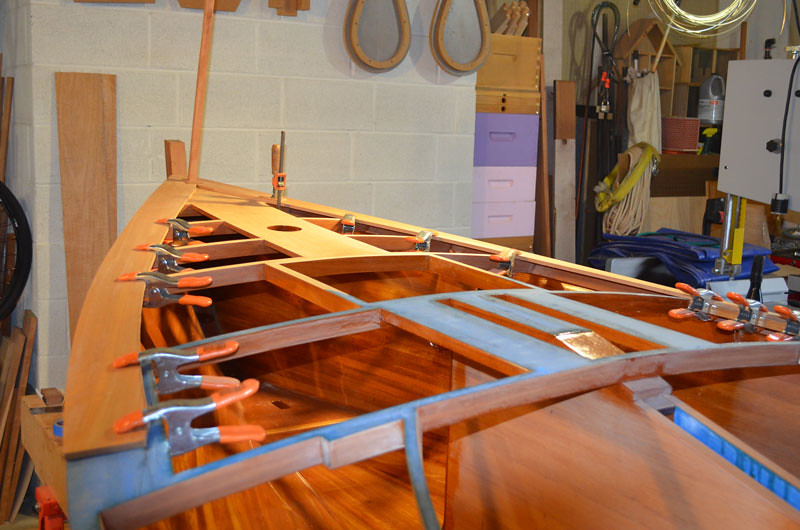
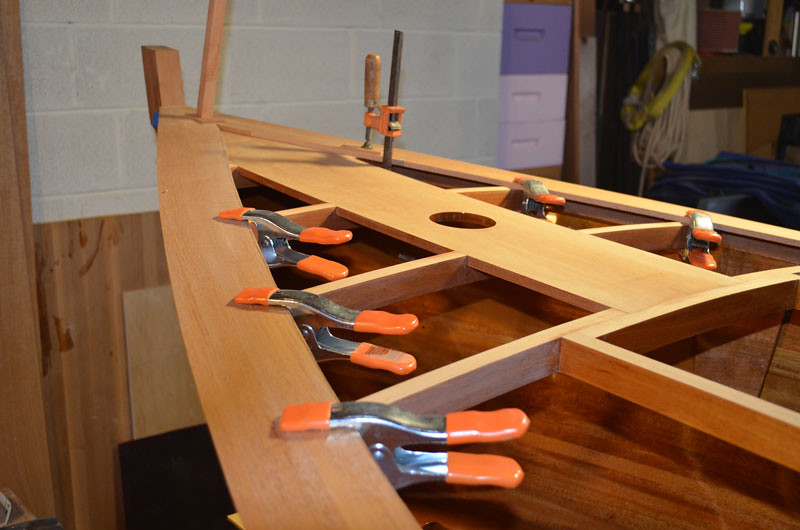
When cold bending, the key to smooth results is a little pressure in a lot of places. I knew right away that I didn't have enough conventional type clamps. However, I did have about 30 homemade clamps that I had made specifically to glue acoustic guitar tops and backs on. The clamps are fabricated from 1/4" x 6" carriage bolts with wing nuts and wooden washers. Not much clamping pressure, but plenty for this job. They weren't long enough to do more than one strip on each side, but this would be enough for a test. I then ordered 50 - 5/16" x 10" bolts with wing nuts to make a larger version of the clamp.


 I learned a lot dry fitting the first piece. I started at the transom. Thank God for my compound miter box, a most useful tool when boat building. The transom angle is a steep 47 degrees by 14 degrees. I clamped my way forward until I could place an accurate mark for the other cut. The cut at the bow is roughly 34 degrees by 2.5 degrees. In this case too short is better than too long, but my goal is just right. A slight bevel must be added lengthwise to accommodate the curvature of the deck, otherwise the joint will not be tight on the top. The bevel is about 1 degree and is only needed on one edge. When all is right it is time to mix the epoxy.


I'm using MAS flag epoxy which is thicker than the formula for filling fiberglass. I'm amazed at how strong this stuff is, the wood will break before the epoxy gives. One key to clean epoxy work is learning how much to use and some trial and error is always necessary. I found a small foam brush worked for me as an applicator. You need to see a little squeeze out to be sure. I keep a rag and some acetone handy and wipe any excess as I go. If one is careful there is very little left to clean up. After all the clamps are in place I inspect to make sure the piece is aligned lengthwise as close as possible with the previous piece. The epoxy can be a bit slippery and the strip will sometimes need re-adjustment.


 I found some down pressure was needed over the king plank and at the transom. After the first few pieces, and some obligatory cursing, the process started to become routine. Once I hit the cockpit the process should become a cakewalk as the pieces will be much shorter and will not have to fit perfectly end to end.


Saturday, February 28, 2015

Deck the Hull

The pressure to complete this project is mounting, a good thing, as I really want to go sailing this summer. I'm already a year behind, not that it matters much. If I wanted to build a boat quickly I would have done a lot of things differently, starting with a simpler design. However, I'm doing this for the pure enjoyment of the process. Most of the choices I've made, regarding construction methods, have been easy. The deck was a different story.

Early on I decided to avoid using plywood as I had plenty of mahogany on hand and quality marine ply, including shipping to Denver, is almost as expensive. The plans call for a plywood deck, which makes perfect sense if one wants a painted deck. I wanted a more traditional looking deck, similar to what I had seen in a Howard Chappelle book on boat building. A deck trimmed by covering boards with the planking sprung to the sheer. A deck like this on the melonseed will need to be less conventional from a construction standpoint, strip planked using epoxy adhesive.

After a lengthy period of indecision I decided to build the deck in place. To do this, the covering boards and the planking must be prefinished on the interior face, a pain in the posterior, but more manageable in my mind than the alternative. I've seen a lot of folks assemble the deck separately, often applying fiberglass inside and out, and then attaching it to the boat. This method has some advantages, but also creates some problems when one is using the boat as the mold. The right way is the one that works for you.

I started with the covering boards. When I first sorted through the lumber for the boat I set aside pieces with special figure to be used in prominent places. The covering boards seem like a good place to use some of this stash. I picked the boards mostly on grain orientation. The mahogany I have is 4/4 stock (13/16") and only eight feet in length at best, so I'll need three boards per side. The required deck thickness of 5/16" allows me to resaw the material and bookmatch the boards.

The slightly oversized boards are clamped in position and flushed to the hull. Next the inside shape in scribed with a compass. I use the band saw to get within a 1/16" of the line and finish by hand using a planer, scraper, or sandpaper as necessary. The boards will finish at 3" wide.


After the boards are shaped I apply two thick coats of epoxy to the underside before attaching. The boards are permanently attached with epoxy and I'm ready to strip.


It's nice to be working with wood again!


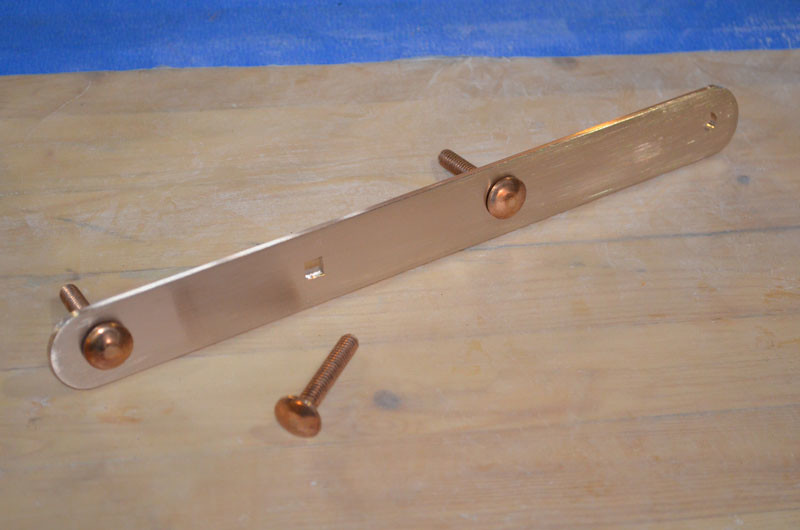
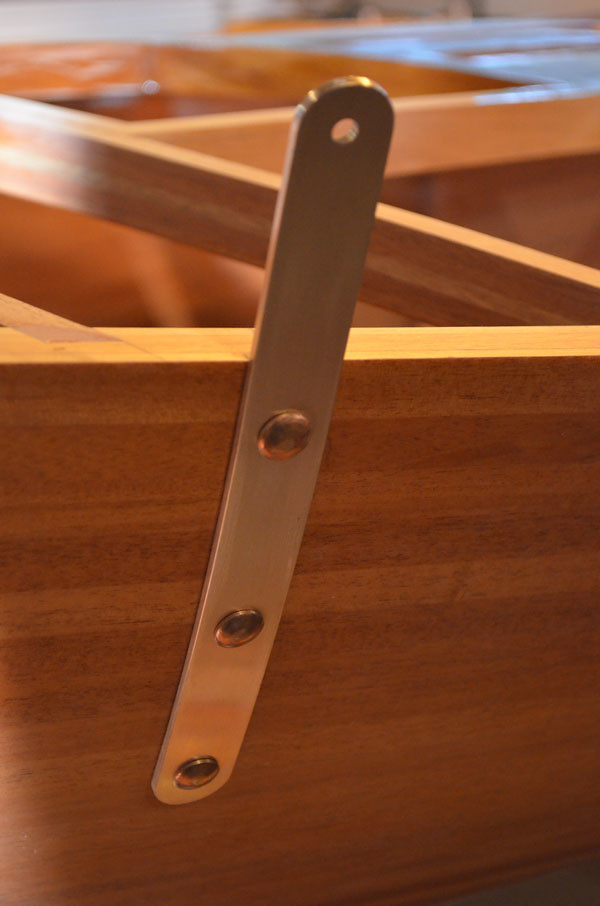
Before I get too far along, I need to fabricate the chain plates as easy access to the bow will soon be gone. By luck, Atlas Metals, a supplier of bronze in various forms, is located in Denver. I purchased a 6' piece of silicon bronze bar stock, 1/8" x 1", more than enough for the plates but the smallest amount they would sell me. Their price was very reasonable. I haven't worked with bronze before but I have worked with brass. Silicon bronze is harder, but still pretty easy to machine. The plates are quite simple, three holes for carriage bolts and one hole for a shackle.


The stay plates are 10 1/2" in length.


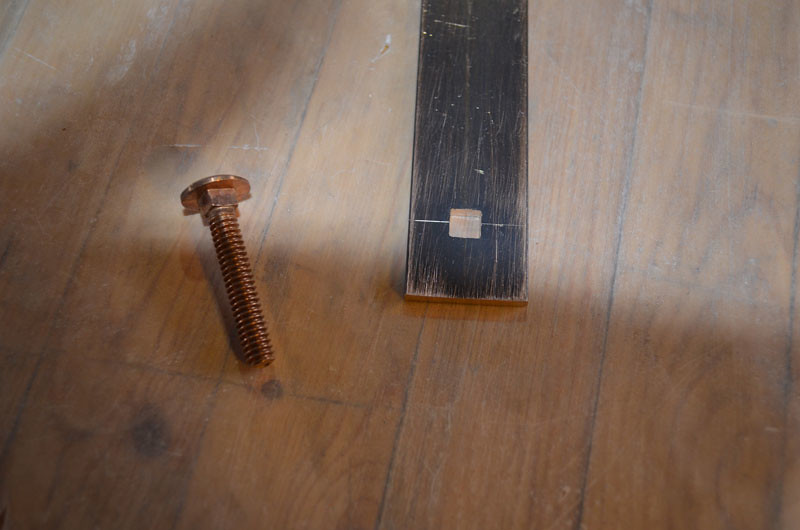
I have to square the holes for the carriage bolts.


Round the ends and clean things up a bit.


The trickiest part is bending the plate to match the curve of the hull. A little at a time works best.


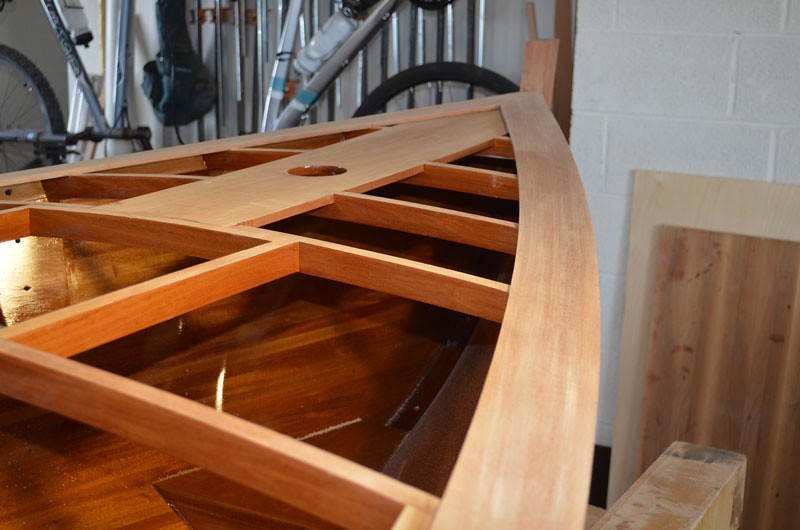
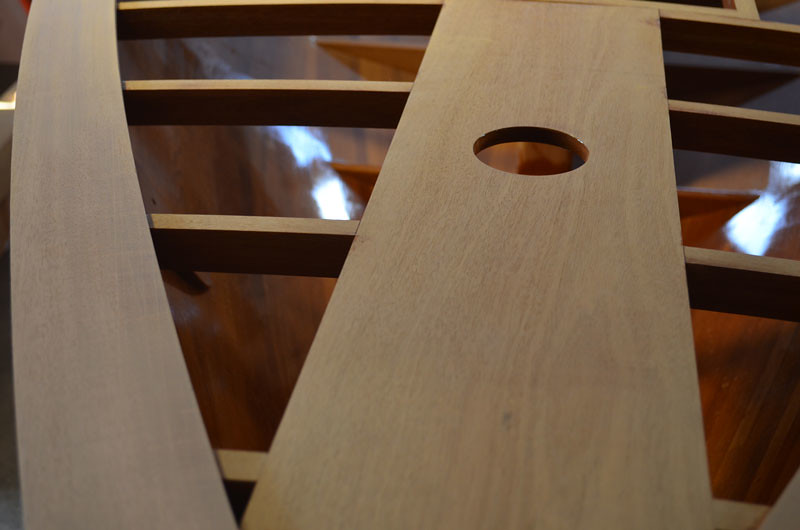
A few more photos showing the boat ready for deck planks...

Onward...


Wednesday, October 29, 2014

Warning! Piano moving is best left to the professionals.

If I had heeded this advice I could have saved myself a heap of pain and lost time. My lengthy hiatus from this project was the result of a self imposed back injury sustained while attempting to move an old upright piano. I've injured my back before, but never like this. My wife says I like learning the hard way and she might be right.  Thankfully, it seems to be healing, albeit slowly.

My injury occurred just after I started varnishing the interior. Because the deck will limit access to some areas in the bow and stern, my plan was to completely finish the interior first, then add the deck. I chose Epifanes standard gloss varnish as it seems to have a good reputation for durability and UV protection. I read many strong opinions, regarding varnish, at the wooden boat forum. Some folks seem to love the Epifanes product while others hate it. I will say the learning curve is steep with this product.

My experience with varnish is limited, but I've sprayed a lot of nitrocellulose lacquer in my time. Comparatively, varnish is vastly more difficult and labor intensive to apply. The lengthy dry time makes it almost impossible to avoid dust in the finish. Developing good brush skills takes much time and practice. I struggled with getting the viscosity right to eliminate brush strokes and sags. Some folks say a good varnish job is 90% preparation and 10% application. This seems to be true.

I think I spent about three months in varnish "hell". My goal was eight coats and it seemed like I was in some kind of time warp. Minutes to hours, hours to days, days to weeks, weeks to months. Sanding between coats seemed to take forever. I quit logging my hours because it was so depressing. Somewhere along the way I even forgot how many coats I'd applied. I'm still not completely happy with my work, but the interior is at least well protected.

Things I learned about Epifanes varnish.

1. It needs to be thinned between 15% and 25%, using Epifanes brush thinner, depending on temperature and humidity. Just a few degrees difference in temperature seems to make a big difference in how well the product flows. I found adding about 5% retarder, called Epifanes Easy Flow, really helps.

2. You don't need a $40 brush. I started out using an Epifanes brush that was absurdly expensive. The best brush should provide the best results, right? After four coats, frustrated and still unable to get the results I wanted, I tried a nylon brush from home depot. The softer nylon brush left noticeably fewer brush marks and cost only $12.

3. I hate varnish! What a pain in the ass. If I ever build another boat, I'll be looking for a more modern, user friendly alternative. The Epifanes product does have a gorgeous dark honey color that looks great on mahogany.


The Outer Stem

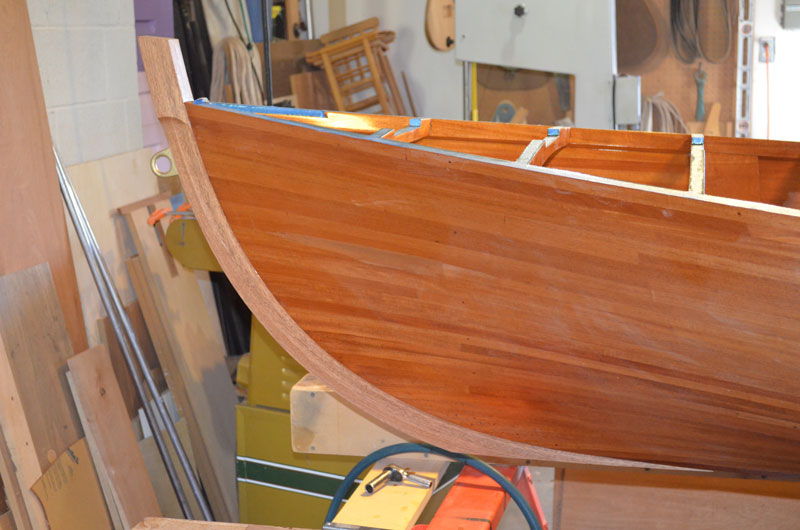
With the varnishing behind me I've happily moved on to other things. The king plank was left loose for better access while varnishing. Before I glue it in place, I need to install the outer stem as this area will be very difficult to access afterwards. Early on I drilled four holes in the inner stem so it could be held in place while the hull was planked. The same holes will be utilized, using 2 1/2" bronze screws, to position the outer stem while the epoxy cures.

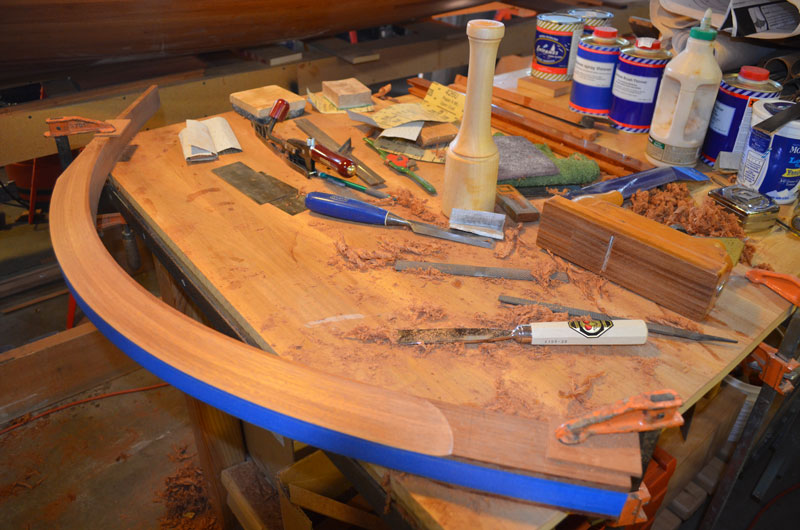
The inner and outer stem were laminated at the same time, using the same jig. I simply put wax paper between the two components. Because of this, there was a minimal amount of fitting to do. The outer stem is run through the planer to match the width of the inner stem including planking. Next, the stem is beveled to the front edge. Brave souls might use a drawknife, but I used a rasp, following up with a hand plane and scraper.


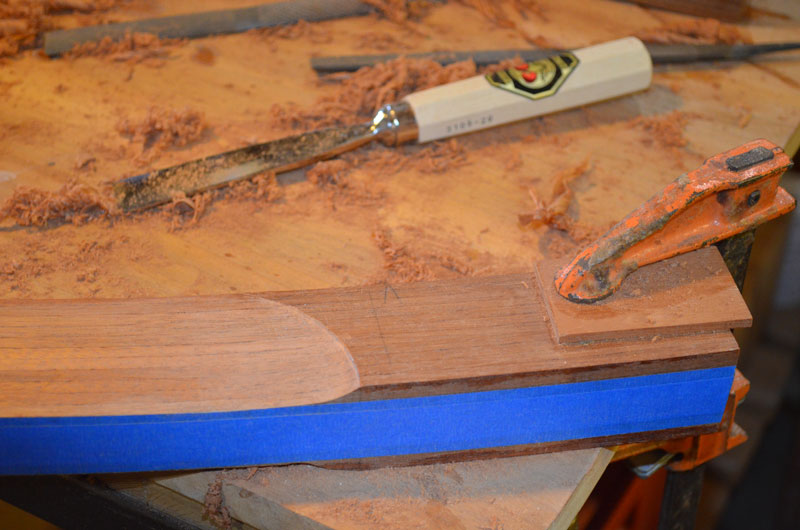
The detail where the bevel ends is accomplished with a sharp spoon gouge.


This is a lot more fun than varnishing .


I found a nice inexpensive bronze bow eye with a 3/8" x 4" stem at Hamilton Marine.


On to the deck...