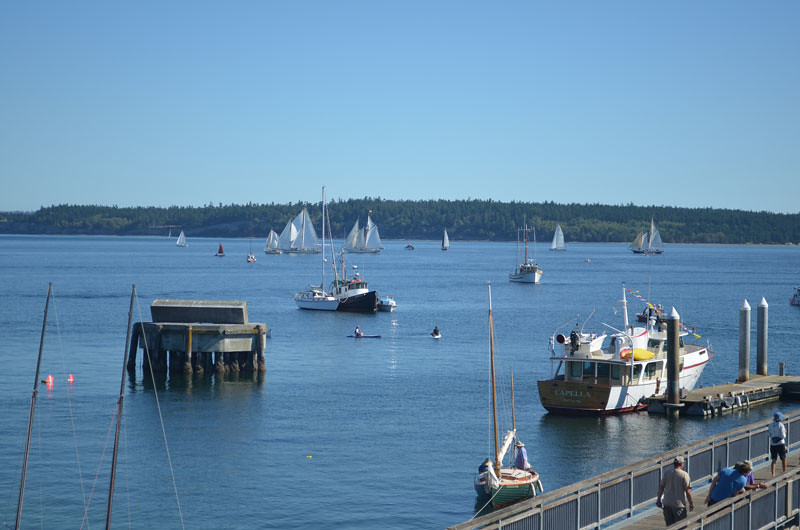
If only I had one of these...

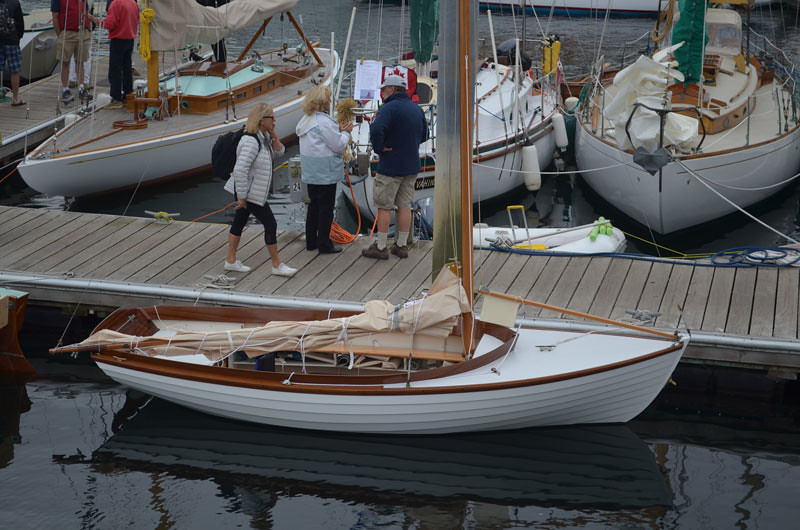
Or this one...
I always leave the festival inspired, thinking of the boats I could build if I just had a bigger shop, more time, and an unlimited budget. When I mention this to my wife she just gives me that look, the look that says you've got to be out of your mind, just finish the project at hand. It is good to dream...
Back in the shop, I'm down to the last few pieces.

The day I glued the last strip in place was one of great celebration. At last, she looks like a boat.
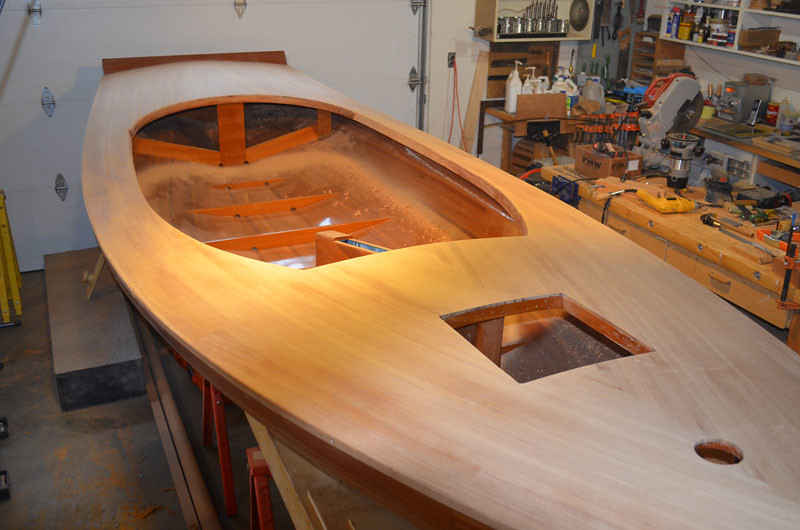
I've got some leveling to do before I can apply the glass. I'll use a cabinet scraper first, followed by 80 grit on the long board. There is no shortcut to hand sanding with a long board if you want a really smooth, even surface. Horizontal surfaces will magnify every blemish or inconsistency. I'm really looking forward to seeing what the deck will look like with finish.

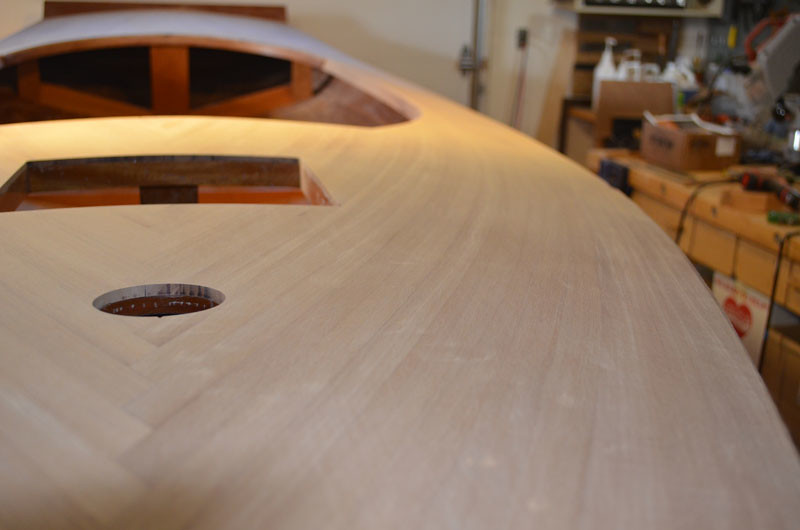
When sanding, I'm careful to keep moving so not to spend too much time in one area. The goal is to evenly remove material from the entire surface, keeping the overall shape intact and removing only the minimum amount of material necessary. I don't try to get it all in one pass and I'll stay with 80 grit until the entire surface is uniform. It might take several passes to get there. The pictures above were taken after the first pass and you can still see the darker low areas. When the surface is completely uniform, I'll move to 150 grit and finally 220 grit.
Before I glass, the deck must be flush at the sheer, cockpit, and hatch. I used a flush trim bit and will finish up by hand.
Since the beginning of this project a source of indecision has been the "traveler", or "horse" as they call it in the UK. My plans show a rope traveler, but I've decided to go with bronze one instead. I started with a 6' piece of 3/8 silicon bronze rod. I fabricated the jig from a pattern made previously for laminating the deck beams. First, I carefully cold bent the rod to match the shape of the deck and secured the rod to the jig with hose clamp material.
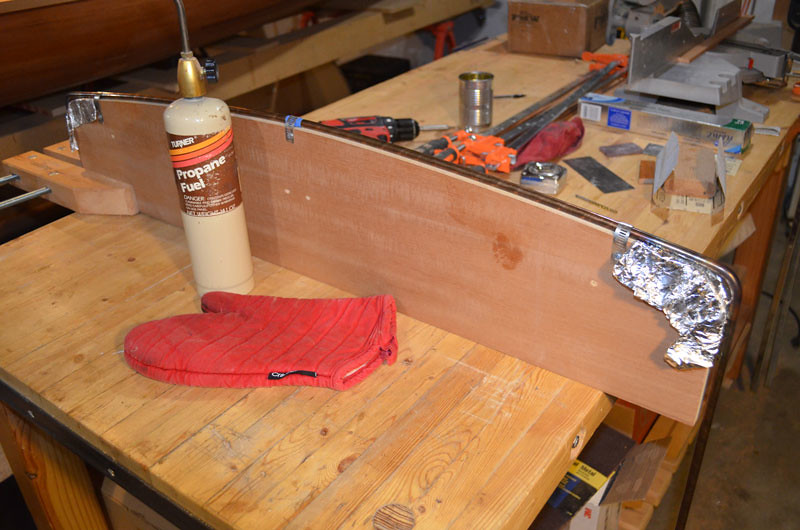
I've never bent bronze using heat before, so I looked online for advice. It's pretty easy, basically heat it up and bend it.
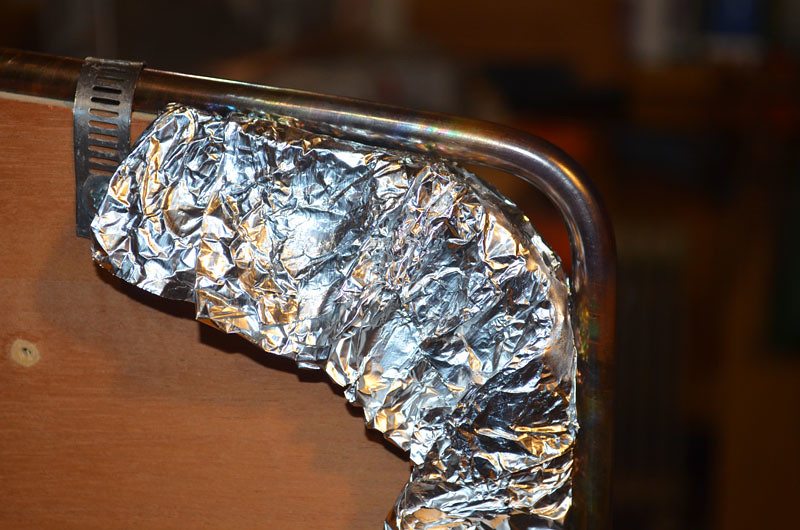
I'll trim the legs to the desired height and add some threads. When this is done the rod will need to be annealed. This means heating the rod again and allowing it to cool slowly, in order to remove internal stresses and toughen it. Finally, the rod will be polished to match other bronze hardware.
No comments:
Post a Comment