Early on I decided to avoid using plywood as I had plenty of mahogany on hand and quality marine ply, including shipping to Denver, is almost as expensive. The plans call for a plywood deck, which makes perfect sense if one wants a painted deck. I wanted a more traditional looking deck, similar to what I had seen in a Howard Chappelle book on boat building. A deck trimmed by covering boards with the planking sprung to the sheer. A deck like this on the melonseed will need to be less conventional from a construction standpoint, strip planked using epoxy adhesive.
After a lengthy period of indecision I decided to build the deck in place. To do this, the covering boards and the planking must be prefinished on the interior face, a pain in the posterior, but more manageable in my mind than the alternative. I've seen a lot of folks assemble the deck separately, often applying fiberglass inside and out, and then attaching it to the boat. This method has some advantages, but also creates some problems when one is using the boat as the mold. The right way is the one that works for you.
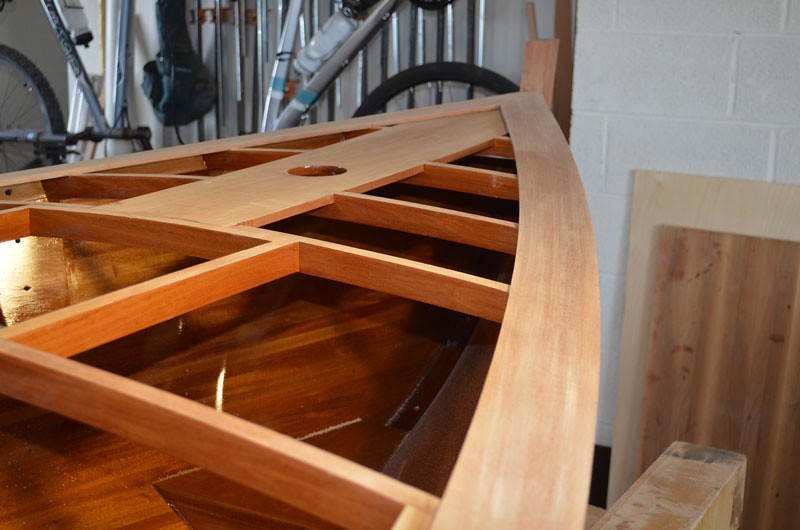
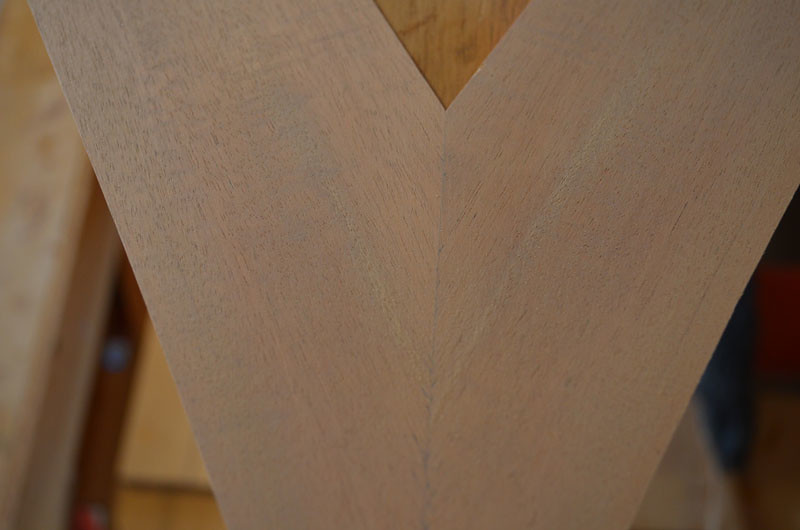
I started with the covering boards. When I first sorted through the lumber for the boat I set aside pieces with special figure to be used in prominent places. The covering boards seem like a good place to use some of this stash. I picked the boards mostly on grain orientation. The mahogany I have is 4/4 stock (13/16") and only eight feet in length at best, so I'll need three boards per side. The required deck thickness of 5/16" allows me to resaw the material and bookmatch the boards.
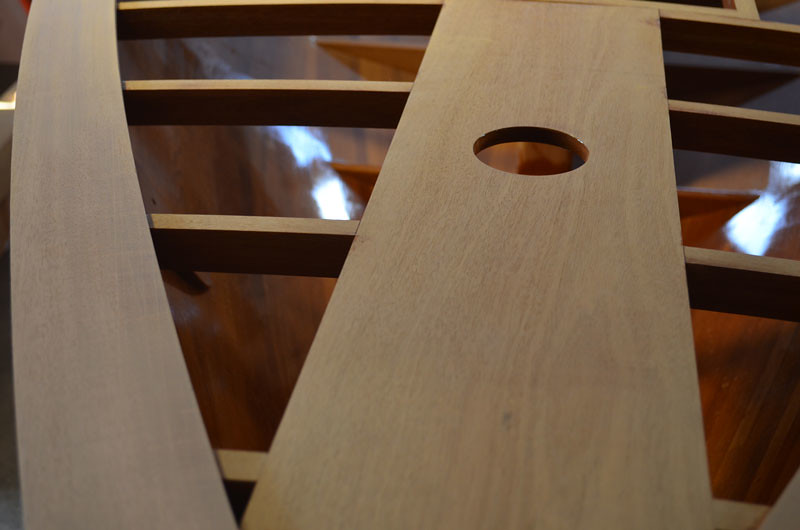
The slightly oversized boards are clamped in position and flushed to the hull. Next the inside shape in scribed with a compass. I use the band saw to get within a 1/16" of the line and finish by hand using a planer, scraper, or sandpaper as necessary. The boards will finish at 3" wide.
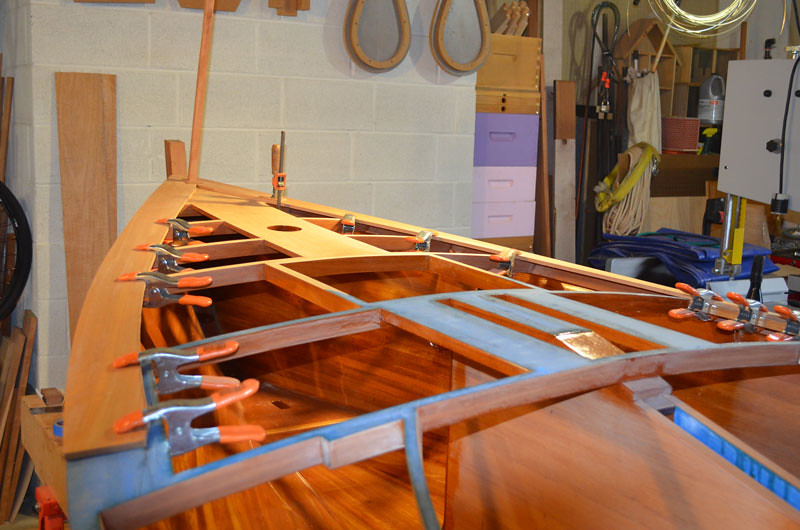
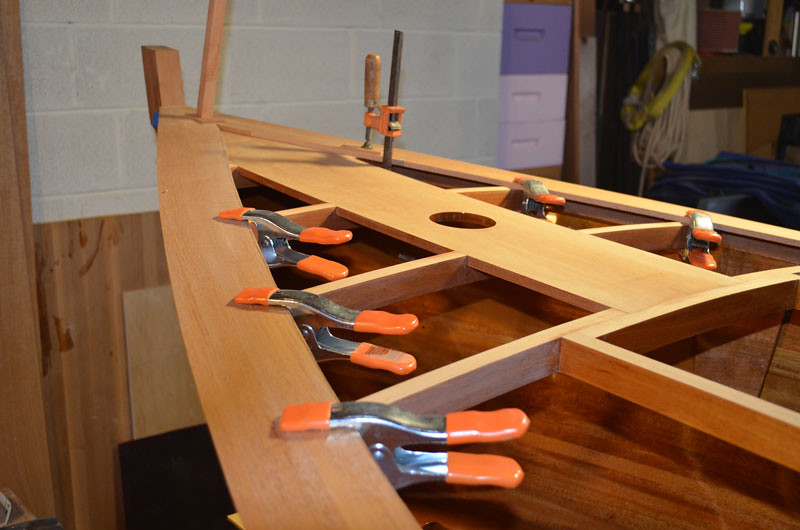
After the boards are shaped I apply two thick coats of epoxy to the underside before attaching. The boards are permanently attached with epoxy and I'm ready to strip.
It's nice to be working with wood again!
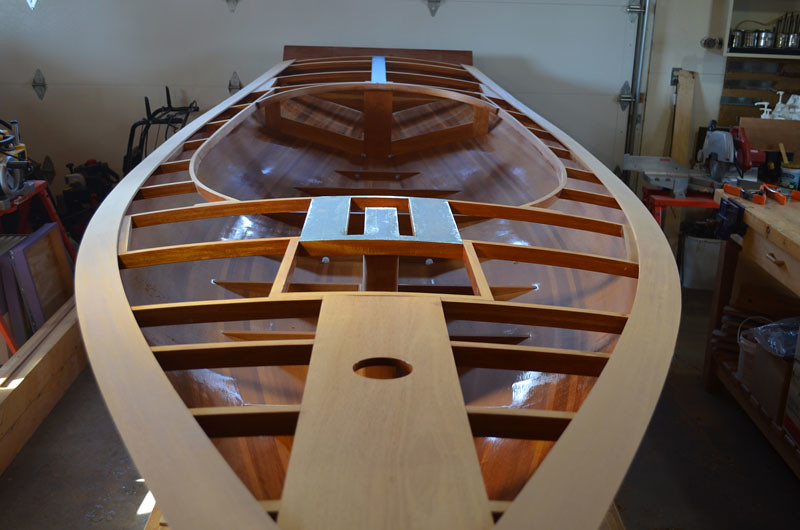
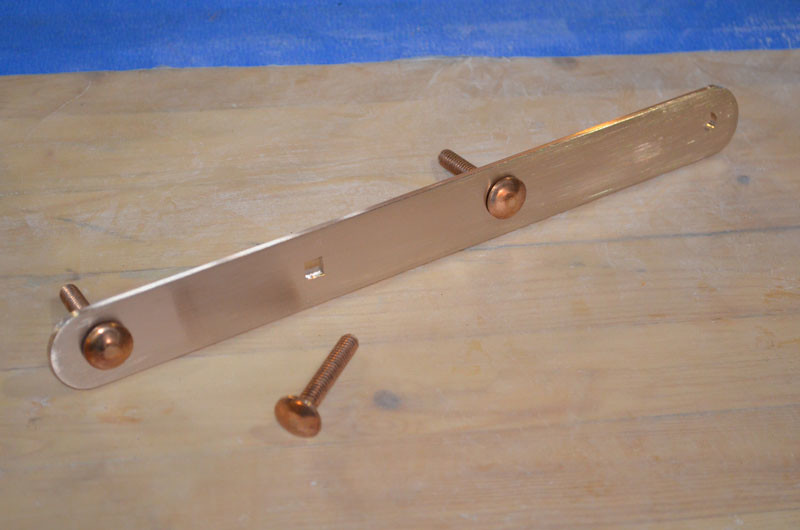
Before I get too far along, I need to fabricate the chain plates as easy access to the bow will soon be gone. By luck, Atlas Metals, a supplier of bronze in various forms, is located in Denver. I purchased a 6' piece of silicon bronze bar stock, 1/8" x 1", more than enough for the plates but the smallest amount they would sell me. Their price was very reasonable. I haven't worked with bronze before but I have worked with brass. Silicon bronze is harder, but still pretty easy to machine. The plates are quite simple, three holes for carriage bolts and one hole for a shackle.

The stay plates are 10 1/2" in length.

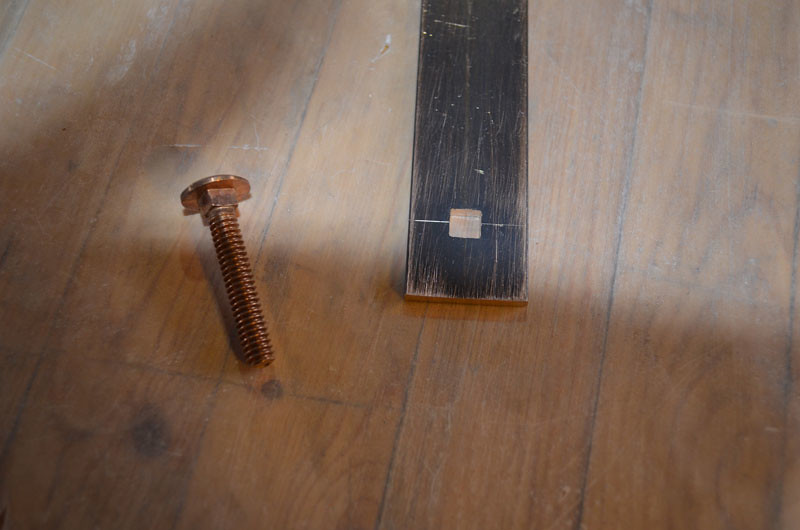
I have to square the holes for the carriage bolts.

Round the ends and clean things up a bit.
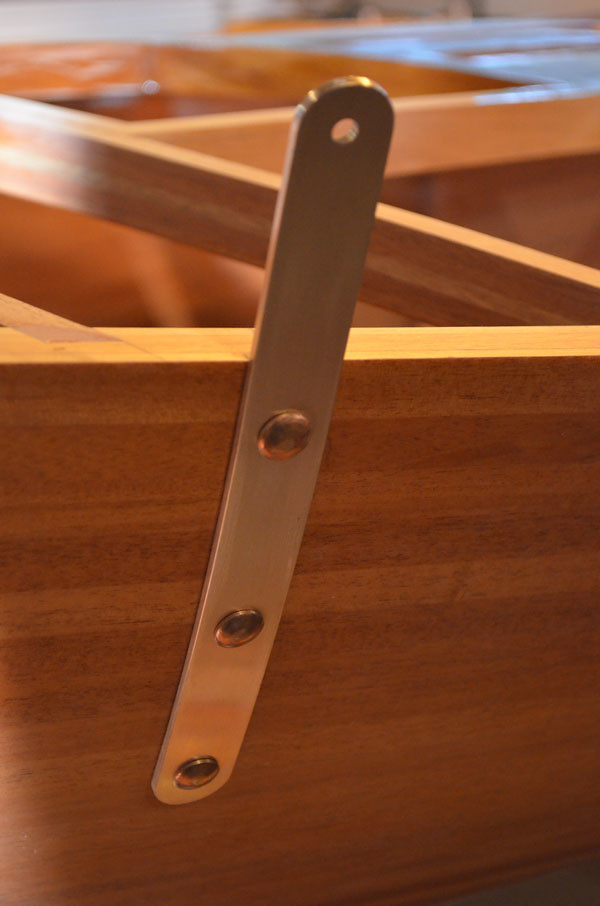
The trickiest part is bending the plate to match the curve of the hull. A little at a time works best.
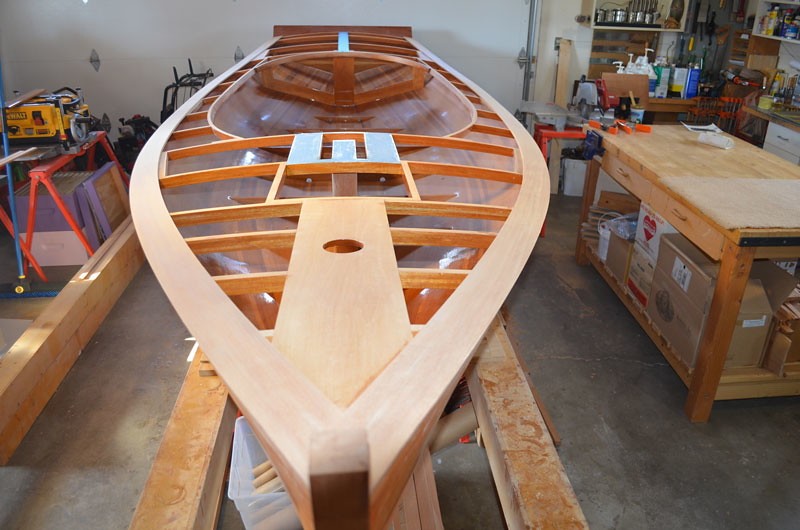
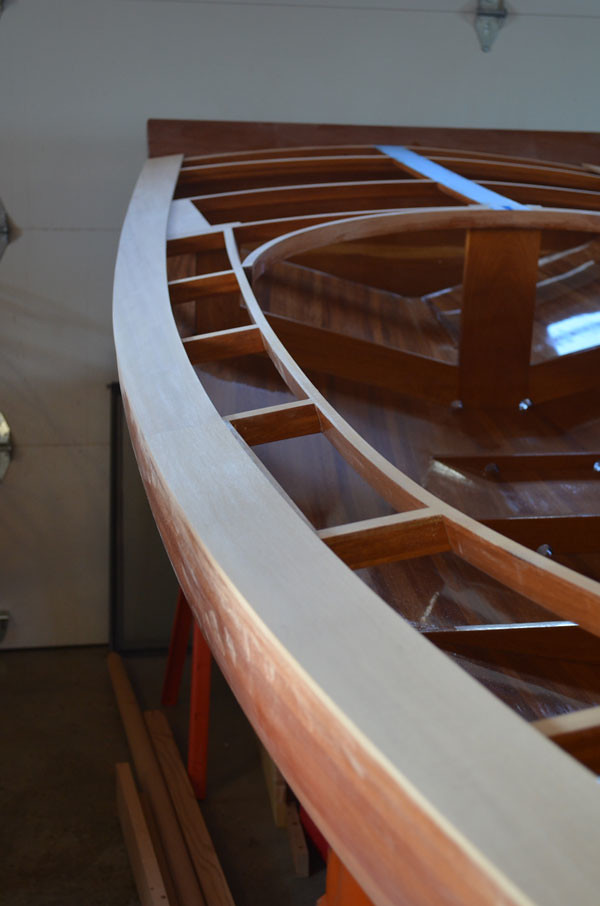
A few more photos showing the boat ready for deck planks...
Onward...