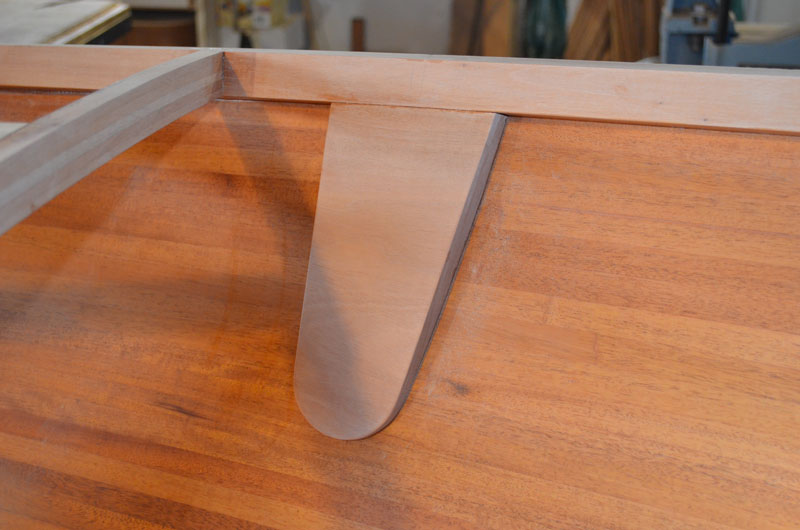
Blocking is needed where the chain plates attach.
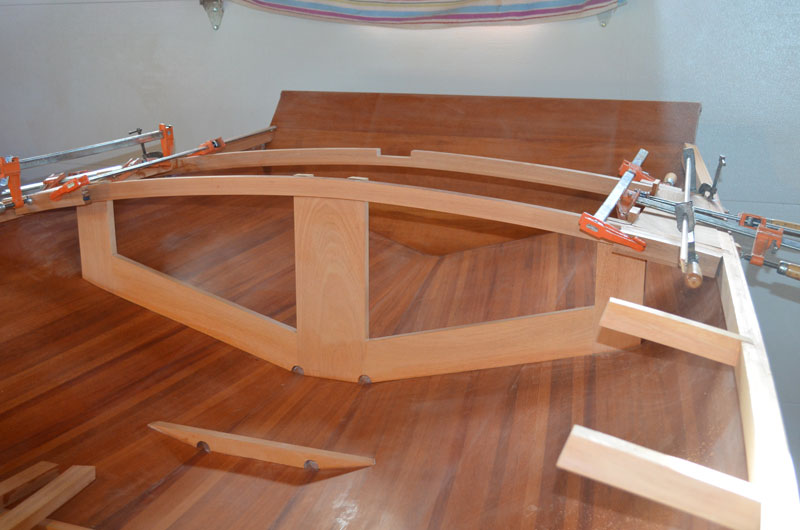
At the rear of the cockpit I added a frame to support the deck. Many folks sit up on the deck while sailing these boats and it seemed prudent to add some structure here. The frame also provides extra strength to the flat areas on the bottom rising towards the transom.
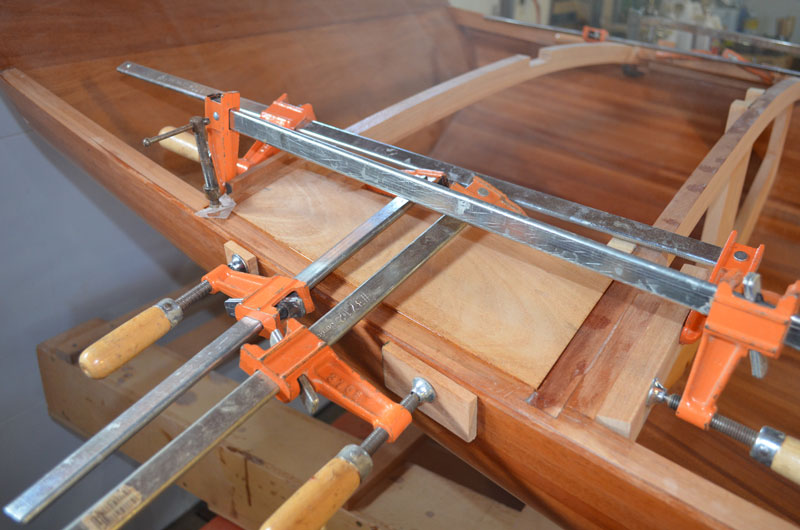
The plan calls for blocking below the traveler mounts, so I fitted some 3/4" stock between the beams using biscuits and epoxy. I have found the plate joiner to be a very useful tool and I use it whenever I can. Biscuits are great for keeping things aligned, especially when using slippery epoxy. The birch biscuits are quite strong and work like miniature splines.
A bit of work with the hand plane and scraper will smooth things out.
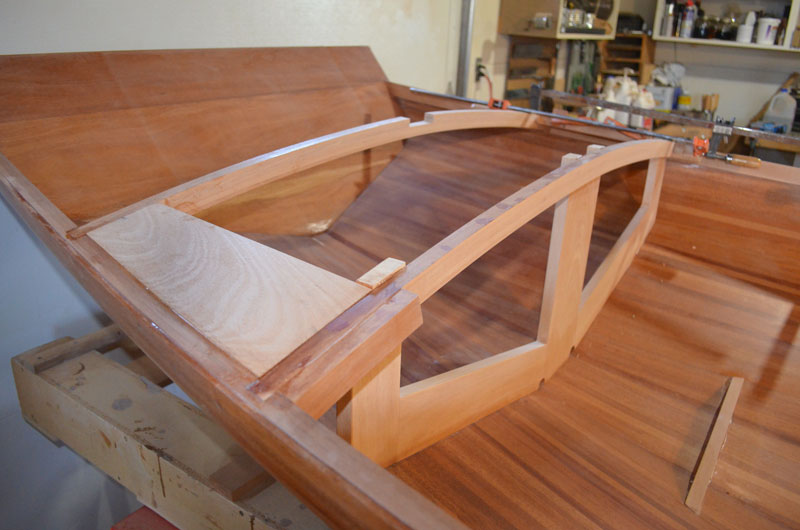
The short deck beams around the cockpit are scavenged from beams in the bow and stern.

The carlings are next. I plan to laminate 1/4" material as I did with the sheer clamps to get smooth curves. I think two pieces per side should be sufficient. I'll dry fit the remaining beams and the kingplank, but I'll varnish the hull before gluing.
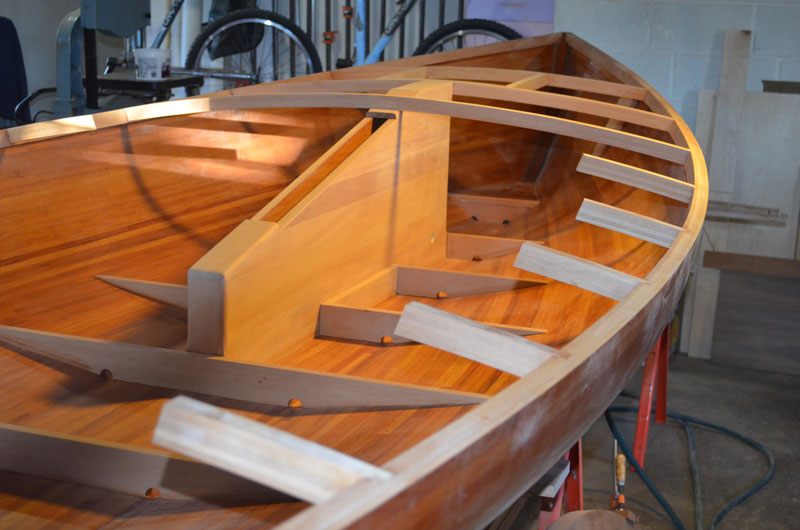
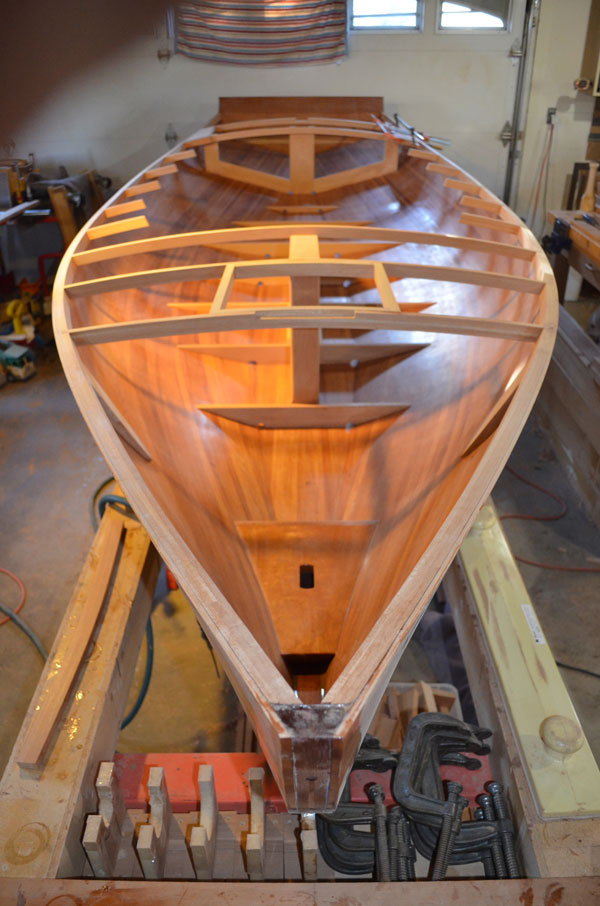
She's looking more like a boat! Lots of decisions ahead regarding blocking for hardware and such.