Tuesday, April 23, 2013

Mo mast...

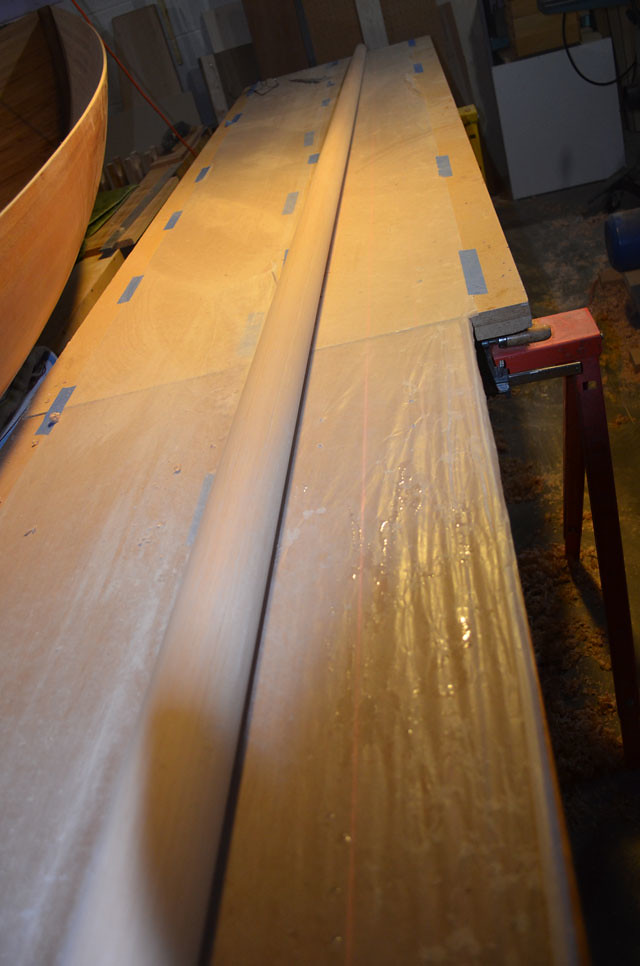
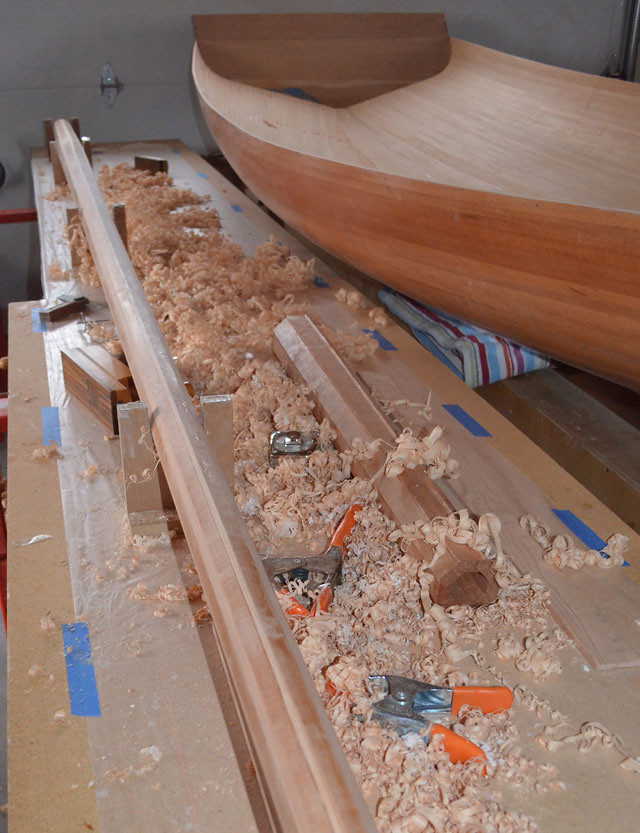
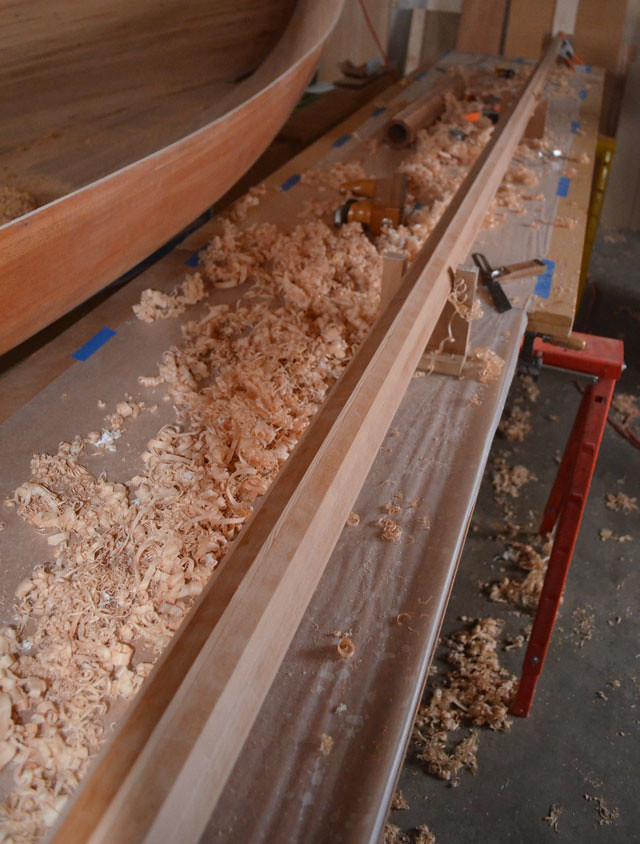
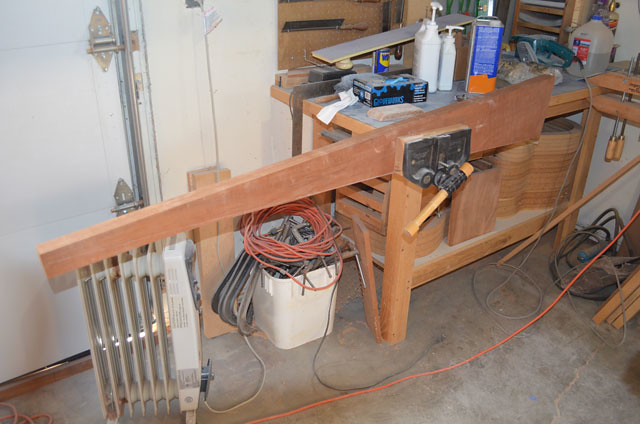
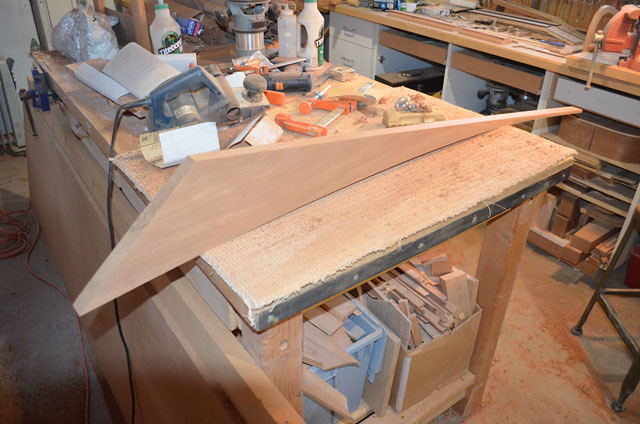
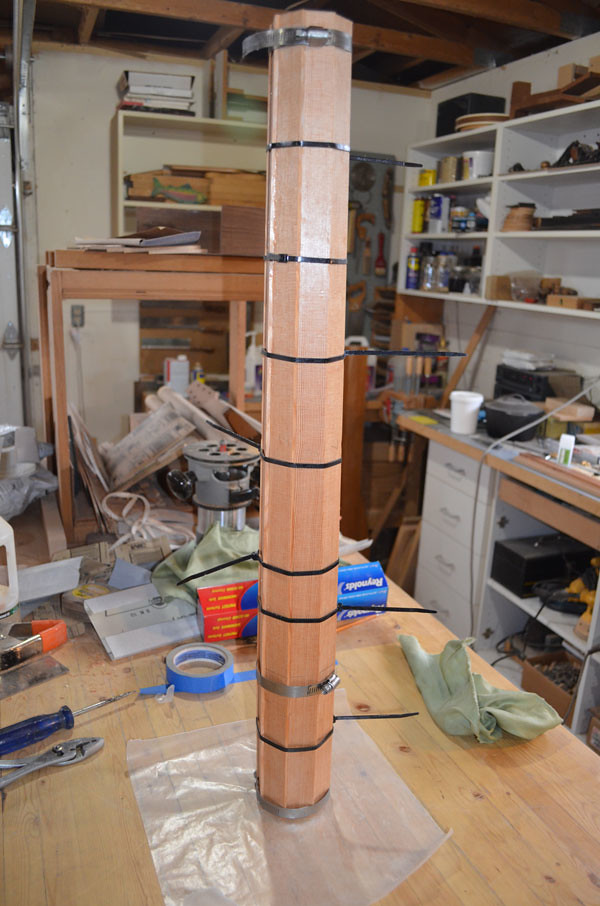
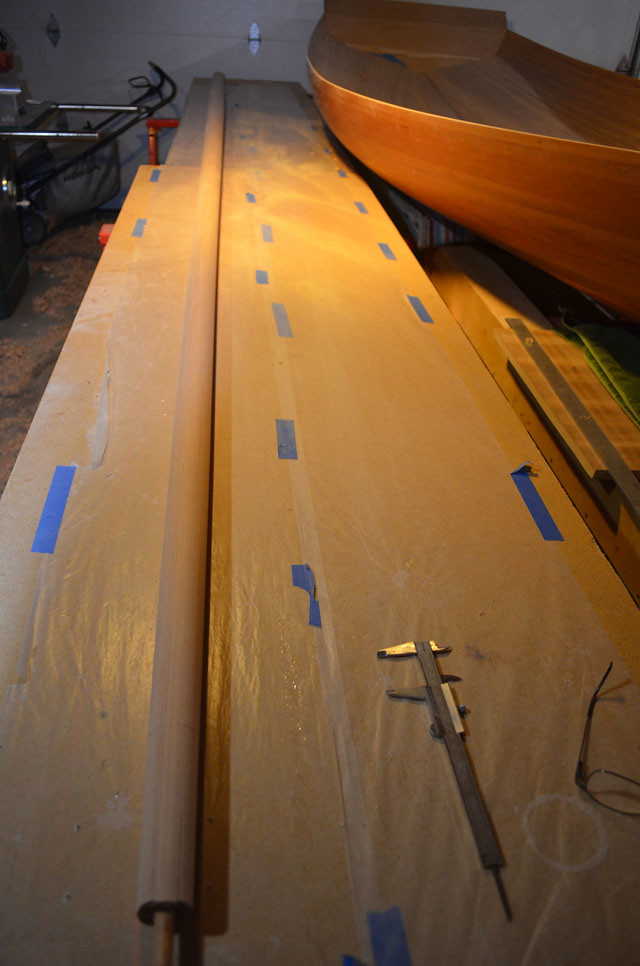
I finished rounding the mast on Sunday. Thought I'd post a few pictures. The mast currently weighs just under 11 pounds.


It's hard to see the taper in the photo above. 


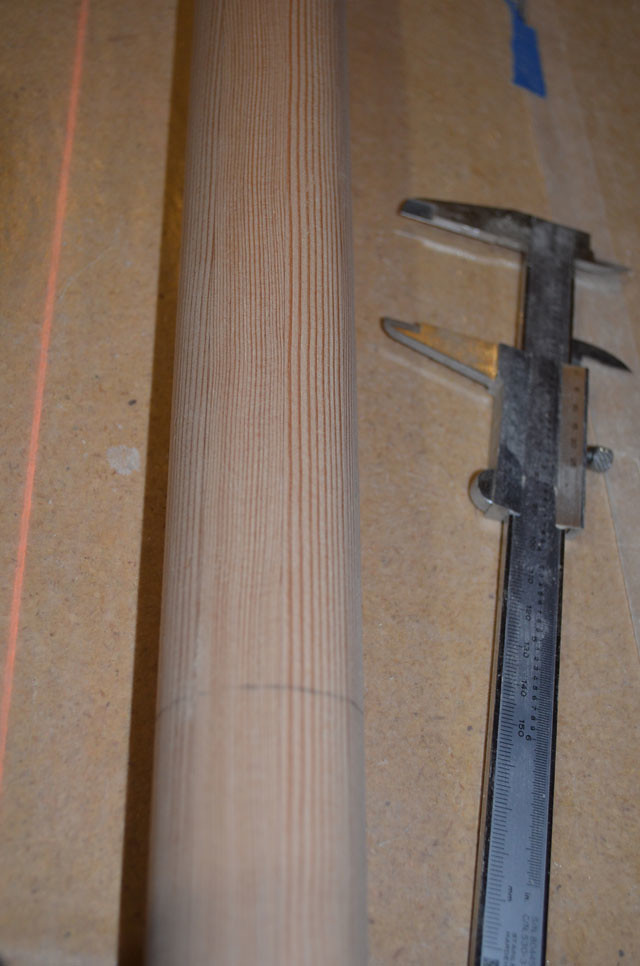
The pencil line is at 14'. A step will be created here for the shrouds. The mast is 1 1/2" in diameter at the step.


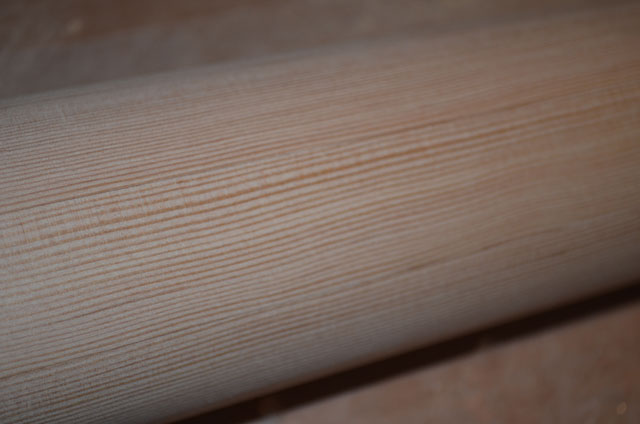
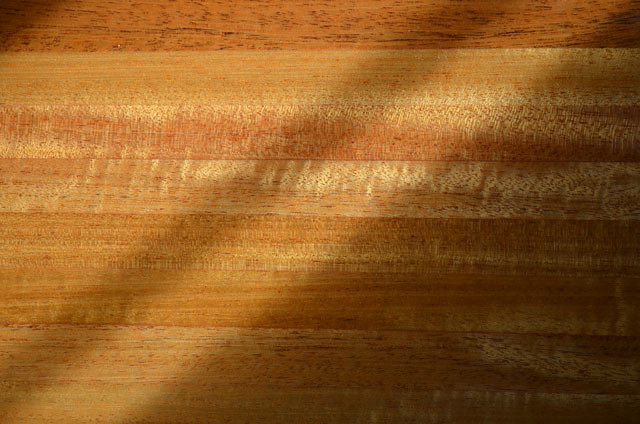
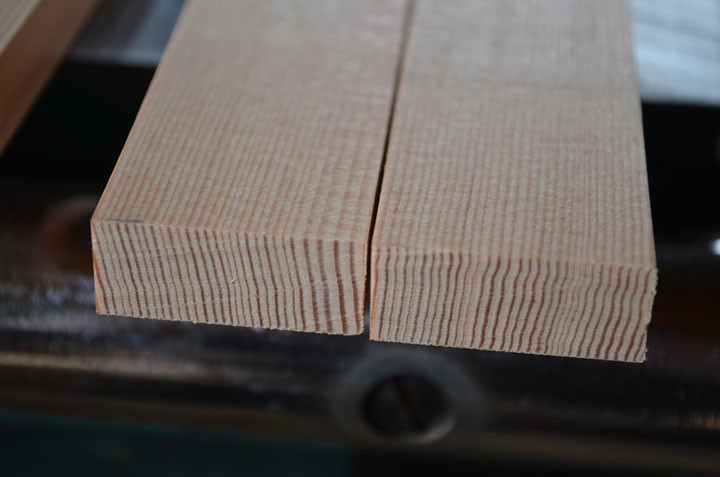
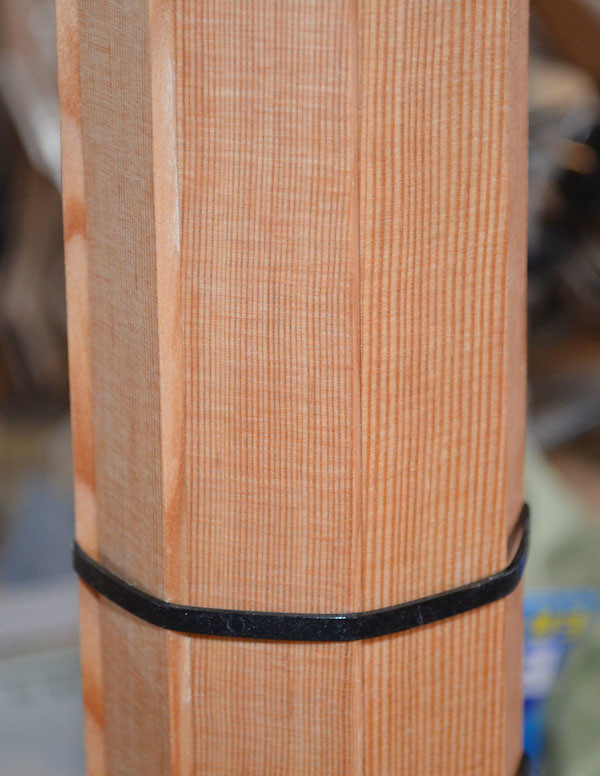
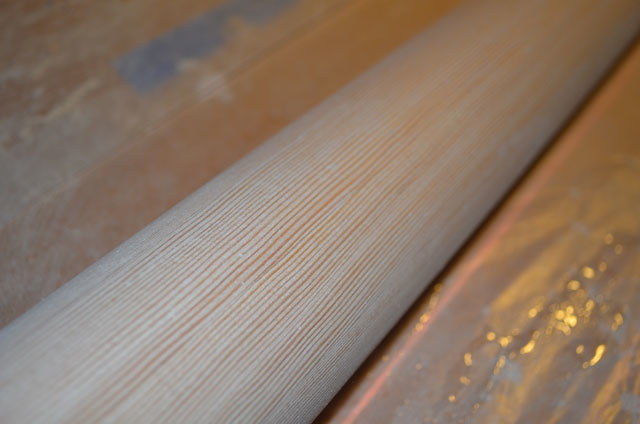
These close ups show the lovely consistency of the fir when quartered. The fir sands easily, but not too easily like red cedar or pine.


I still need to fabricate a bolster for the upper block on the throat halyard.


Also, a tenon must be added at the step as an alignment key. The mast diameter is 2 1/2" at the step.


Can't wait to break out the varnish, but first I need to shape the boom and gaff...

Wednesday, April 17, 2013

Snow day...

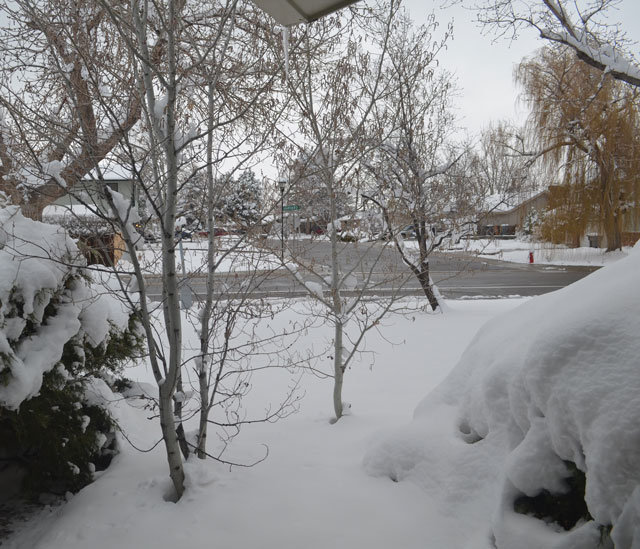
The town where I live averages only 14 inches of precipitation per year and we rely on the mountain snow pack for the lion's share of water we use. Last year the snow pack was below average and this year was looking to be the same. Thankfully, we have finally received a gift from mother nature and it has been snowing off and on for three days. We've seen over 16 inches at our house and reports from the mountains have been in feet. As I write this it is coming down again. The view from my shop this AM.


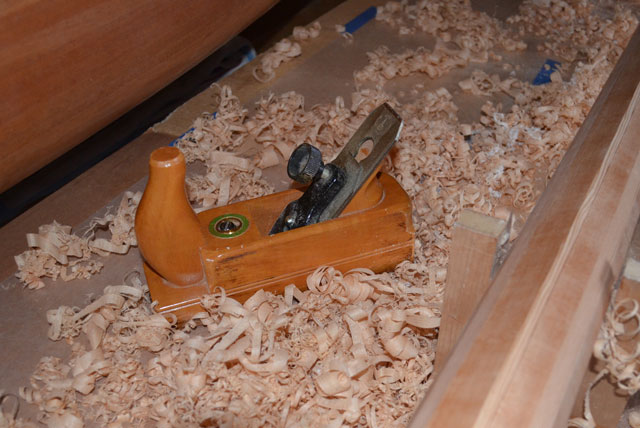
I continue work on the mast, using the smooth plane. I spent some time getting the plane set up just right. It often takes a bit of fussing, but when the blade is sharp, the sole perfectly flat, and the throat properly adjusted, one can get a very clean cut, even against the grain. I've had this plane for 25 years and it's my favorite.


The first task after glue up is to remove extra material, first creating an octagon, then a hexagon. I use an adjustable bevel to maintain the correct angles. This one came from my grandfather.


My approach is incremental as the hexagonal mast emerges. I check the dimensions regularly with calipers and my eye. The eye does not lie, most of the time. 


I hope to avoid using a sanding belt. The belt leaves cross grain scratches, a real pain to remove. I think most of the work can be done with the plane and a scraper. 


The mast keeps getting lighter, a good thing. I was concerned it might be difficult to manage when stepping, not so at all. Current weight is 11.5 pounds.


Friday, April 12, 2013

A birdsmouth mast...

Springtime in the Rockies can be quite fickle and this year is no exception. Sunshine and 70 degrees one day, snow and single digit temperatures the next. The old saying is; "if you don't like the weather wait 15 minutes". I took advantage of the good weather last week to prepare the mast for assembly. I'm using 8/4 fine grain quarter sawn Douglas Fir, acquired locally. The wood was a find at $7.23 per board foot in 18' lengths. I used a 16% wall thickness as the material is close grained and quite stiff with up to 30 rings per inch. The mast is 14' - 6" overall, 2 1/2" at the step, tapering to 3" at the boom, and tapering to 1 1/2" at the top. I made some fixtures to aid in assembly and keep the mast straight while the epoxy cures.


I'm following Ross Lillistone's advice on blocking, using a solid piece between the step and the partner. This piece is tapered to reduce stress where the block ends. The small block is for the top of the mast.


 I used a roller and sponge brush to apply the epoxy, making sure the inside surfaces are well covered. The assembly fixtures made it easy to align the parts while clamping. I used hose clamps and cable ties to hold everything together.


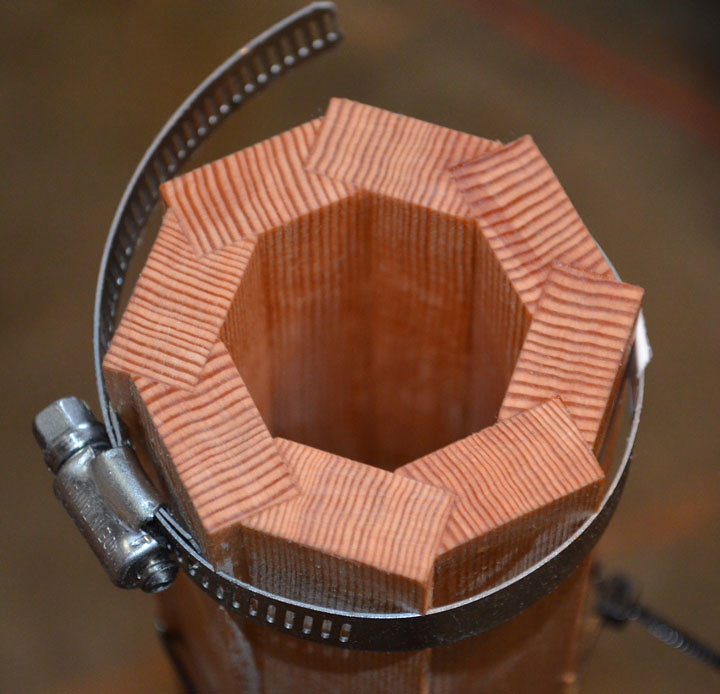
If the staves are properly machined assembly is very easy as the pieces are self aligning.


The finished product looks pretty straight and weighs about 15 pounds. Time to sharpen the jack plane and get to work...
Sunday, March 24, 2013

A bare naked hull...
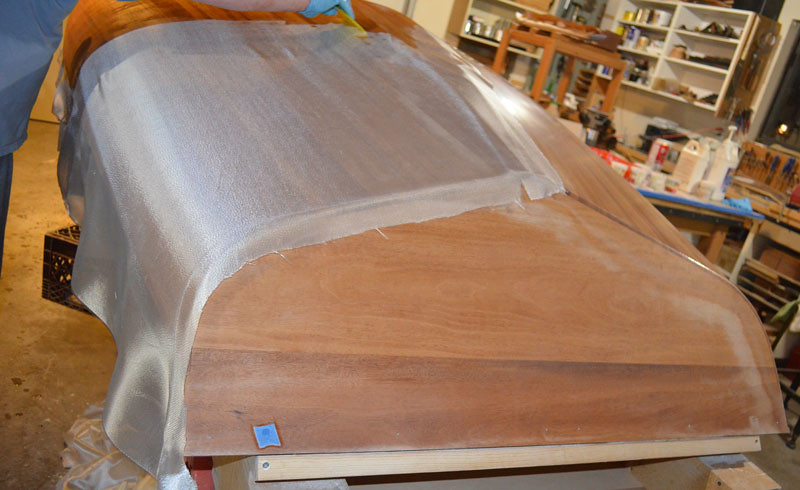

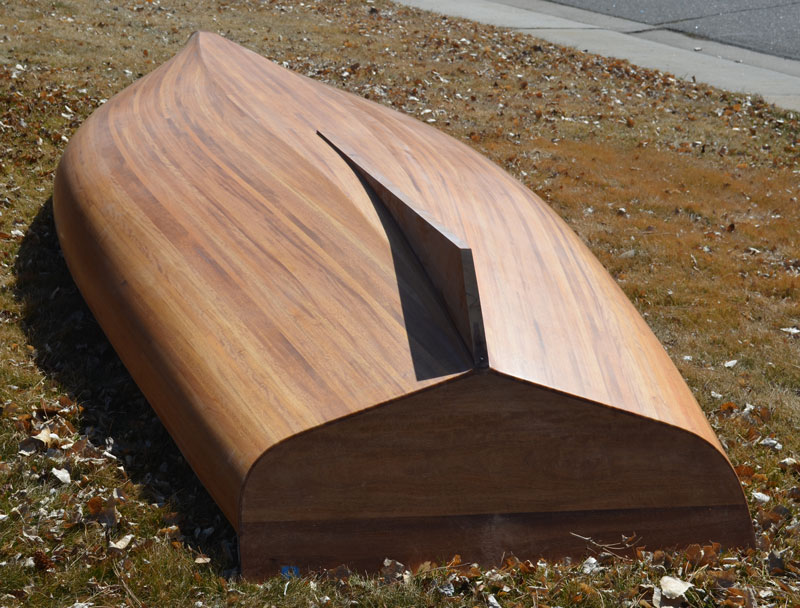
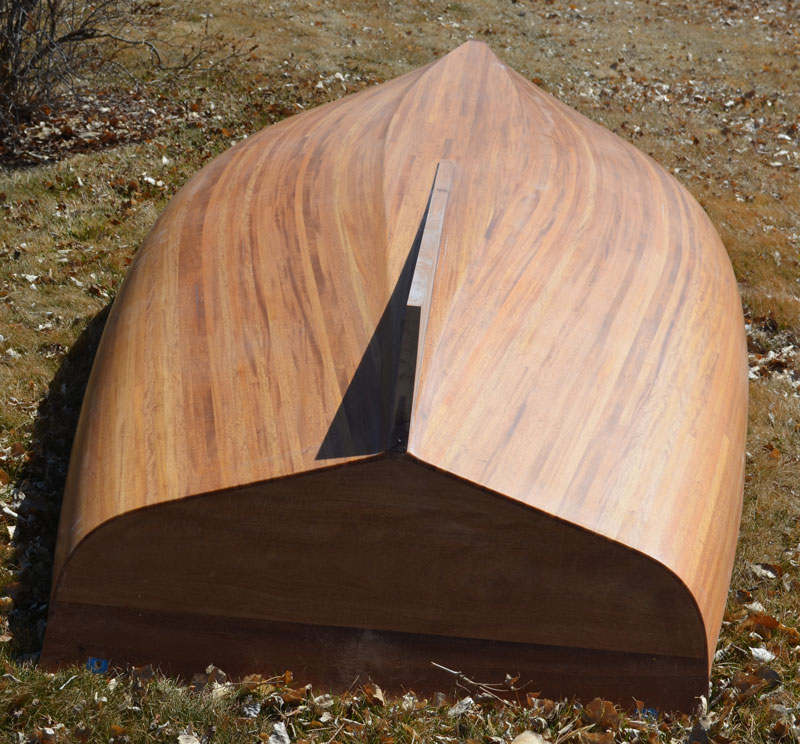
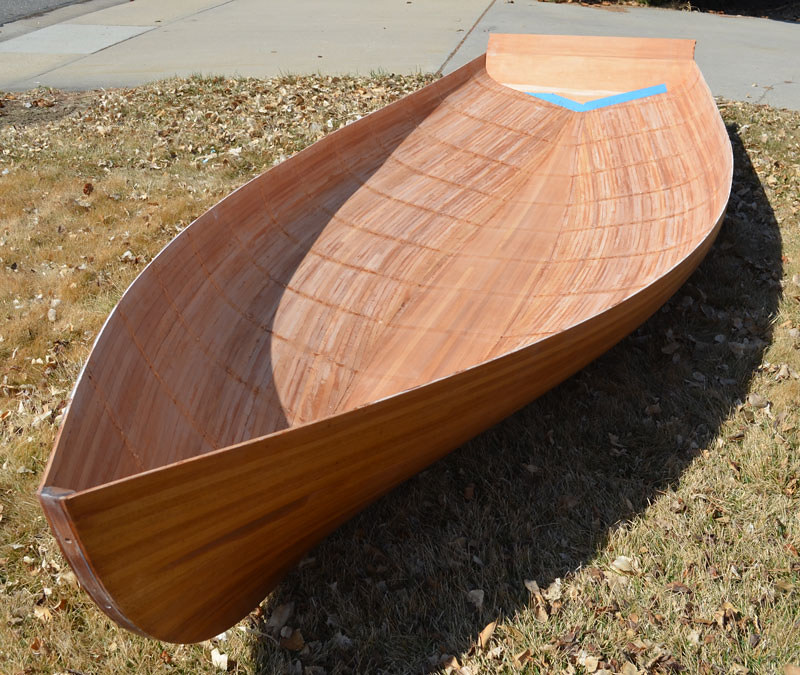
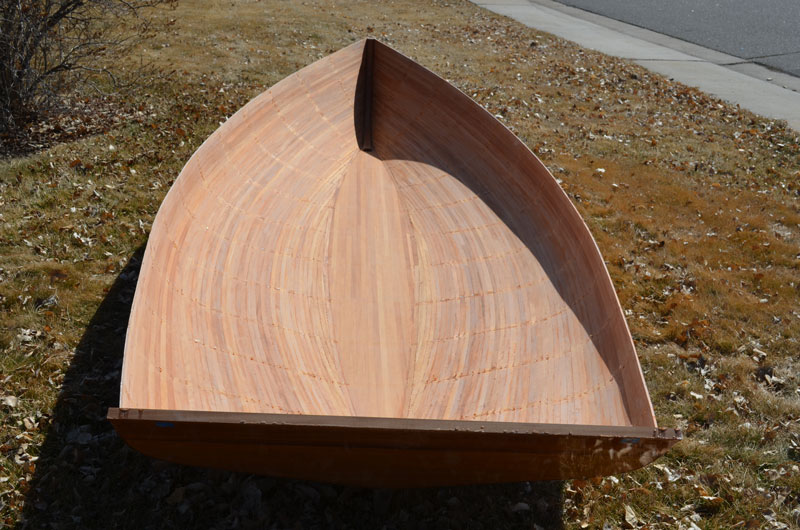
Beautiful weather on Friday provided the opportunity to free the hull from the mold. I've been wondering how much it would weigh at this stage and was pleasantly surprised to find it is fairly light. I’m guessing 70 to 80 pounds, quite easy to move with two people.


A friend and I moved the hull outside while we disassembled the molds. The boat will now be flipped over so I can prepare the inside for fiberglass.


I see quite a bit of scraping and sanding in my future...
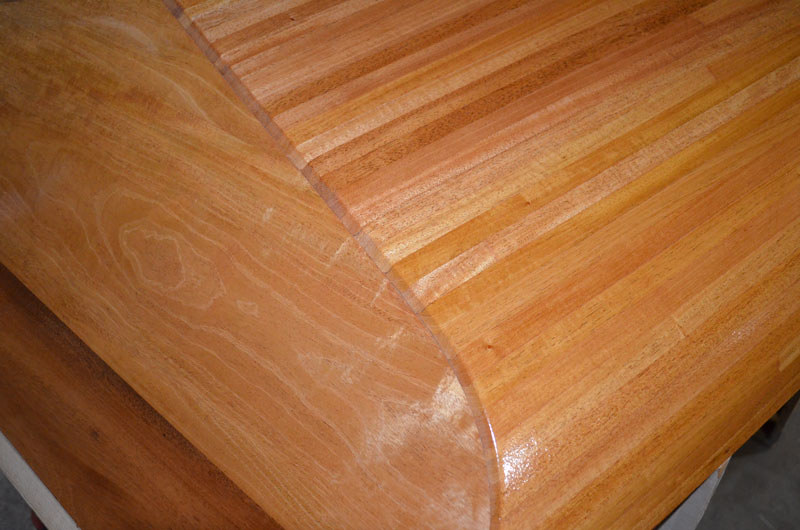

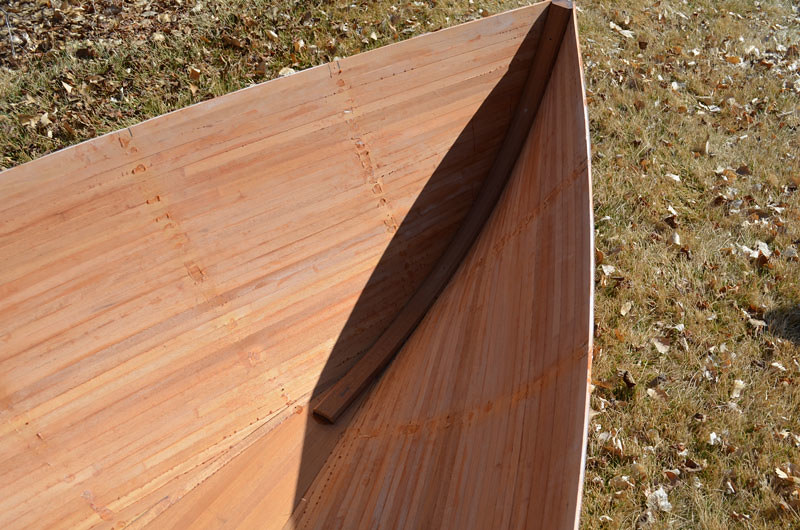
Especially around the inner stem...
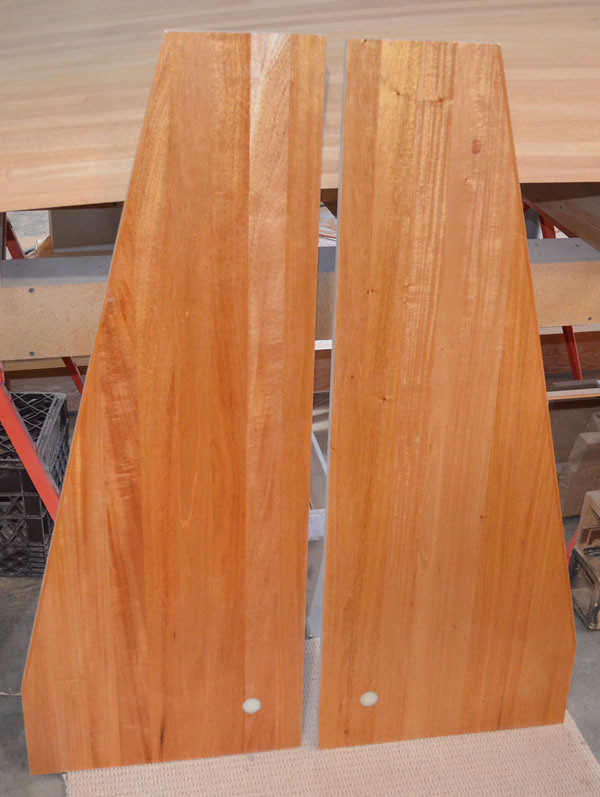

It's really great to finally see the boat in the upright postion!


Sunday, March 10, 2013

A skeg and a prayer...

A short rant on epoxy


Sometimes we do things against our better judgement for reasons that seem quite logical at the time, only to regret our choices later. I hope this is not true of my choice to build with fiberglass. My misgivings date back to the days of polyester resin and I can honestly say if modern epoxy had not come into use I definitely would not be using fiberglass. When I was a cabinetmaker I looked at epoxy as the slightly less evil cousin of Bondo, a really nasty product used mostly in the auto repair business. While modern epoxy is much less toxic, it is still very unpleasant to work with. As of late, I'm wondering if it is really worth all the effort in the long run. Epoxy must be protected from UV in the same way wood must be protected from water. Both require a quality topcoat to stay in good condition. It's true the fiberglass adds some strength and abrasion resistance, but a well maintained traditional boat will probably last just as long. The promise of fiberglass and epoxy is light weight durability and ease of maintenance. I hope this proves to be true.

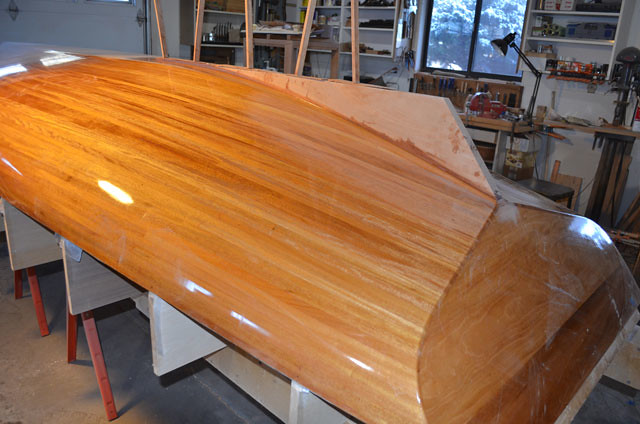
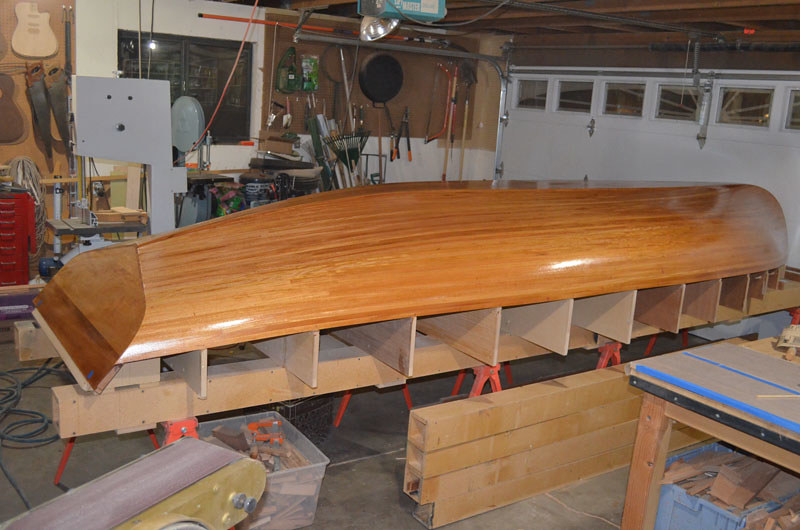
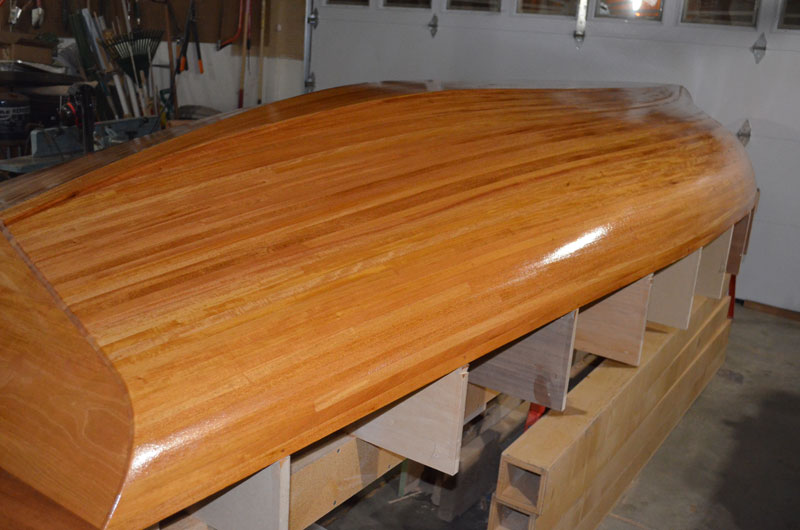
After a final coat of epoxy the boat kind of resembles a bowling ball; as far as the finish goes. The epoxy dramatically enhances the natural chatoyancy of the mahogany.


I'm eager to get beyond the fiberglass. No matter how much I vacuum, the shop is perpetually covered with a thin coating of epoxy dust. Time to get this boat flipped over!

The Skeg


Barto suggests the use of 3/4" plywood for the skeg. His instructions are to laminate two pieces, creating a 1 1/2" thick blank. The blank is then tapered to 1" in two directions to form the skeg. I'm not using plywood, instead I'm using a very old piece of 6/4 mahogany that seems just right for the job. I'm not sure where this piece came from, but it is exceptionally dense and very dark in color. I've been looking for a project to use it on for years and the board is large enough to provide material for the bottom rub rail too.


My new favorite tool might be the Bosch power planer. It took a lot of the work out of the tapering process. The most difficult part was matching the curve of the hull.


I used some flexible battens to apply clamping pressure, a technique often used in guitar making, but on a much smaller scale. I have also seen this technique used in the Ian Oughtred book on clinker boat building.


In this shot you can see how the skeg is shaped. Just like a wing on a bowling ball...


The finished product.


Next, turn the damn boat over!

Tuesday, February 26, 2013

Catalytic homopolymerisation...

Epoxy, even under the best of circumstances, is no fun to work with. However, I'm old enough to have experienced the displeasure of working with polyester resin, so I'm very happy to be using a less toxic product. This said, epoxy is plenty toxic and every precaution should be taken when using the stuff. The dust is fine and a real pain to contain. I hope to get through the fiberglass stage as quickly as possible.

I have no previous experience with fiberglass, so I spent some time reading various tutorials and watching YouTube videos on the subject. Also, a friend who is building a kayak gave me some good tips from his experience. Some folks take the extra step of sealing the wood before wet out. I like this approach because it creates a uniform snag free surface to lay the glass on and allows for less epoxy to be used during wet out. Also, after sealing the boat, you get one more opportunity to detect imperfections better dealt with before glass is applied. When I rolled on the seal coat the mahogany came to life.


I found myself second guessing my decision to paint.


The inside will be bright for sure.


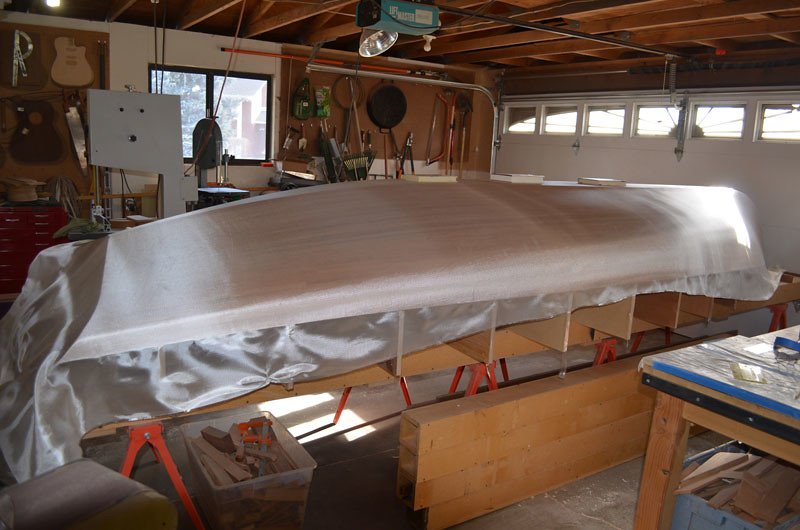
I chose 6 oz glass, some folks use 10 oz, to keep the weight down. My plan is to use two 50" wide by 16' long pieces, overlapping on the bottom and chines. The 6 oz glass laid down nicely without much trouble.


I'll be glassing one side at a time, feathering the layers at the joints. The transom will be done last. The glass cloth was easier to work with than I anticipated, just make sure to use hand softener first. It is worth taking the time to smooth the fabric as much as possible before wet out.


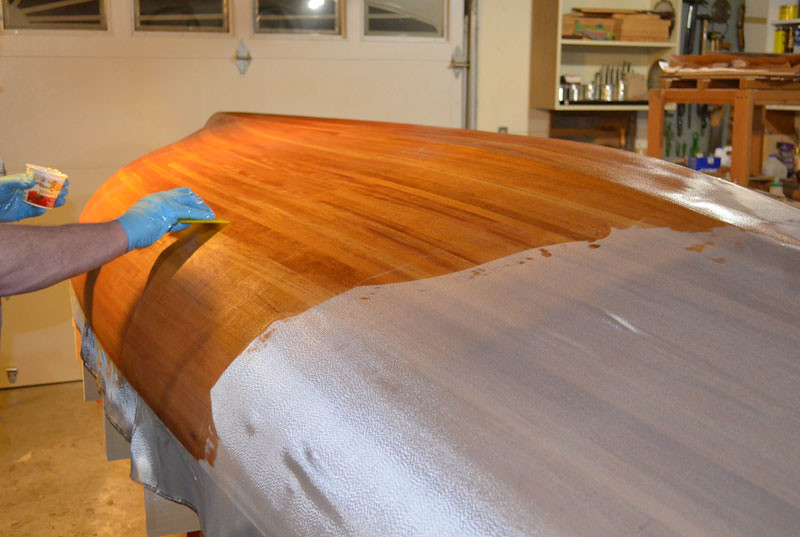
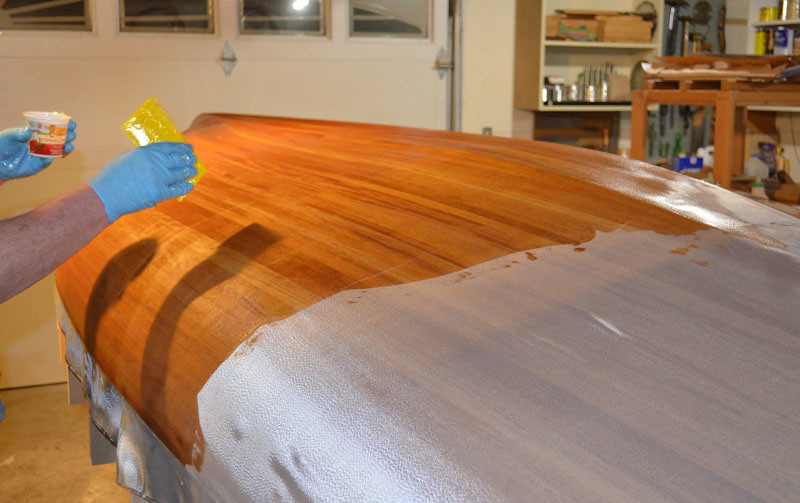
I found a plastic trowel was the most efficient way to apply the epoxy during wet out. I just poured epoxy where needed and spread evenly with the trowel. The trowel allows fairly precise control and seems to minimize the amount of epoxy used for a given area. All the tutorials warn against applying epoxy too heavily; I tried to follow this advice. When thoroughly saturated, the cloth becomes invisible. Extra epoxy must be removed before moving to the next section. This is referred to as tipping off.


It is best to mix the epoxy in small batches so all parts of the process can be completed before it goes off. Resist the urge to mess with the finish once it starts to harden. I found 6 ounces to be about right. Everyone agrees results are best if the temperature is kept above 70 degrees during application.


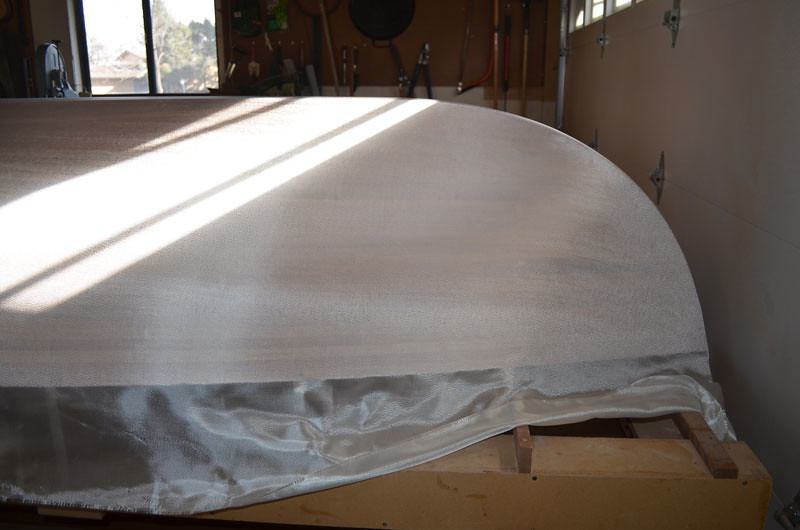
The cloth extends about 4 inches beyond the far chine. Each side requires three coats to completely fill the weave. I'm wetting out the second half of the boat below. Feathering the overlapping cloth properly takes a bit of practice but, if done correctly, the joints are invisible.


The transom is covered next, allowing for two layers of glass at the edges. I'll let the epoxy shrink for a couple days, then sand it smooth before I turn her over. Guess I better get working on the skeg.


Monday, February 11, 2013

Odds 'n Ends

I'm chomping at the bit to to glass the hull, but the weather is just not cooperating. In the meantime, I've made some progress with the centerboard and trunk. My first experience with fiberglass and epoxy was, thankfully, uneventful. I'm using the MAS product and so far it works as advertised. I followed the instructions using 6 oz. glass with 3 coats of epoxy on the trunk parts. For the first time I can see what the mahogany will look like when finished.


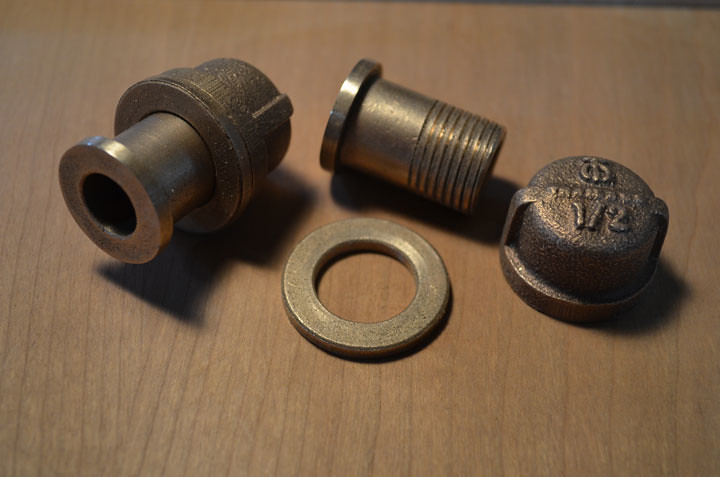
My next task is to drill for the pivot hardware. I'm using two flanged bronze bearings and a 1/2" bronze rod for the pivot mechanism. I like the idea of bronze on bronze and the bearings are inexpensive, less than 3 bucks a piece at Amazon. I'll add an O-ring behind the flange and use a bronze pipe cap to seal the end and hold the bearing in place. I had to machine the NPT threads myself, not difficult as bronze is relatively soft. The bronze caps cost $5.30 a piece at Hamilton Marine Supply.


I plan to install the pivot hardware before trunk assembly to make sure everything lines up properly.

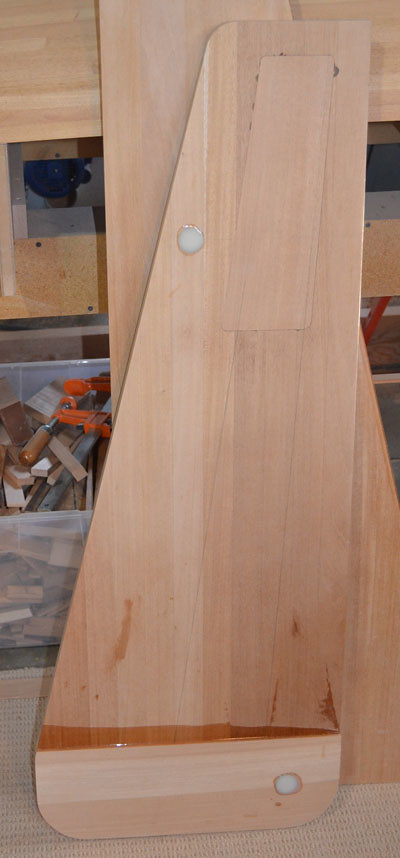
The centerboard is almost ready to shape. I added a couple pieces of mahogany to the pivot area, reducing the clearance a bit and adding some strength.

 
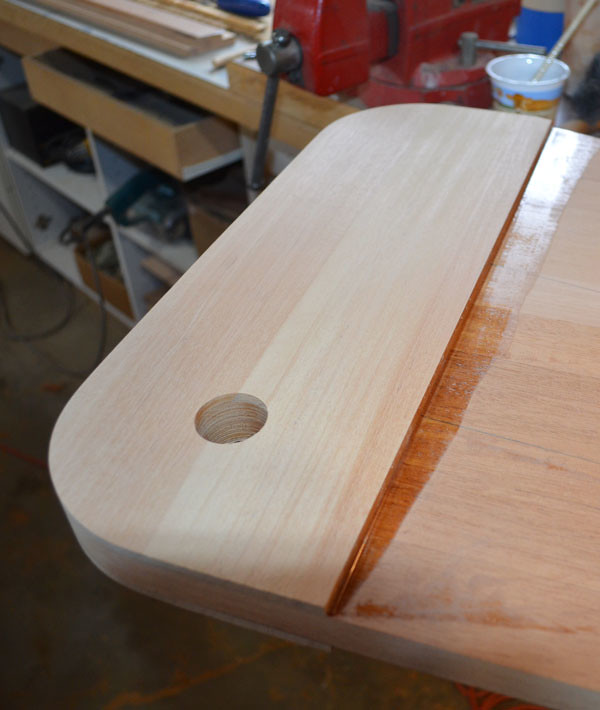
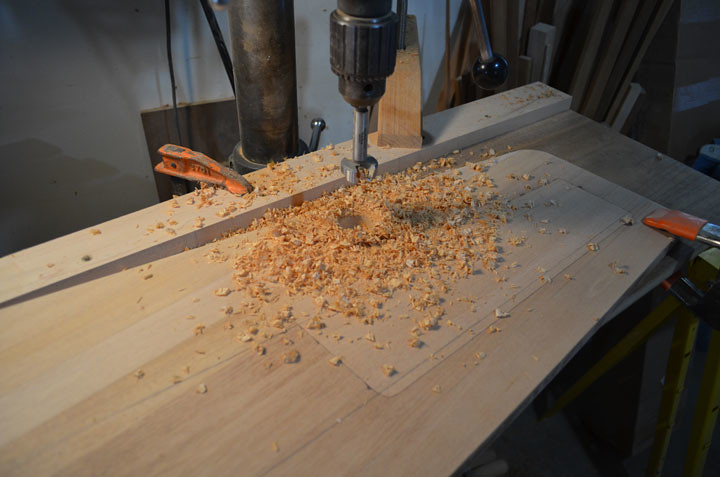
The lead cavity is covered with a wooden lid and a hole is drilled for the lanyard.


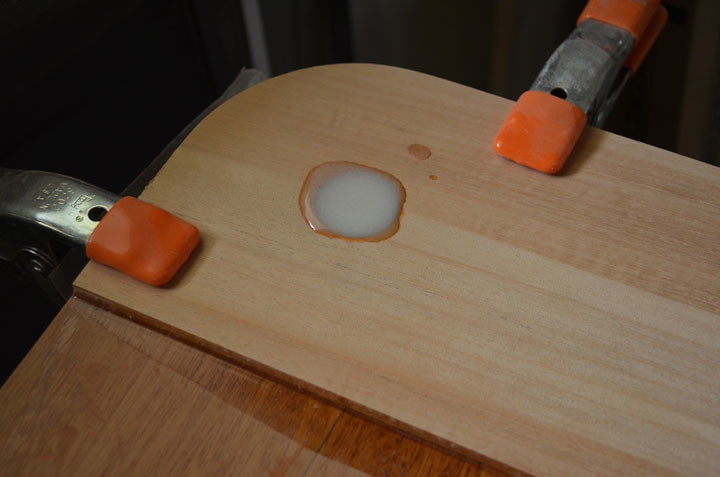
Epoxy is poured to create a waterproof seal around the pivot and the hole where the lanyard attaches.


To do; shape the foil and glass.


Birdsmouth Test Case


I originally planned on using Sitka spruce for the mast and spars. I knew it was a favored material for this purpose and I have lots of experience using Sitka for guitar tops. The problem began when I tried to source locally. No dice! I called folks on the west coast who quoted $10 a board foot for spar grade material. The price didn't faze me but the shipping charges did, more than doubling the cost. Time to rethink. Doug fir is the other preferred material and after some searching I found a local source for fine grade 12/4 fir in 18' lengths. The source was a wholesale supplier, but kind enough to let me take a look before I committed. I drove down and followed the fork lift driver to a warehouse in the very back of the complex. The warehouse was filled with Doug fir, most of it unfit for my purposes. After a bit of searching we found the good stuff and I was able to procure a near perfectly quartered 18 footer, about 8 1/2" wide and 1 7/8" thick, for $7.23 a board foot.

After staring at the board for a week or so, I broke out the power plane and circular saw to do the initial resawing. The board contained several obvious defects and some hidden ones. I did my best to work around the obvious and the rest is luck. Thankfully, the board yielded just enough material for the boom and mast. The waste included a 3' x 8" piece that I will use to test the birdsmouth technique.

From a woodworking perspective, the hollow birdsmouth style mast is an amazing thing. The procedures for building a birdsmouth mast are well documented and there are many how to tutorials available online for reference. Having no personal experience with mast building, I thought it best to do a mock up first. The mock up will be built just like the bottom three feet of the real mast, tapering from 3 to 2 1/2 inches in diameter.

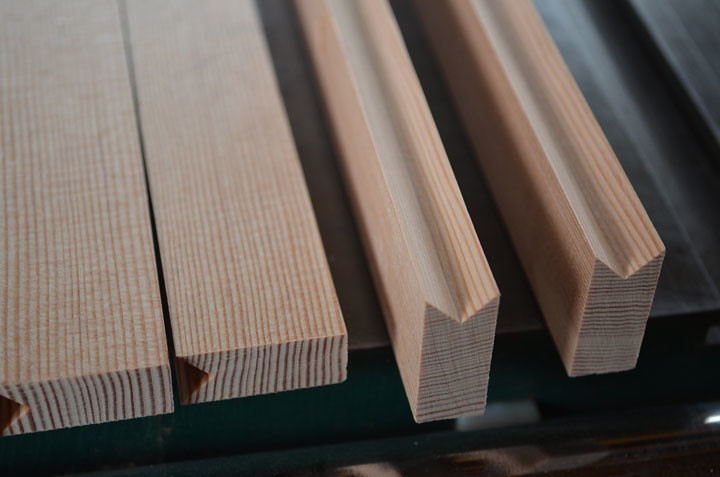
The fir I'm using is very fine grained and dense, so I'm going with a wall thickness of 16%. I started with 8 pieces, like those pictured below, using the online calculator at http://www.clintchaseboatbuilder.com/resources/calculator-4.htm to obtain the correct dimensions.


The pieces are tapered and the birdsmouth is added.


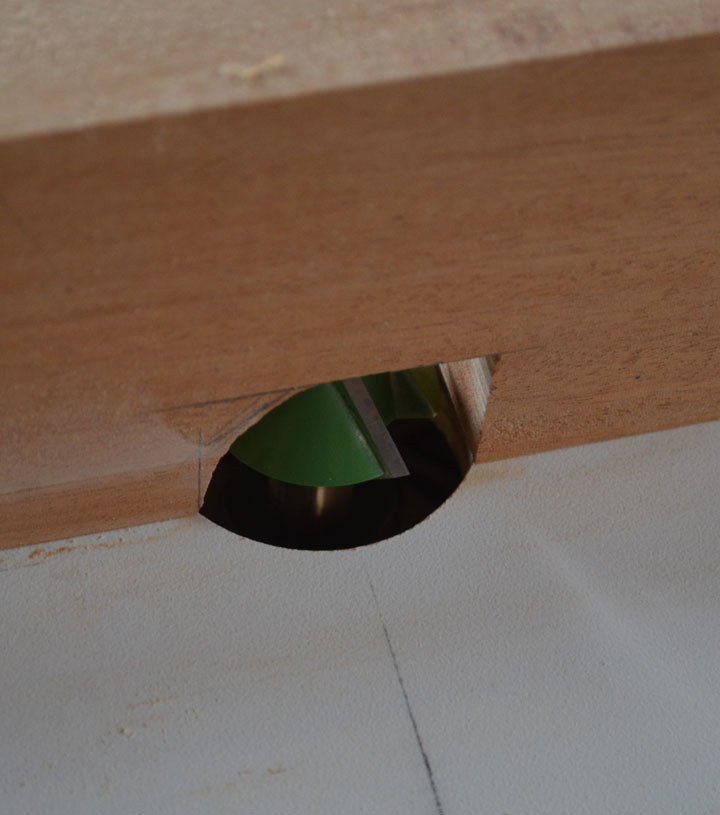
You can do this on the table saw or use a router bit as I did.


Hose clamps and cable ties hold everything together while the epoxy cures.


Looks like the online calculator is accurate!


I keep thinking how lovely Doug fir would look as decking.