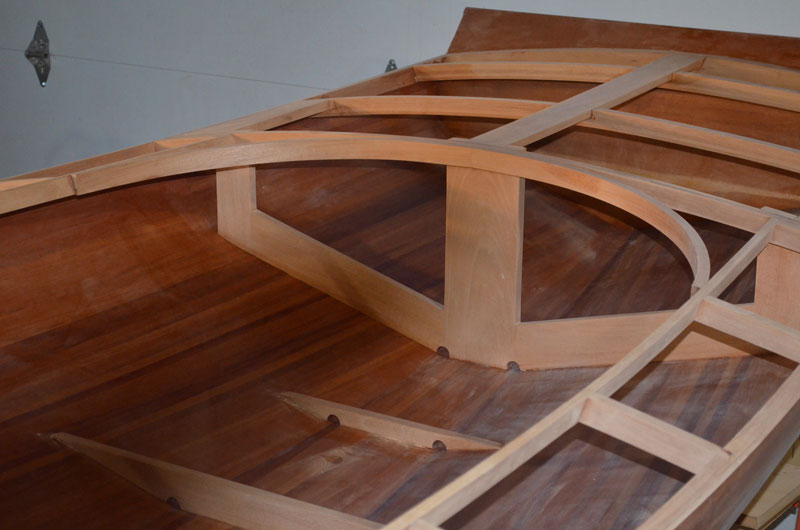
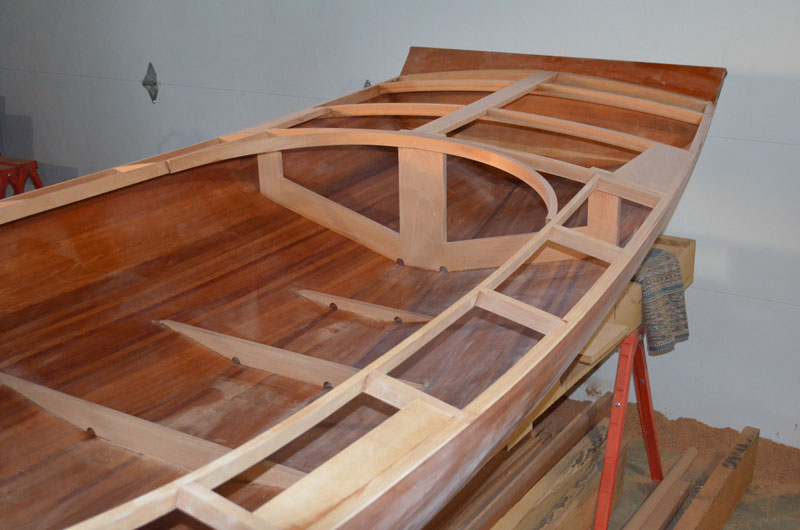
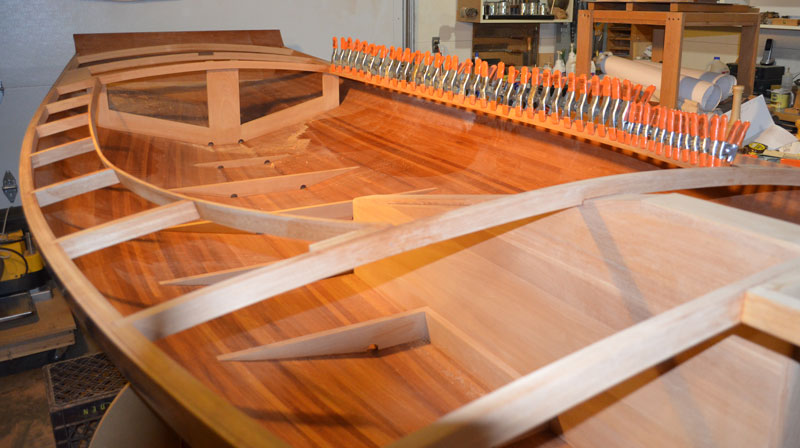
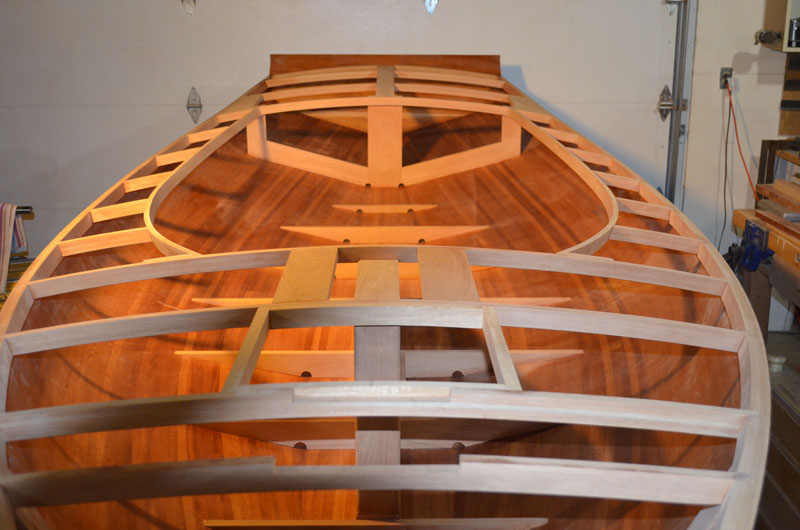
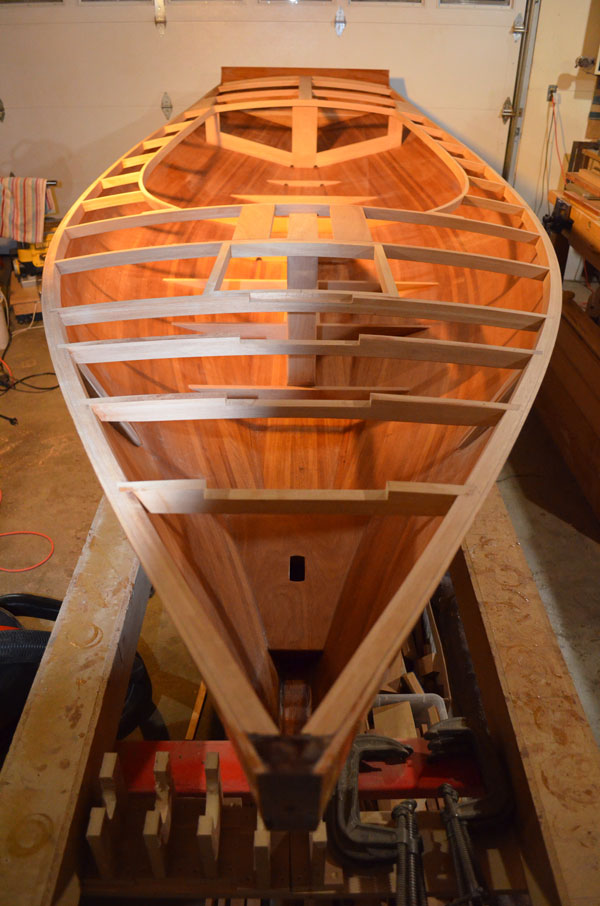
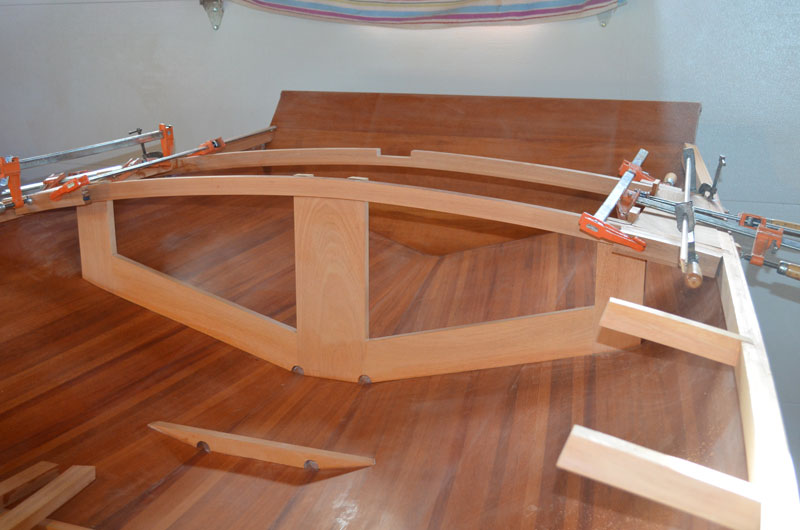
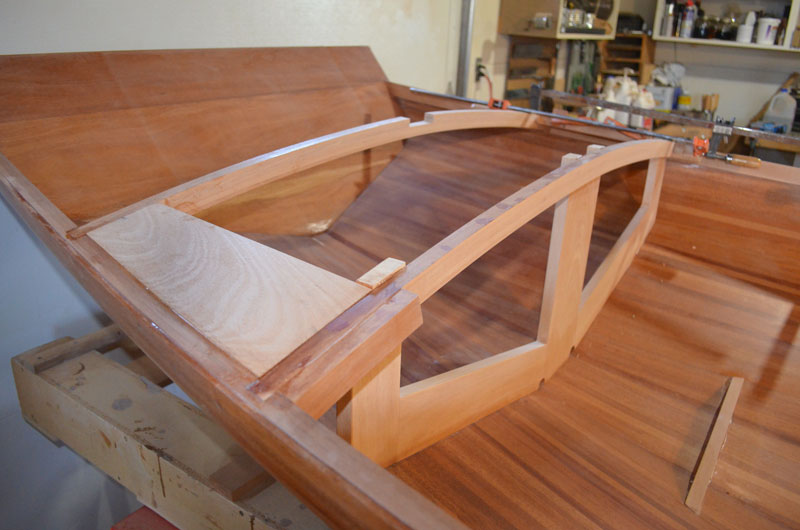
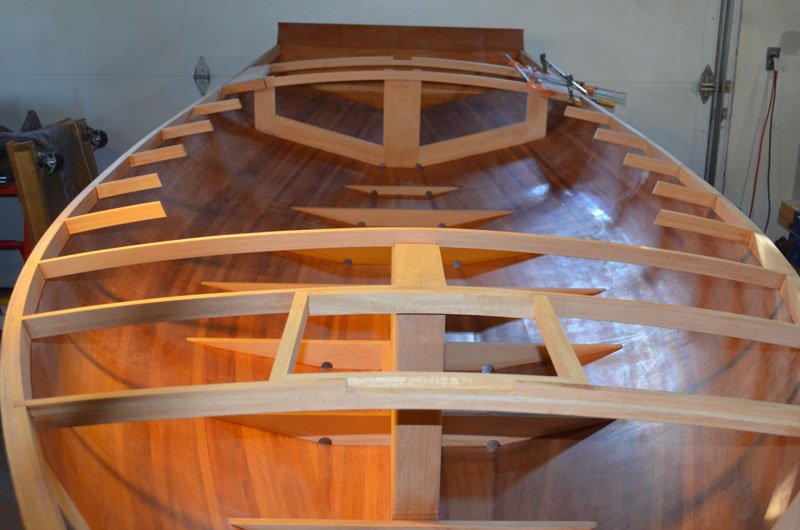
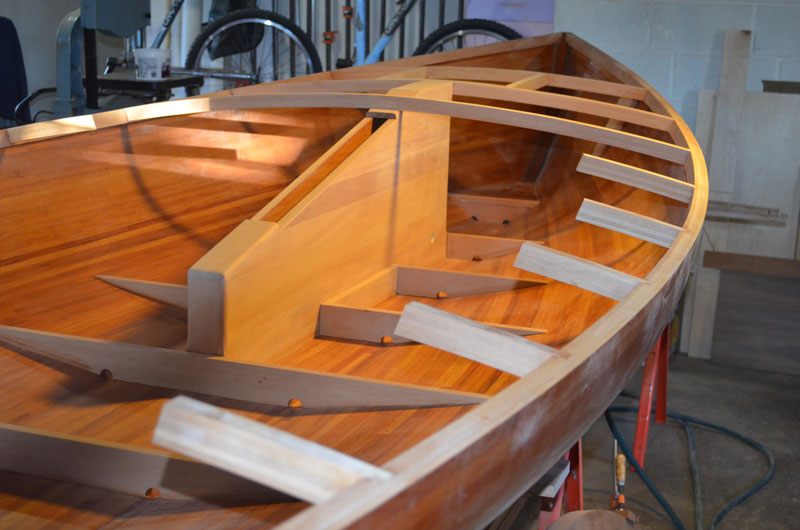
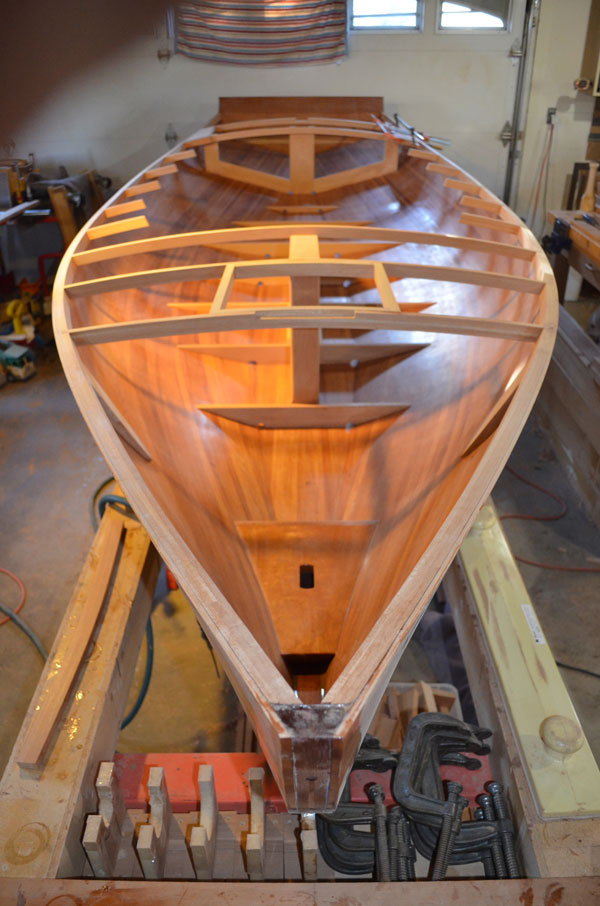
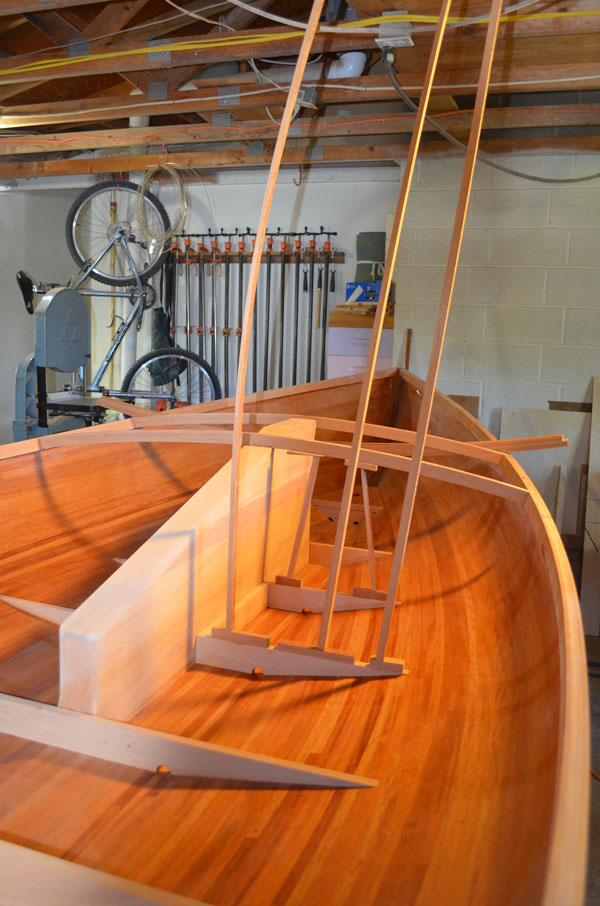
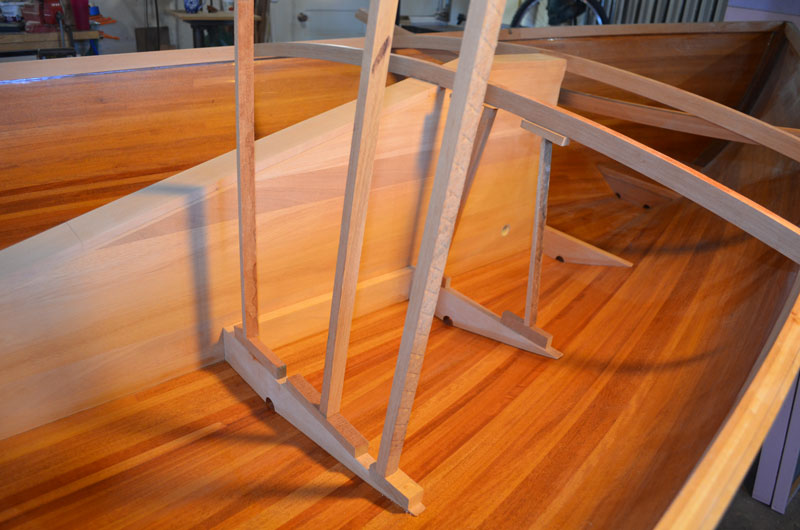
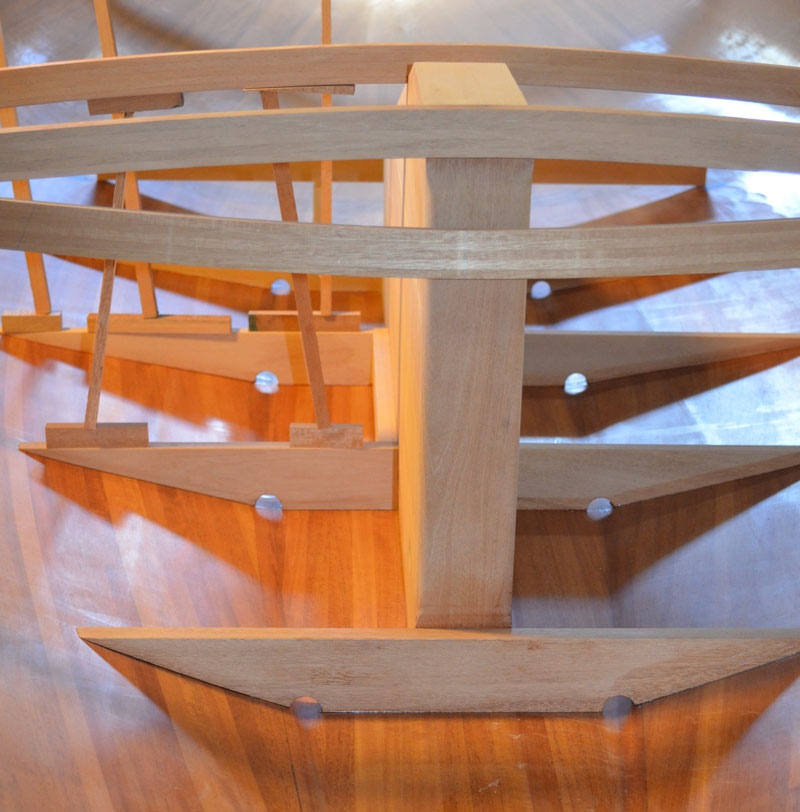
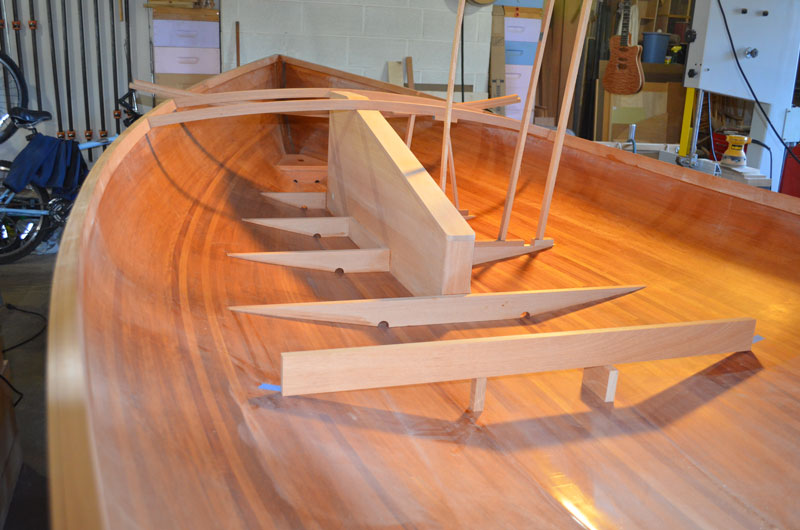
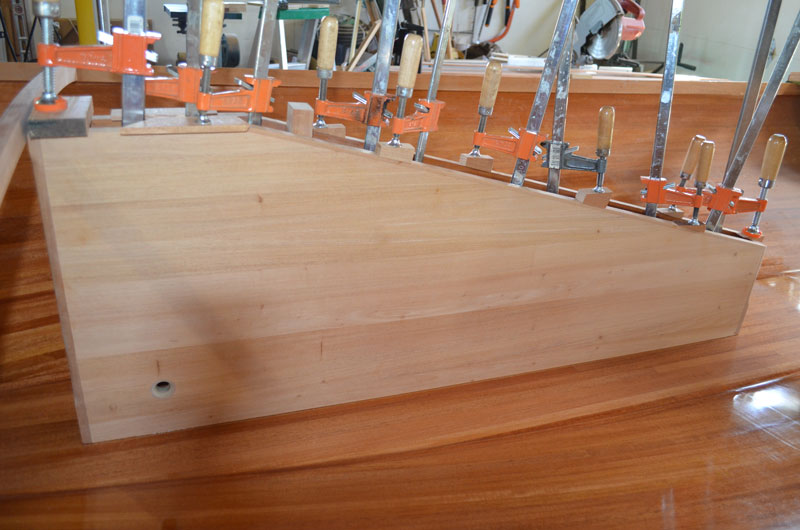
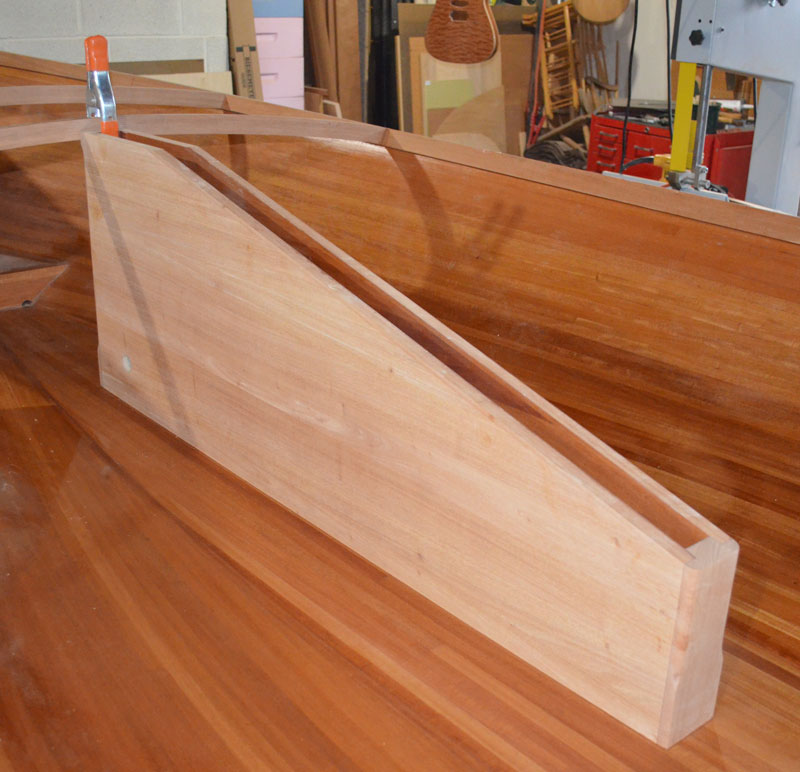
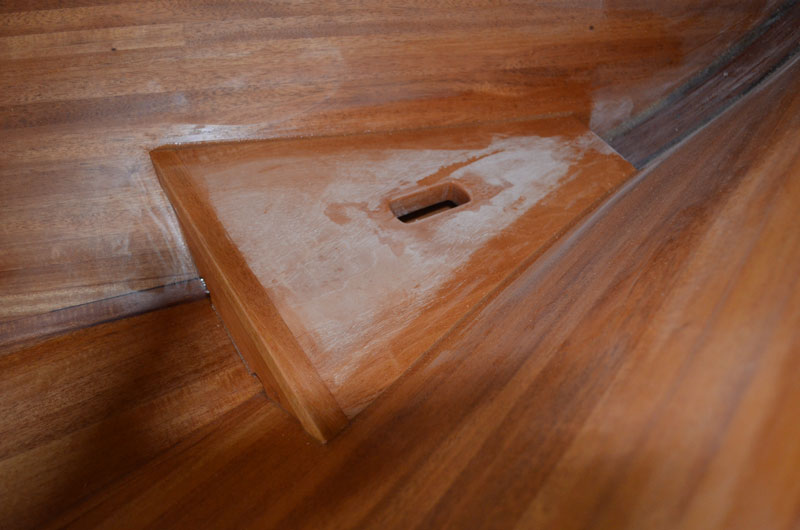
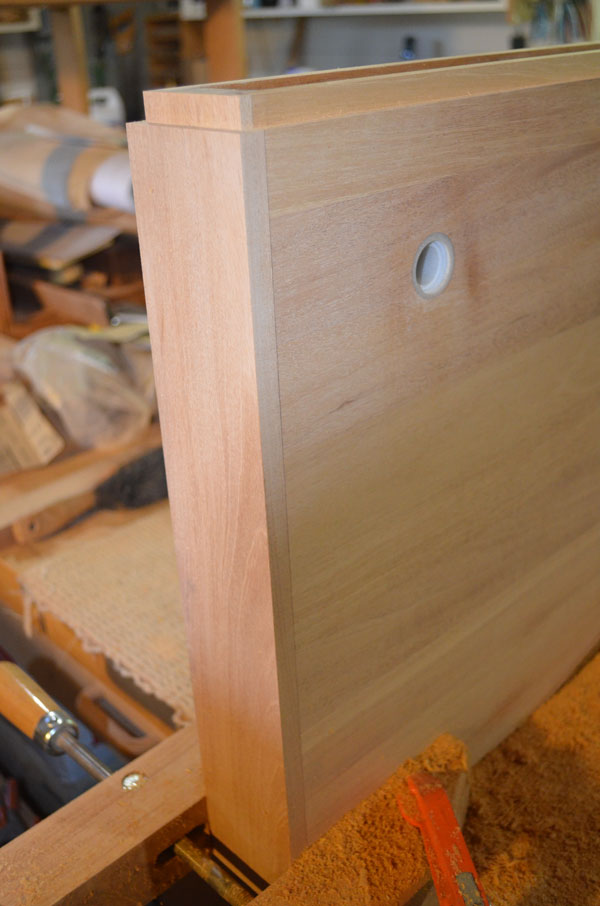
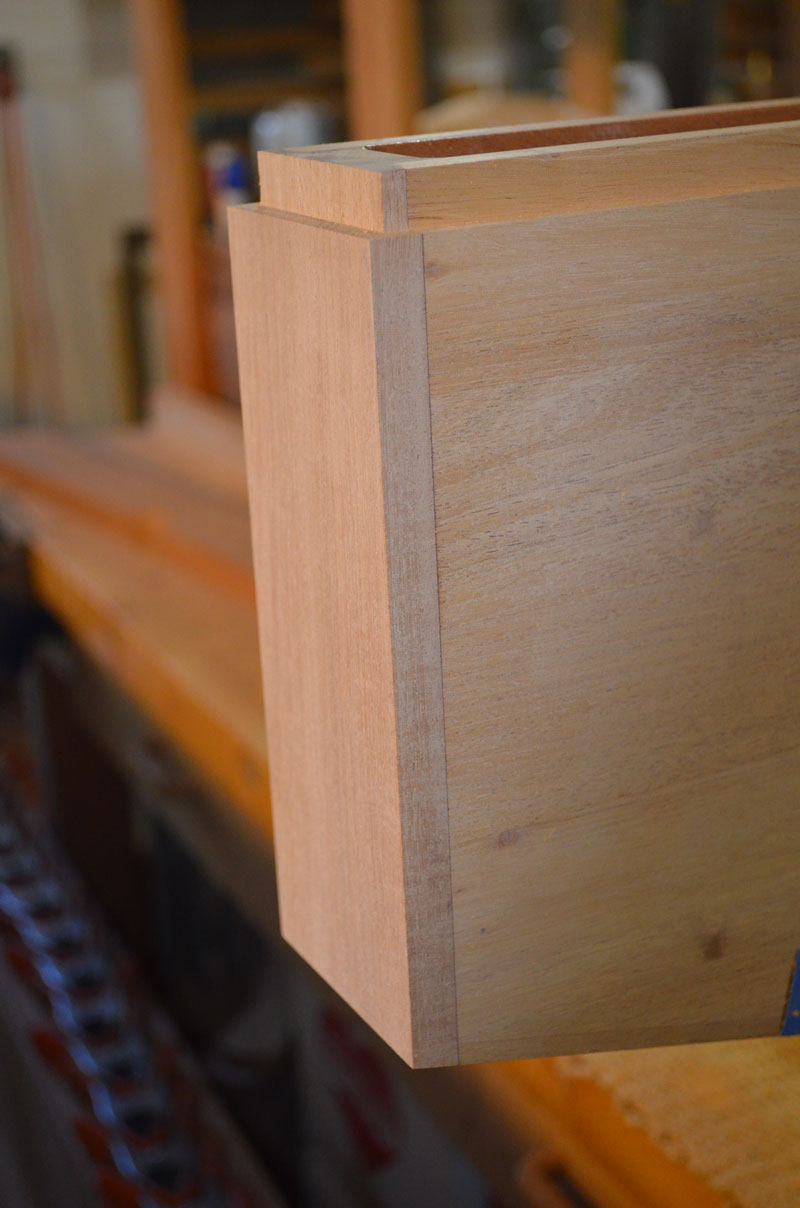
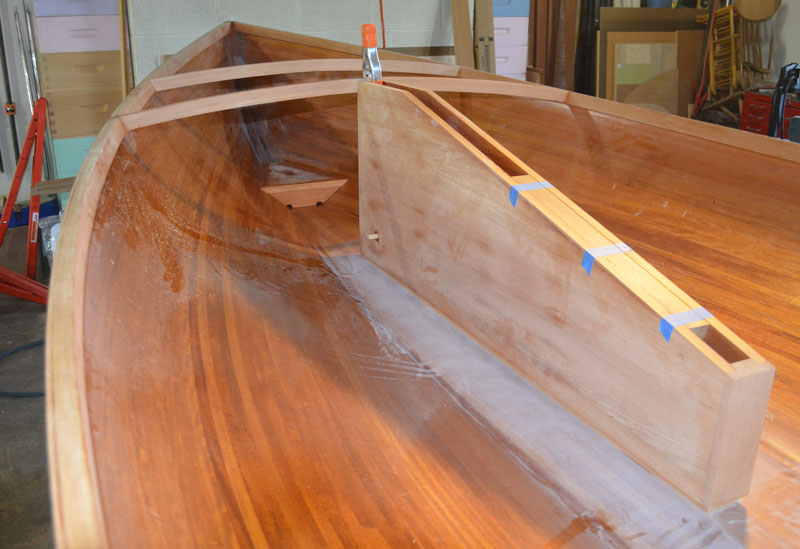
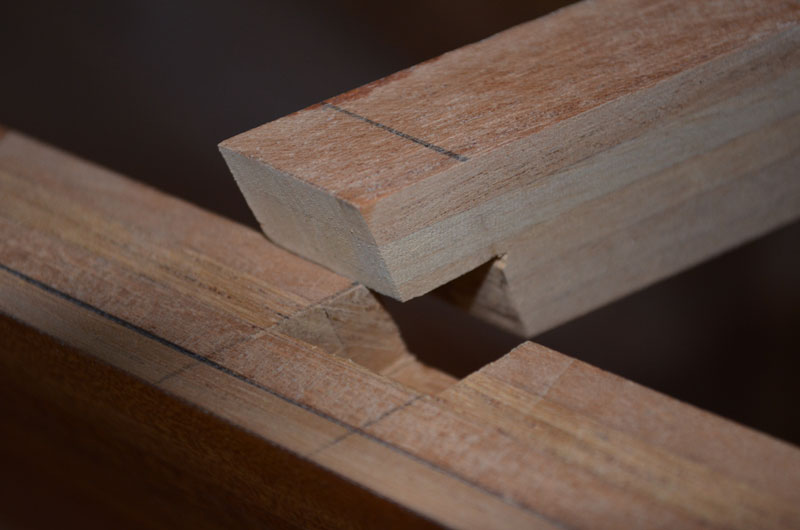
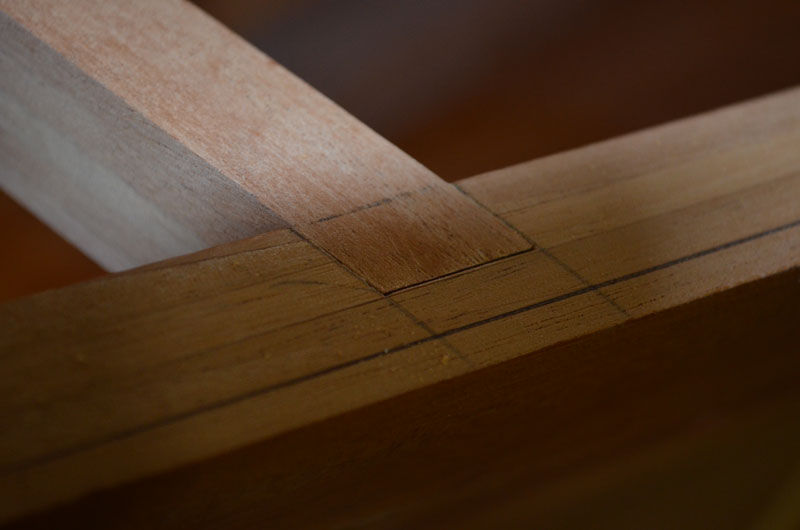
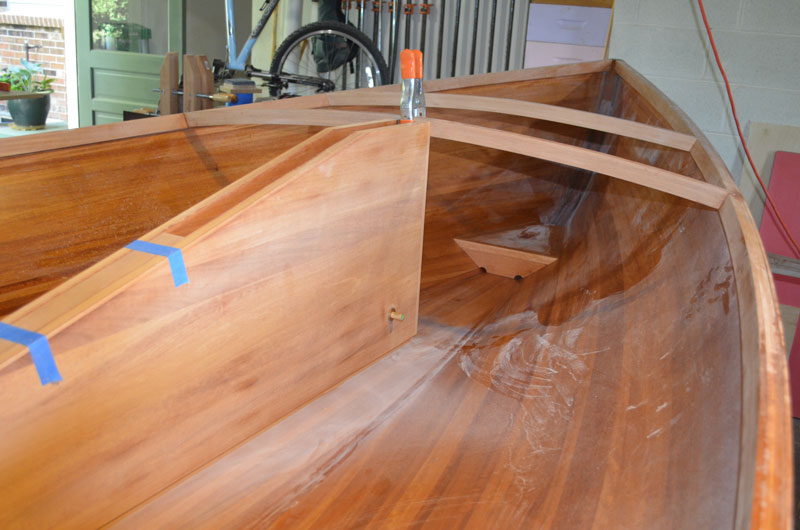
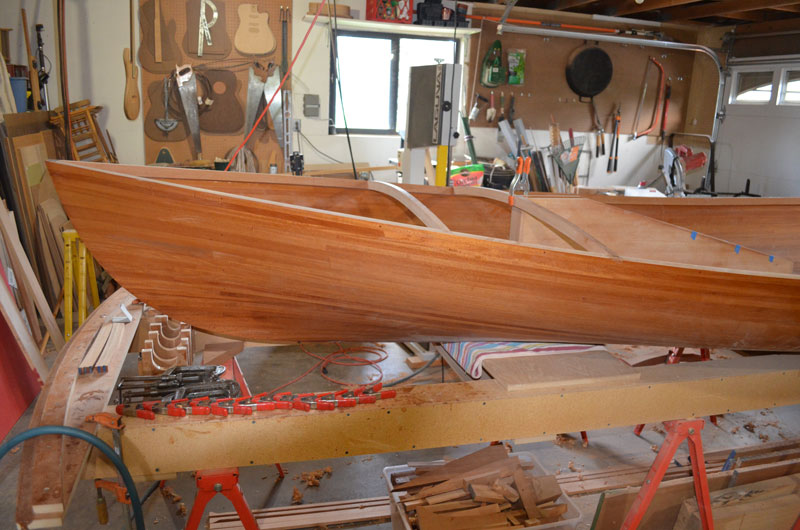
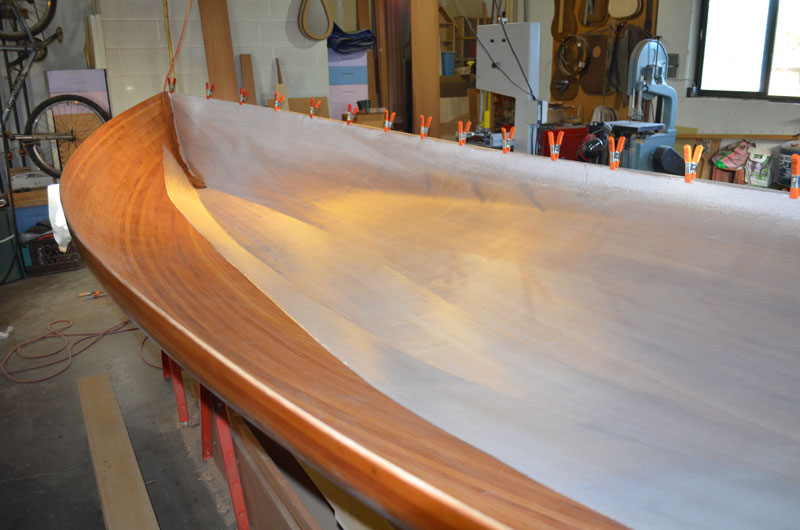
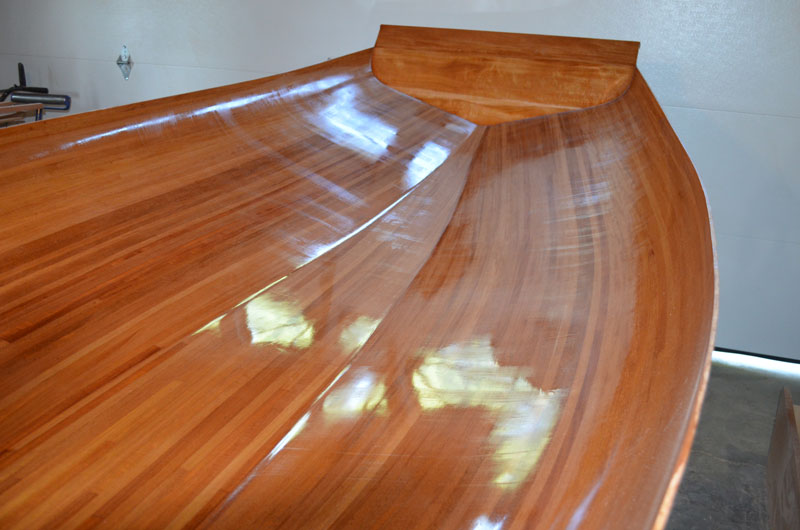
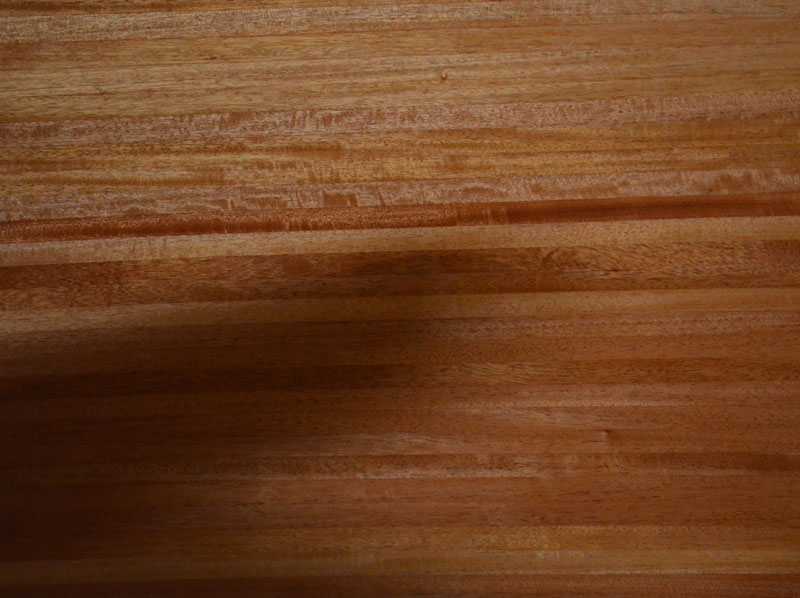
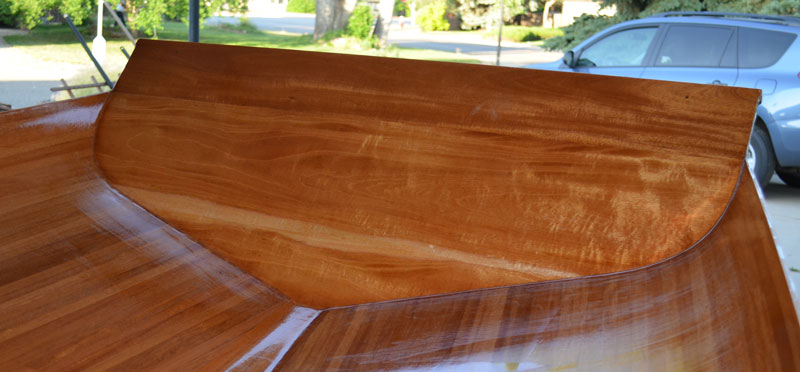
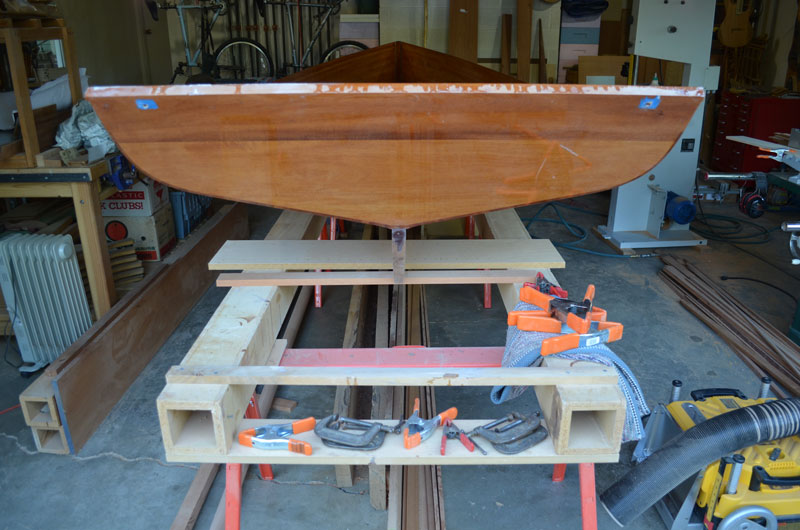
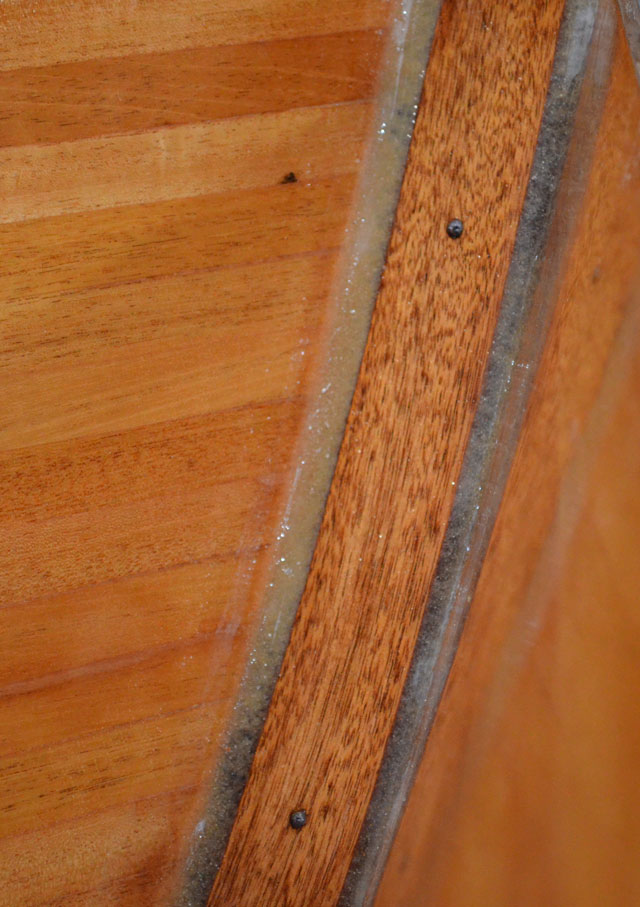
From the start I wanted to do something different with the cockpit. I spent lots of time looking around on the internet and decided on a combination of the features I liked best, pointy and round. I thought rounding the rear of the cockpit would make sense visually and ergonomically. One of the things I hoped to avoid was an uncomfortable hump, created by the combing, when sitting on the deck. The design I've settled on solves this problem.
Making the curved beams:
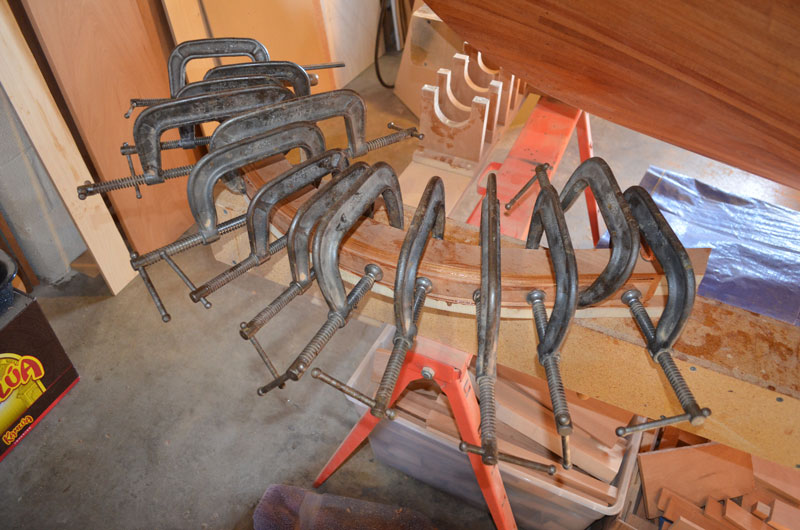
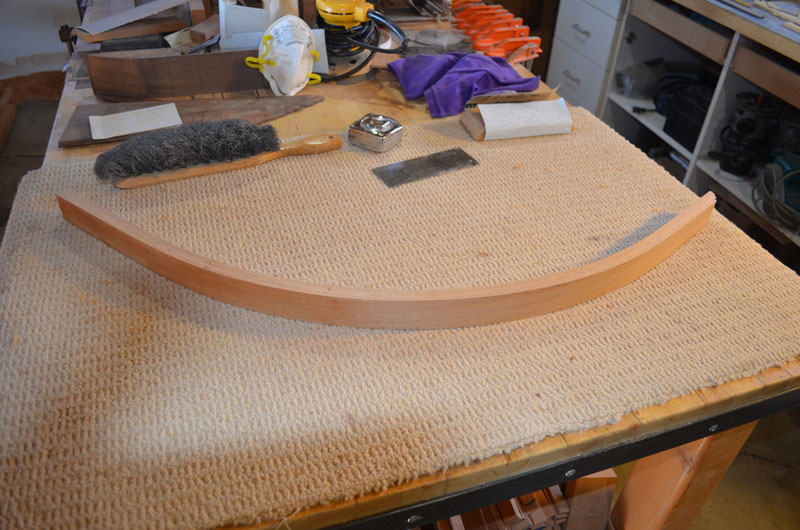
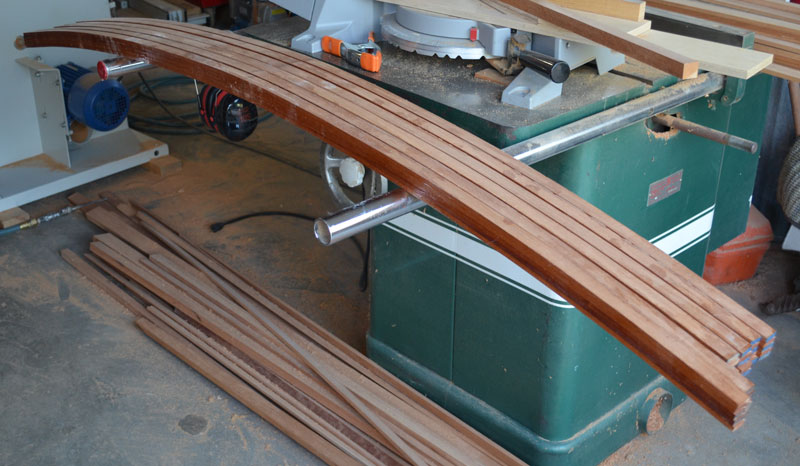
First I drew everything in full scale to make sure it looked right and to provide a pattern for the bending jig. I used 3/4" veneered MDF for the jig as I had some scraps laying around the shop. The jig should be designed to compensate for some spring back. It is difficult to get this right the first time as spring back varies with material and thickness. A coat of wax on the jig prevents the epoxy from sticking.
I used four pieces of mahogany, 3/16" x 1 5/8" x 32"+, for each curve. The final thickness is roughly 3/4". The pieces will finish at 1 1/4" in the other dimension but must be oversized to accommodate the curve of the deck.
Spring back was a bit more than I expected, but workable.
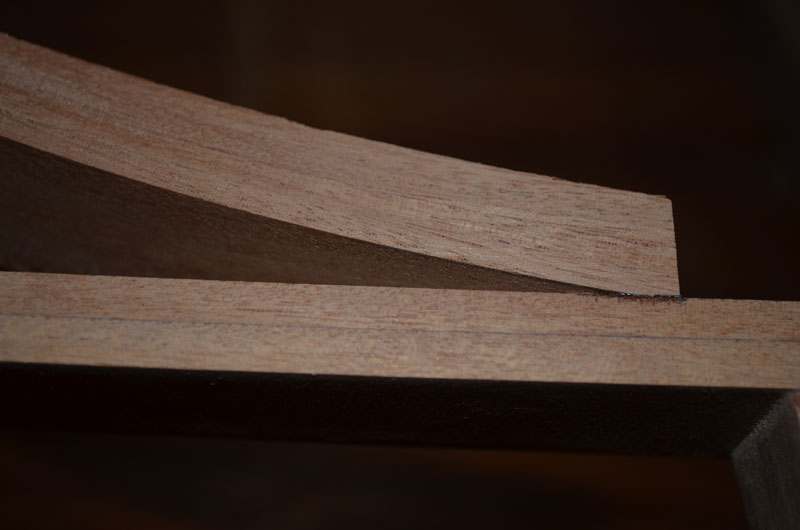
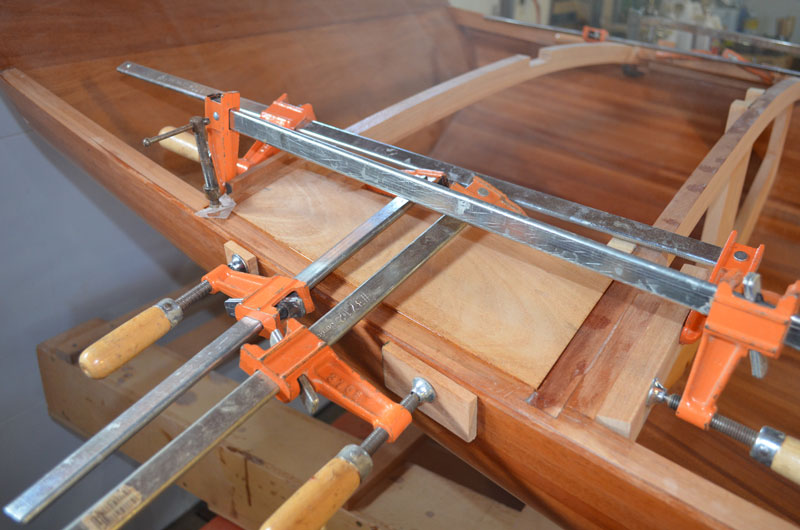
Fitting the curved pieces provided an interesting challenge. I clamped them in place to capture shape of the deck and was able to use my stationary sander to rough out the finished shape. I usually prefer to have the work as close to the finished dimensions as possible before gluing, however, in this case I think it will be easier to machine the bevel after the pieces are permanently attached.
The end of the curve will be flush with the inside of the combing when everything is finished.
With this work complete I
can move on to varnishing the in interior.
Our mild and dry fall weather ended dramatically yesterday with a 50 degree drop in temperature and a good bit of snow. I'm reminded this is my second winter on this project and I really need to get my butt in gear if I want to have her in the water this summer. The biggest remaining task is the deck. The plan is to strip plank it with the planking sprung to the sheer. I'm thinking 2 1/2" cover boards will look good on the perimeter. I'll need one more trip to the lumber yard as I'm almost out of mahogany. I started with just over 200 board feet and I expect I'll need another 40 board feet to finish. I just hope the price hasn't gone up too much.
Attaching the carlings was a straight forward process, however, they could be smoother and will require a bit of fairing. I used cold bent 1/4" material, laminated with epoxy. The result seems quite sturdy. Here I'm gluing on the second layer.
The deck beams are all in place, but I still have some under deck blocking to add. If I want knees for extra support now is the time.
I plan to varnish the interior before I build the deck. By doing so I hope to avoid masking everything off twice. The forward beams are notched for the king plank.
Happy holidays!
The interior provides lots of opportunity to do your own thing. Mr. Barto specified the deck beam dimensions and locations in the plans. I followed his layout closely. Most other details are pretty much left to the builder. My goal is to keep it simple and light. It has become clear to me that a hatch in the front deck is necessary. I framed it in at 13" x 13" and it looks big enough to be useful. This should provide easy access to stow an anchor and such.
Blocking is needed where the chain plates attach.
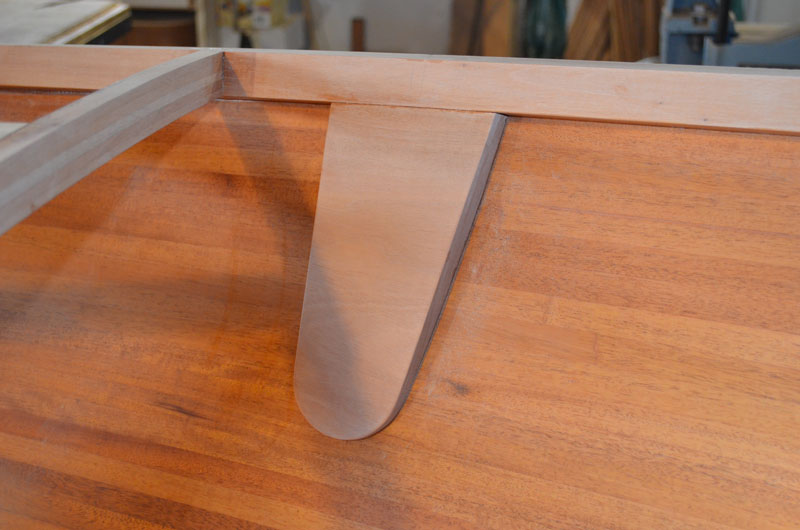
At the rear of the cockpit I added a frame to support the deck. Many folks sit up on the deck while sailing these boats and it seemed prudent to add some structure here. The frame also provides extra strength to the flat areas on the bottom rising towards the transom.
The plan calls for blocking below the traveler mounts, so I fitted some 3/4" stock between the beams using biscuits and epoxy. I have found the plate joiner to be a very useful tool and I use it whenever I can. Biscuits are great for keeping things aligned, especially when using slippery epoxy. The birch biscuits are quite strong and work like miniature splines.
A bit of work with the hand plane and scraper will smooth things out.
The short deck beams around the cockpit are scavenged from beams in the bow and stern.
The carlings are next. I plan to laminate 1/4" material as I did with the sheer clamps to get smooth curves. I think two pieces per side should be sufficient. I'll dry fit the remaining beams and the kingplank, but I'll varnish the hull before gluing.
She's looking more like a boat! Lots of decisions ahead regarding blocking for hardware and such.
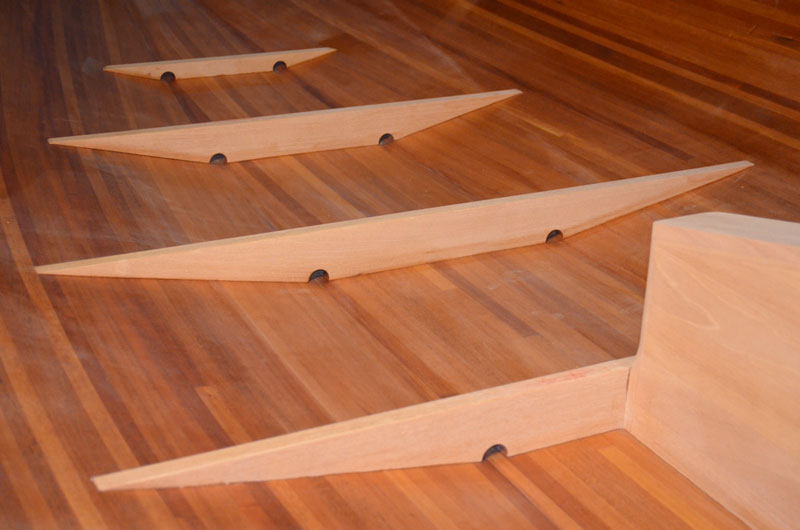
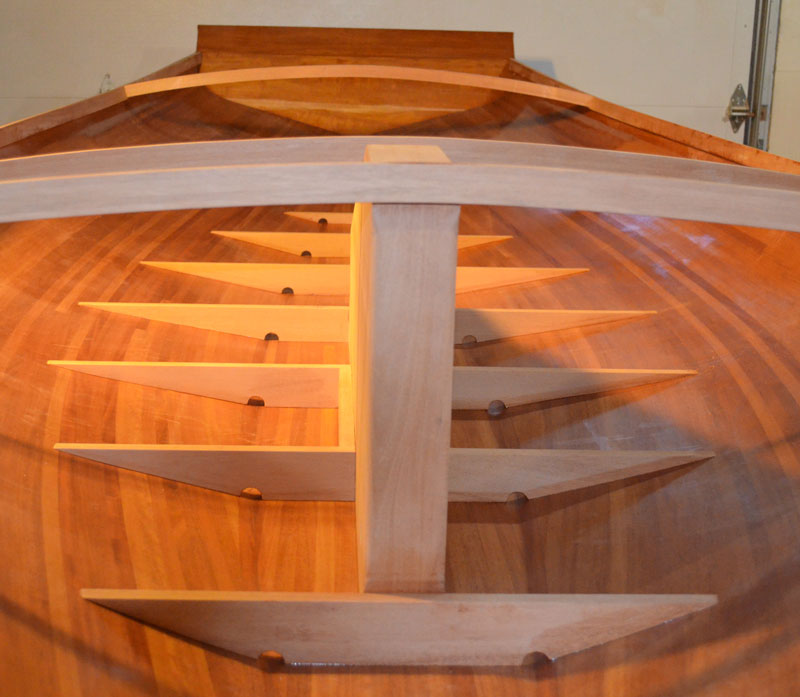
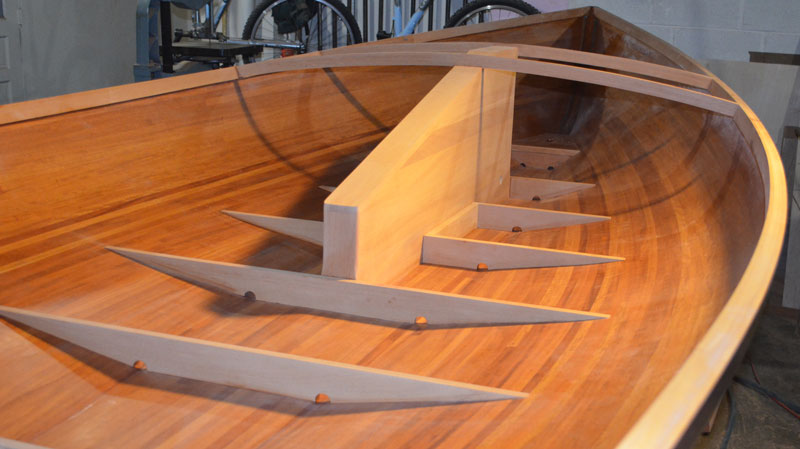
It has been said the devil is in the details and I believe it. The plans show few details regarding the interior if the boat, so I'm forced to wing it. I decided early on to install a raised floor, mostly for comfort. The floor will be built in two sections and designed to be easily removed for cleaning and maintenance. I'm using mahogany for the bracing and red cedar for the floor planks. I settled on a height of 2 1/2" off the bottom as a reasonable compromise between floor space and my desire to keep the center of gravity as low as possible. The resulting footprint is large enough to allow two adult sized folks to sleep in the boat if necessary. This arrangement uses seven braces spaced roughly 16" apart. I started at the front of the centerboard trunk and worked my way aft.
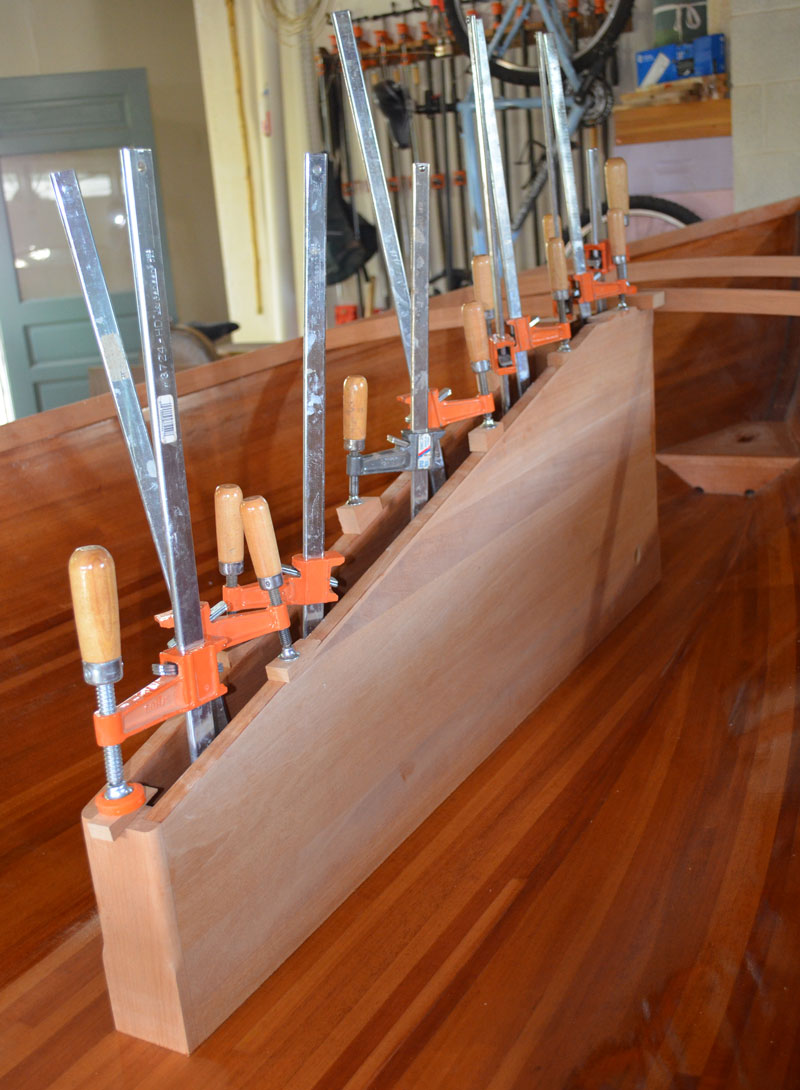
The work requires careful scribing and some occasional cursing. Securing the work while the epoxy hardens is an exercise in creative clamping.
Four down and three to go.
Done.
My plan is to have the interior complete and varnished before I fabricate the deck.
I originally thought a deck hatch forward of the centerboard trunk would be overkill, but I'm not so sure now.
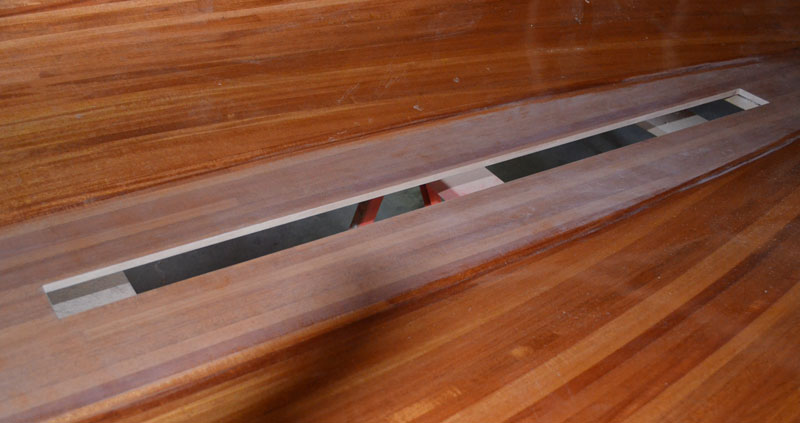
Procrastination is my forte, but I finally ran out of reasons to delay the installation of the centerboard trunk. I'm not quite sure why I kept putting it off, something about cutting a large hole in the hull. Actually, the process is quite simple, make a hole the right size, in the right place, and drop the trunk in with some epoxy. I roughed out the hole with the jigsaw and cleaned it up with a flush trim bit.
Clamp it Jed!
I see no reason to use glass or epoxy on the outside of the trunk, varnish should be enough.
One more small step forward...
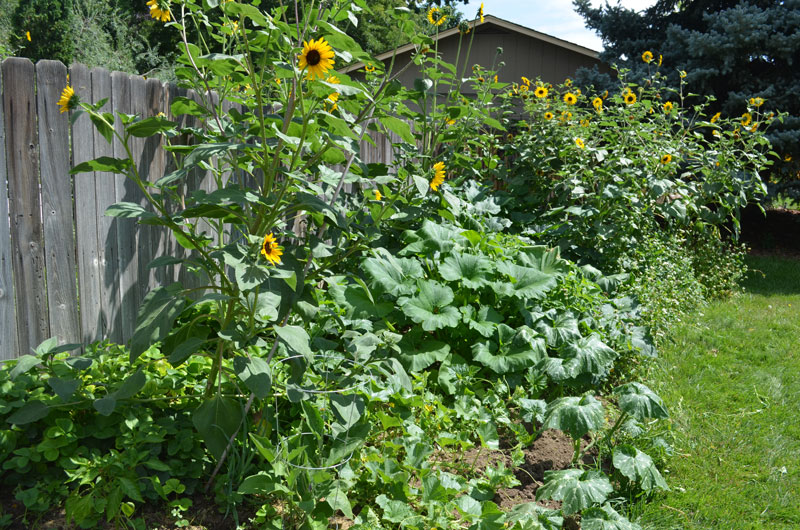
Summertime and the living is easy... I wish this was true. The summer is short and sweet in Colorado and it seems there is never enough time. If only I didn't have to work for a living! The wife and I love to garden and this year has been good so far.
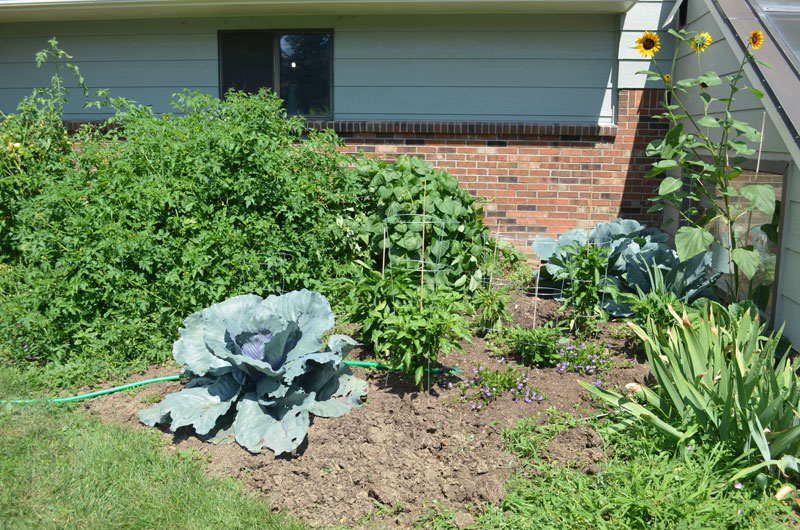
The tomato behind the cabbage is just one plant, possible the largest cherry tomato we have ever grown. It's a constant battle to keep the weeds at bay.
A couple weeks ago we were treated to an amazing double rainbow. Unfortunately, I couldn't get it all in one frame.
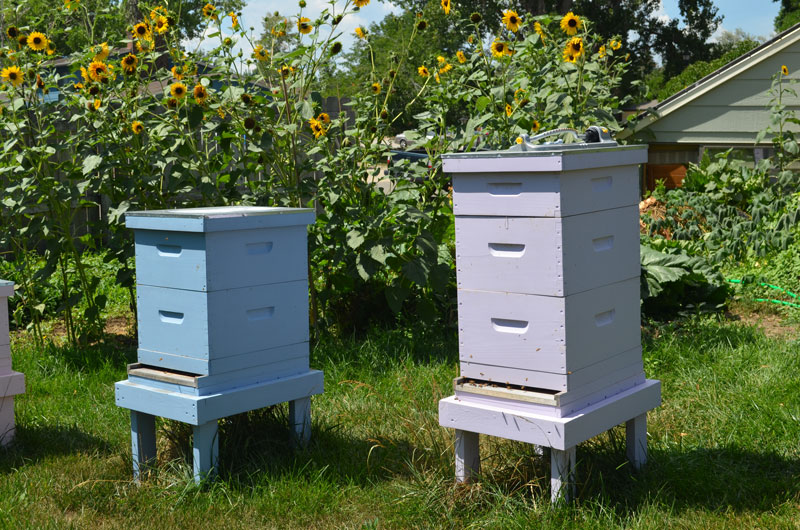
One of our other hobbies is beekeeping. We lost two of our three hives last winter, but did a successful split on the remaining hive this spring. The two hives are doing well at the moment, however, these are tough times for bees.
With so much to distract me it's amazing I'm getting anything done on the boat, however, I'm plugging along. The curvature of the sheer on the melonseed is quite pronounced. I had to laminate three pieces on each side to get the 3/4" x 1 1/4" overall dimension specified for the sheer cleats. I did this one piece at a time using 1/4" x 1 1/2" mahogany with epoxy as the adhesive. The cleats really stiffened things up. Next, I fabricated the mast step using 3/4" mahogany. The step required a surprising amount of work because of the compound angles and curves.
I decided to put a rabbit on the bottom on the centerboard trunk. This will provide a nice clean joint between the trunk and the bottom.
The trunk logs are made from 1" x 3" mahogany with 1/2" x 3/4" rabbits. All inside surfaces are protected with 6 oz. glass and epoxy.
After the trunk position was finalized it was safe to proceed with some deck beams.
I'm using a joint taken from one of Howard Chappell's books on boat building.
This work is most easily done by hand as every beam is different. I use a very thin backsaw and a couple sharp chisels on the mortise.
The tricky part is getting the length of the beam just right.
Two beams down and many to go...
Next up, cut a hole in the bottom...
How time flies when you're having fun! As expected, fairing the inside of the hull required more work than the outside. The scraper quickly became the tool of choice. My plan is to leave the inside bright, so I finished up with 220 grit sandpaper. I'm using 6 oz. glass, double layered in the middle, as I did on the outside of the hull.
The 6 oz. glass easily conforms to the hull shape, but one must be careful not to snag or distort the cloth while wetting out.
Three coats of epoxy and we are ready to sand.
The grayish areas in these photos are an illusion caused by the reflection of the as yet unsanded epoxy.
The interior will be finish sanded with 220 grit paper before varnish is applied.
The transom looks splendid under the clear finish. Too bad the inside won't be visible after the deck is applied.
The view from behind.
One of my goals is to avoid excessive use of epoxy. However, it made sense to use a big fat fillet at the stem.
While preparing the hull for glass I went ahead and laminated some deck beams, using the formula from Iain Oughtred's book on lapstrake boat building. The camber is four inches.
At last I can get to work on the interior bracing, mast step, centerboard trunk, sheer cleats, floor, deck, etc....